This craft suits the rhythm of late autumn and winter: it’s slow, tactile and grounding. The finished piece can be displayed at home, gifted to a friend or simply enjoyed as part of the making process. It’s also a lovely, screen-free activity for a cozy evening indoors. With a few foraged or dried materials and a simple loom made from branches, you can create wall art that feels both seasonal and personal.
Materials & Supplies:
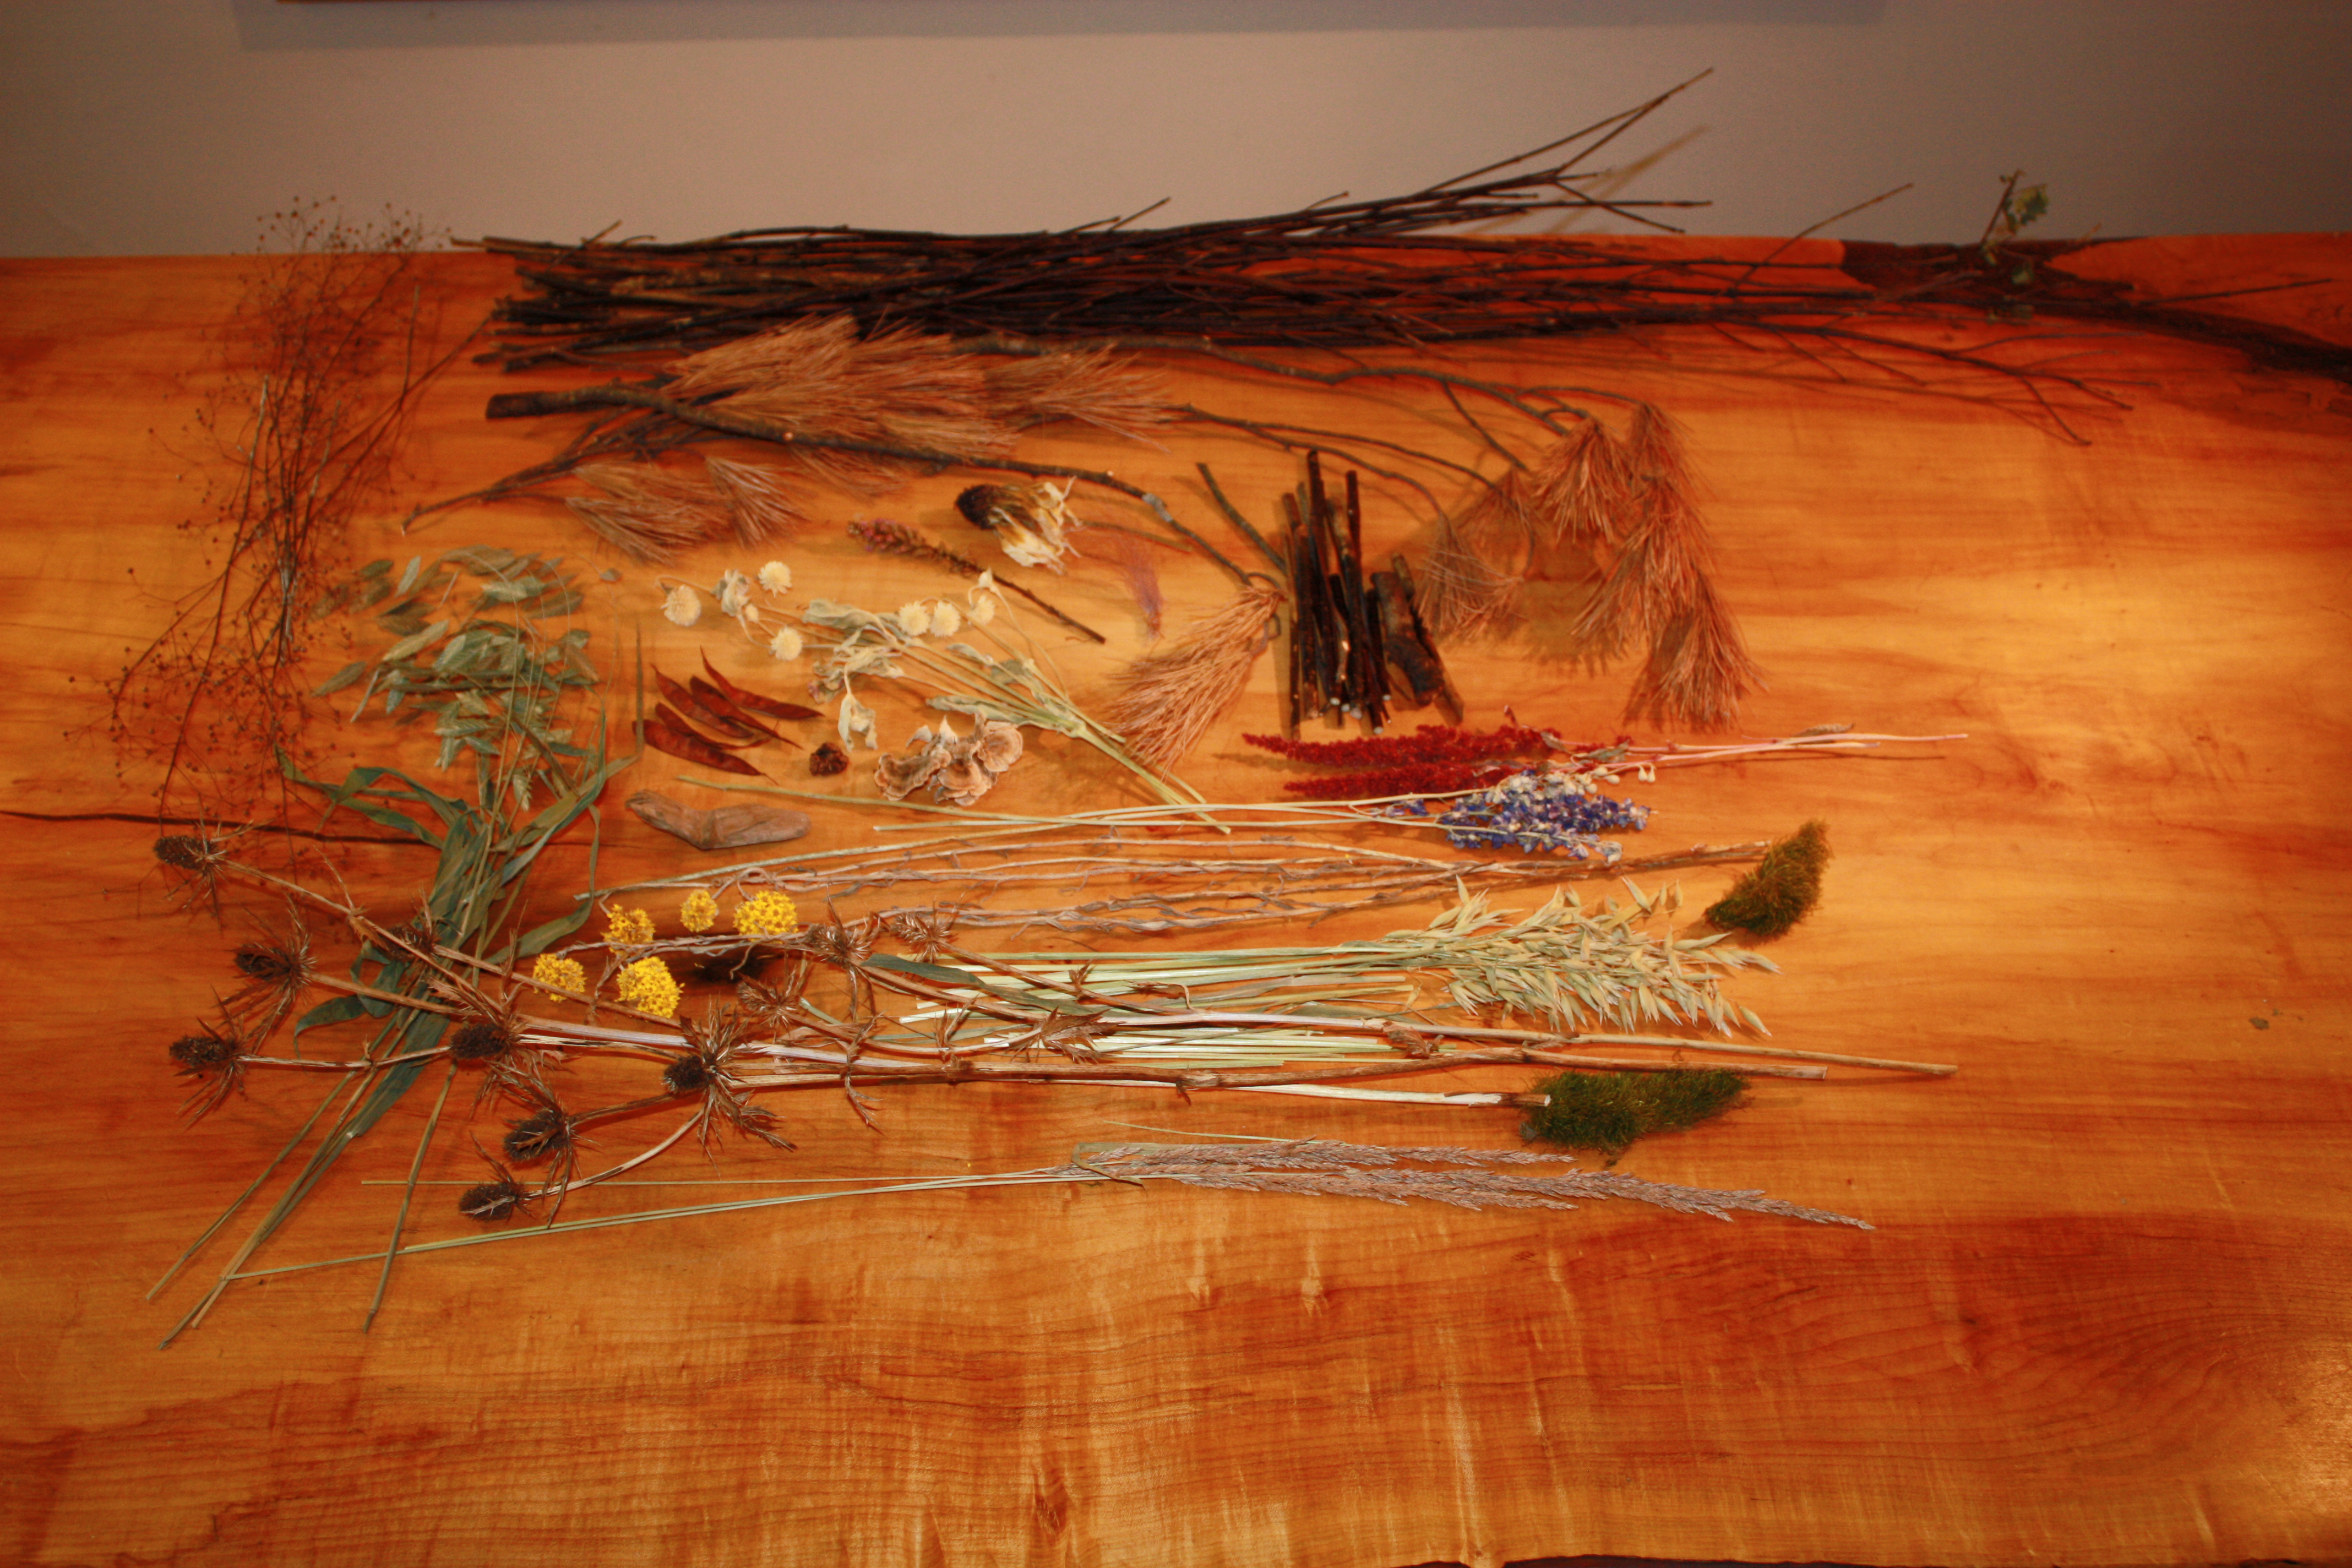
Natural materials (choose a mix):
- Dried stems and seed heads saved from summer or fall, such as native grasses, flax and coneflower
- Branches and twigs with interesting lines, such as dogwood or willow, some of which are sturdy enough to become the loom.
- Foraged winter finds, including pine needles, cedar or spruce tips, or seed heads left standing in gardens and natural areas.
- Purchased dried materials from local flower shops, often grown locally during the warmer months.
Tip: November is the perfect time to explore what’s left in gardens and naturalized spaces. Many plants have dried beautifully in place, and their seed heads or curled leaves add texture and character to your weaving.
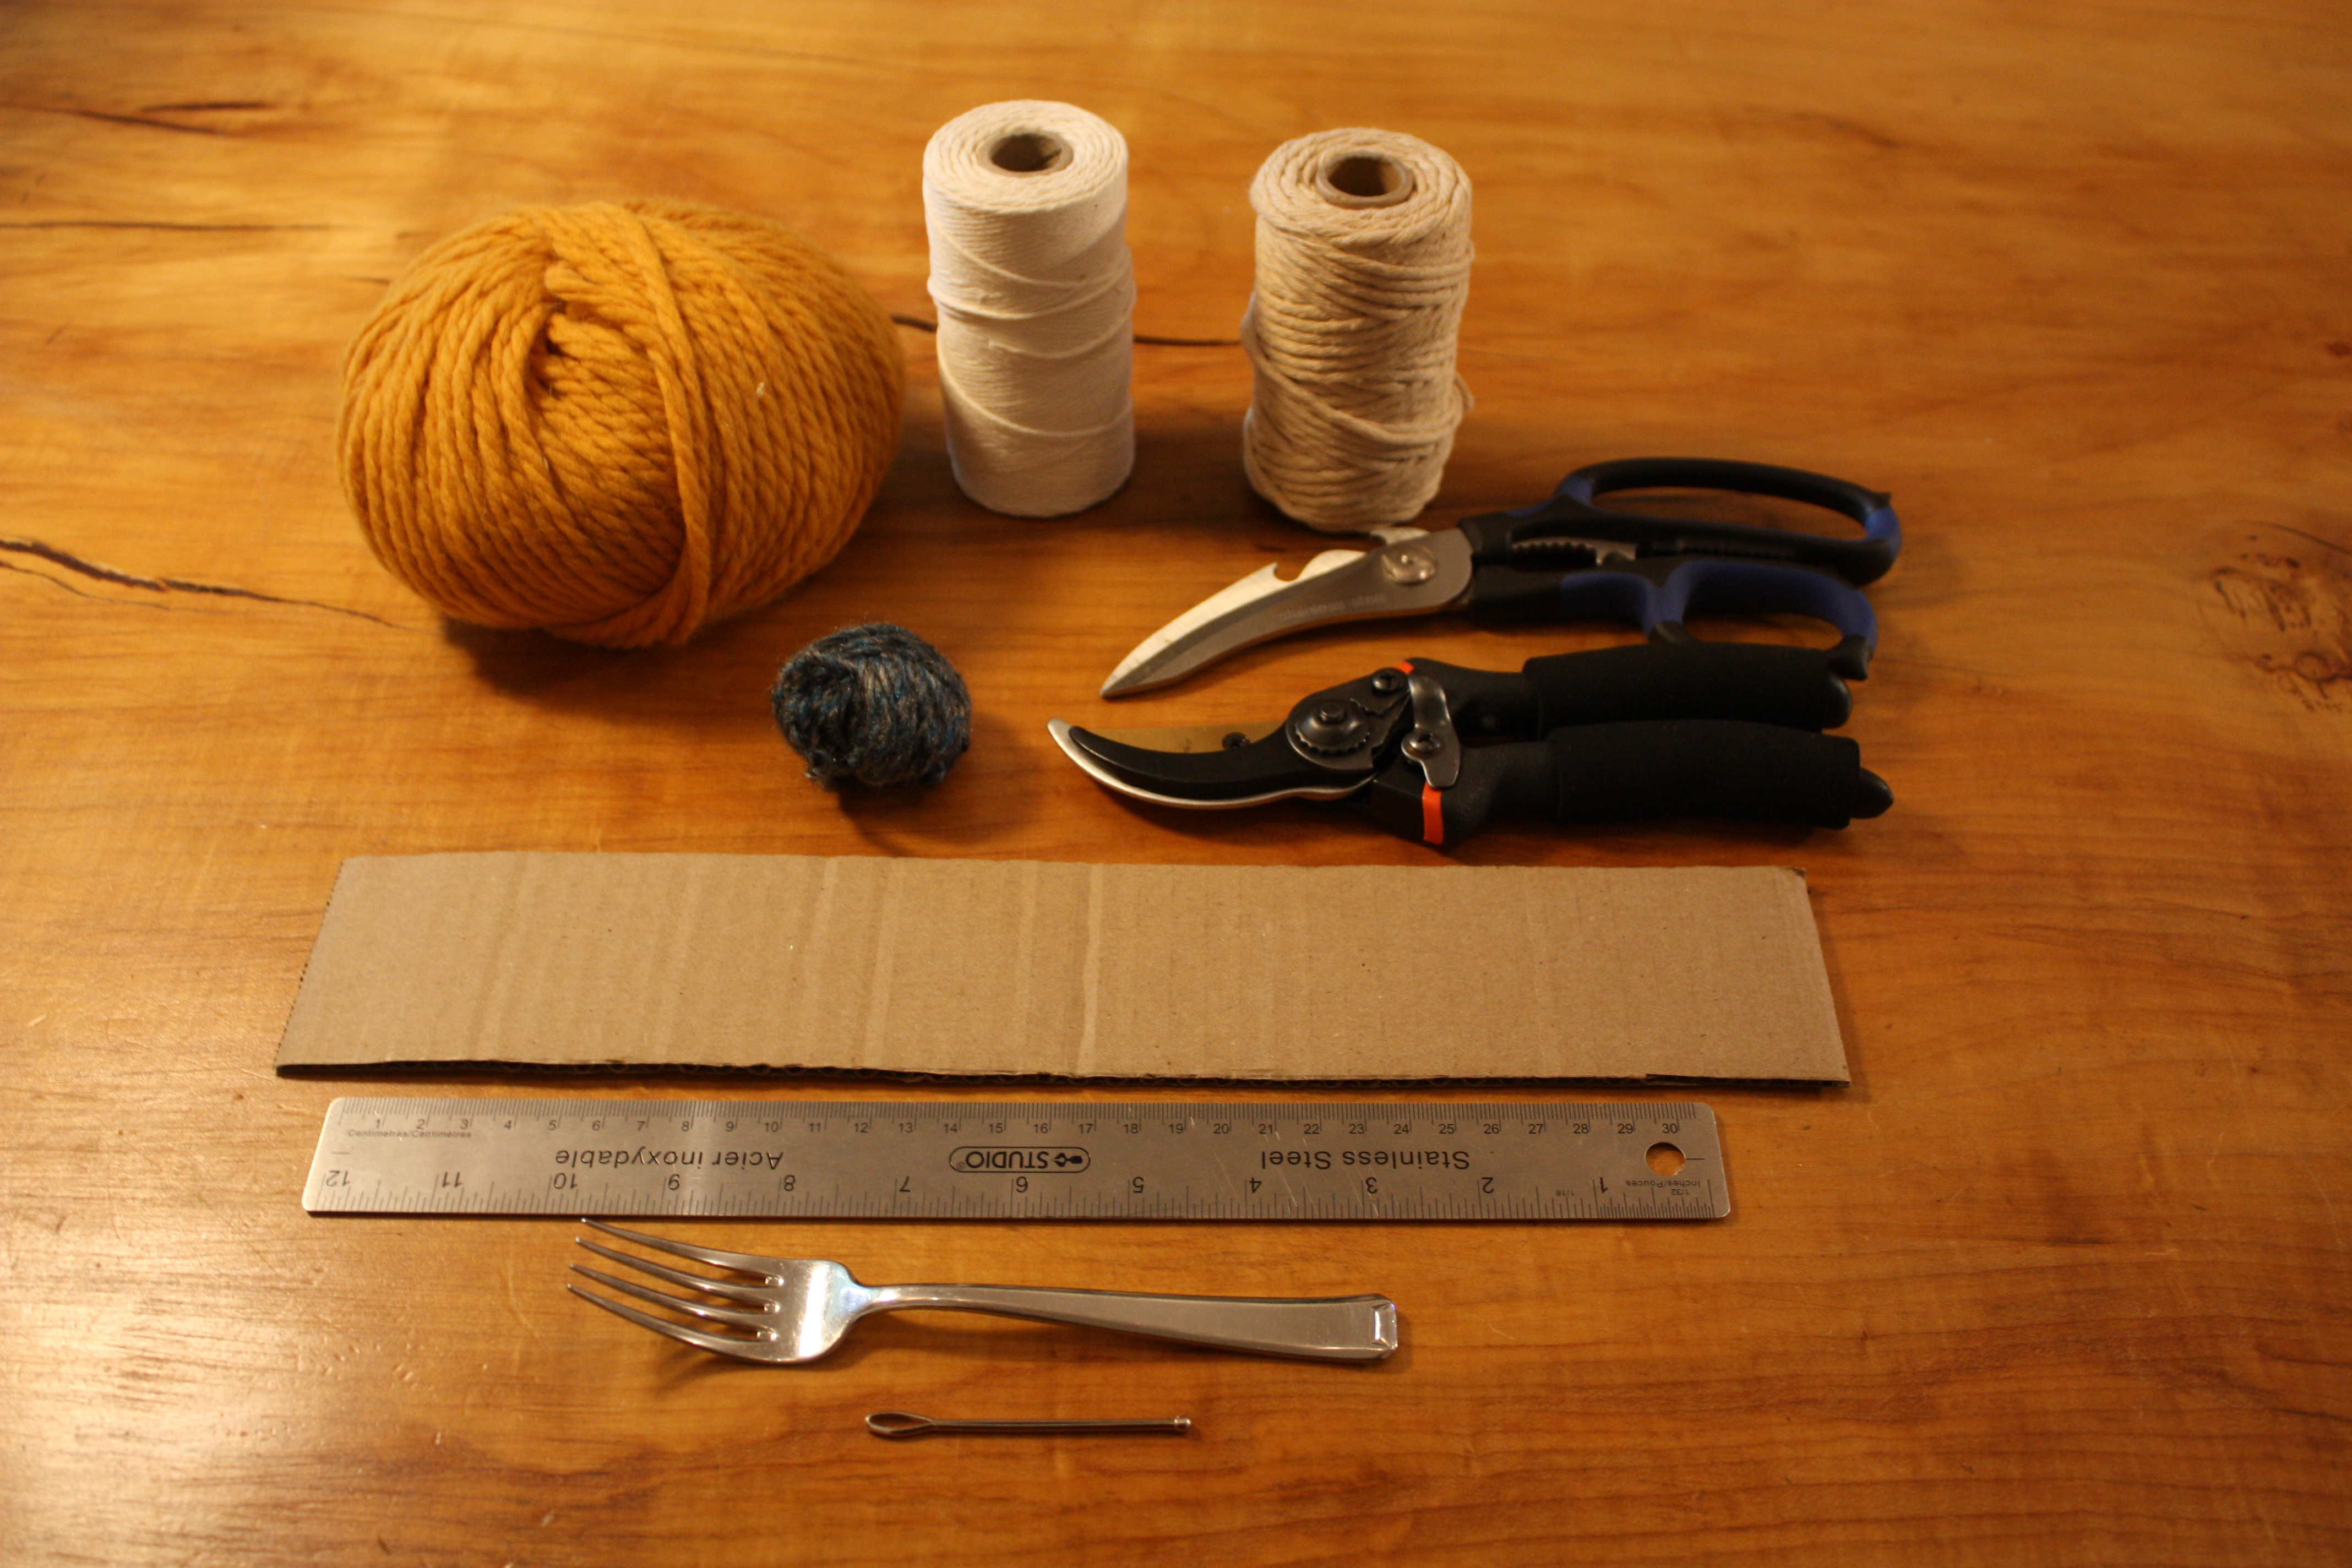
Tools & Craft Supplies:
- Strong twine
- Yarn
- Scissors
- Wide/large needle
- Sturdy branches (to build your frame)
- A strip of cardboard or cardstock ~two and a half inches wide (for stability)
- Ruler
- Pruners
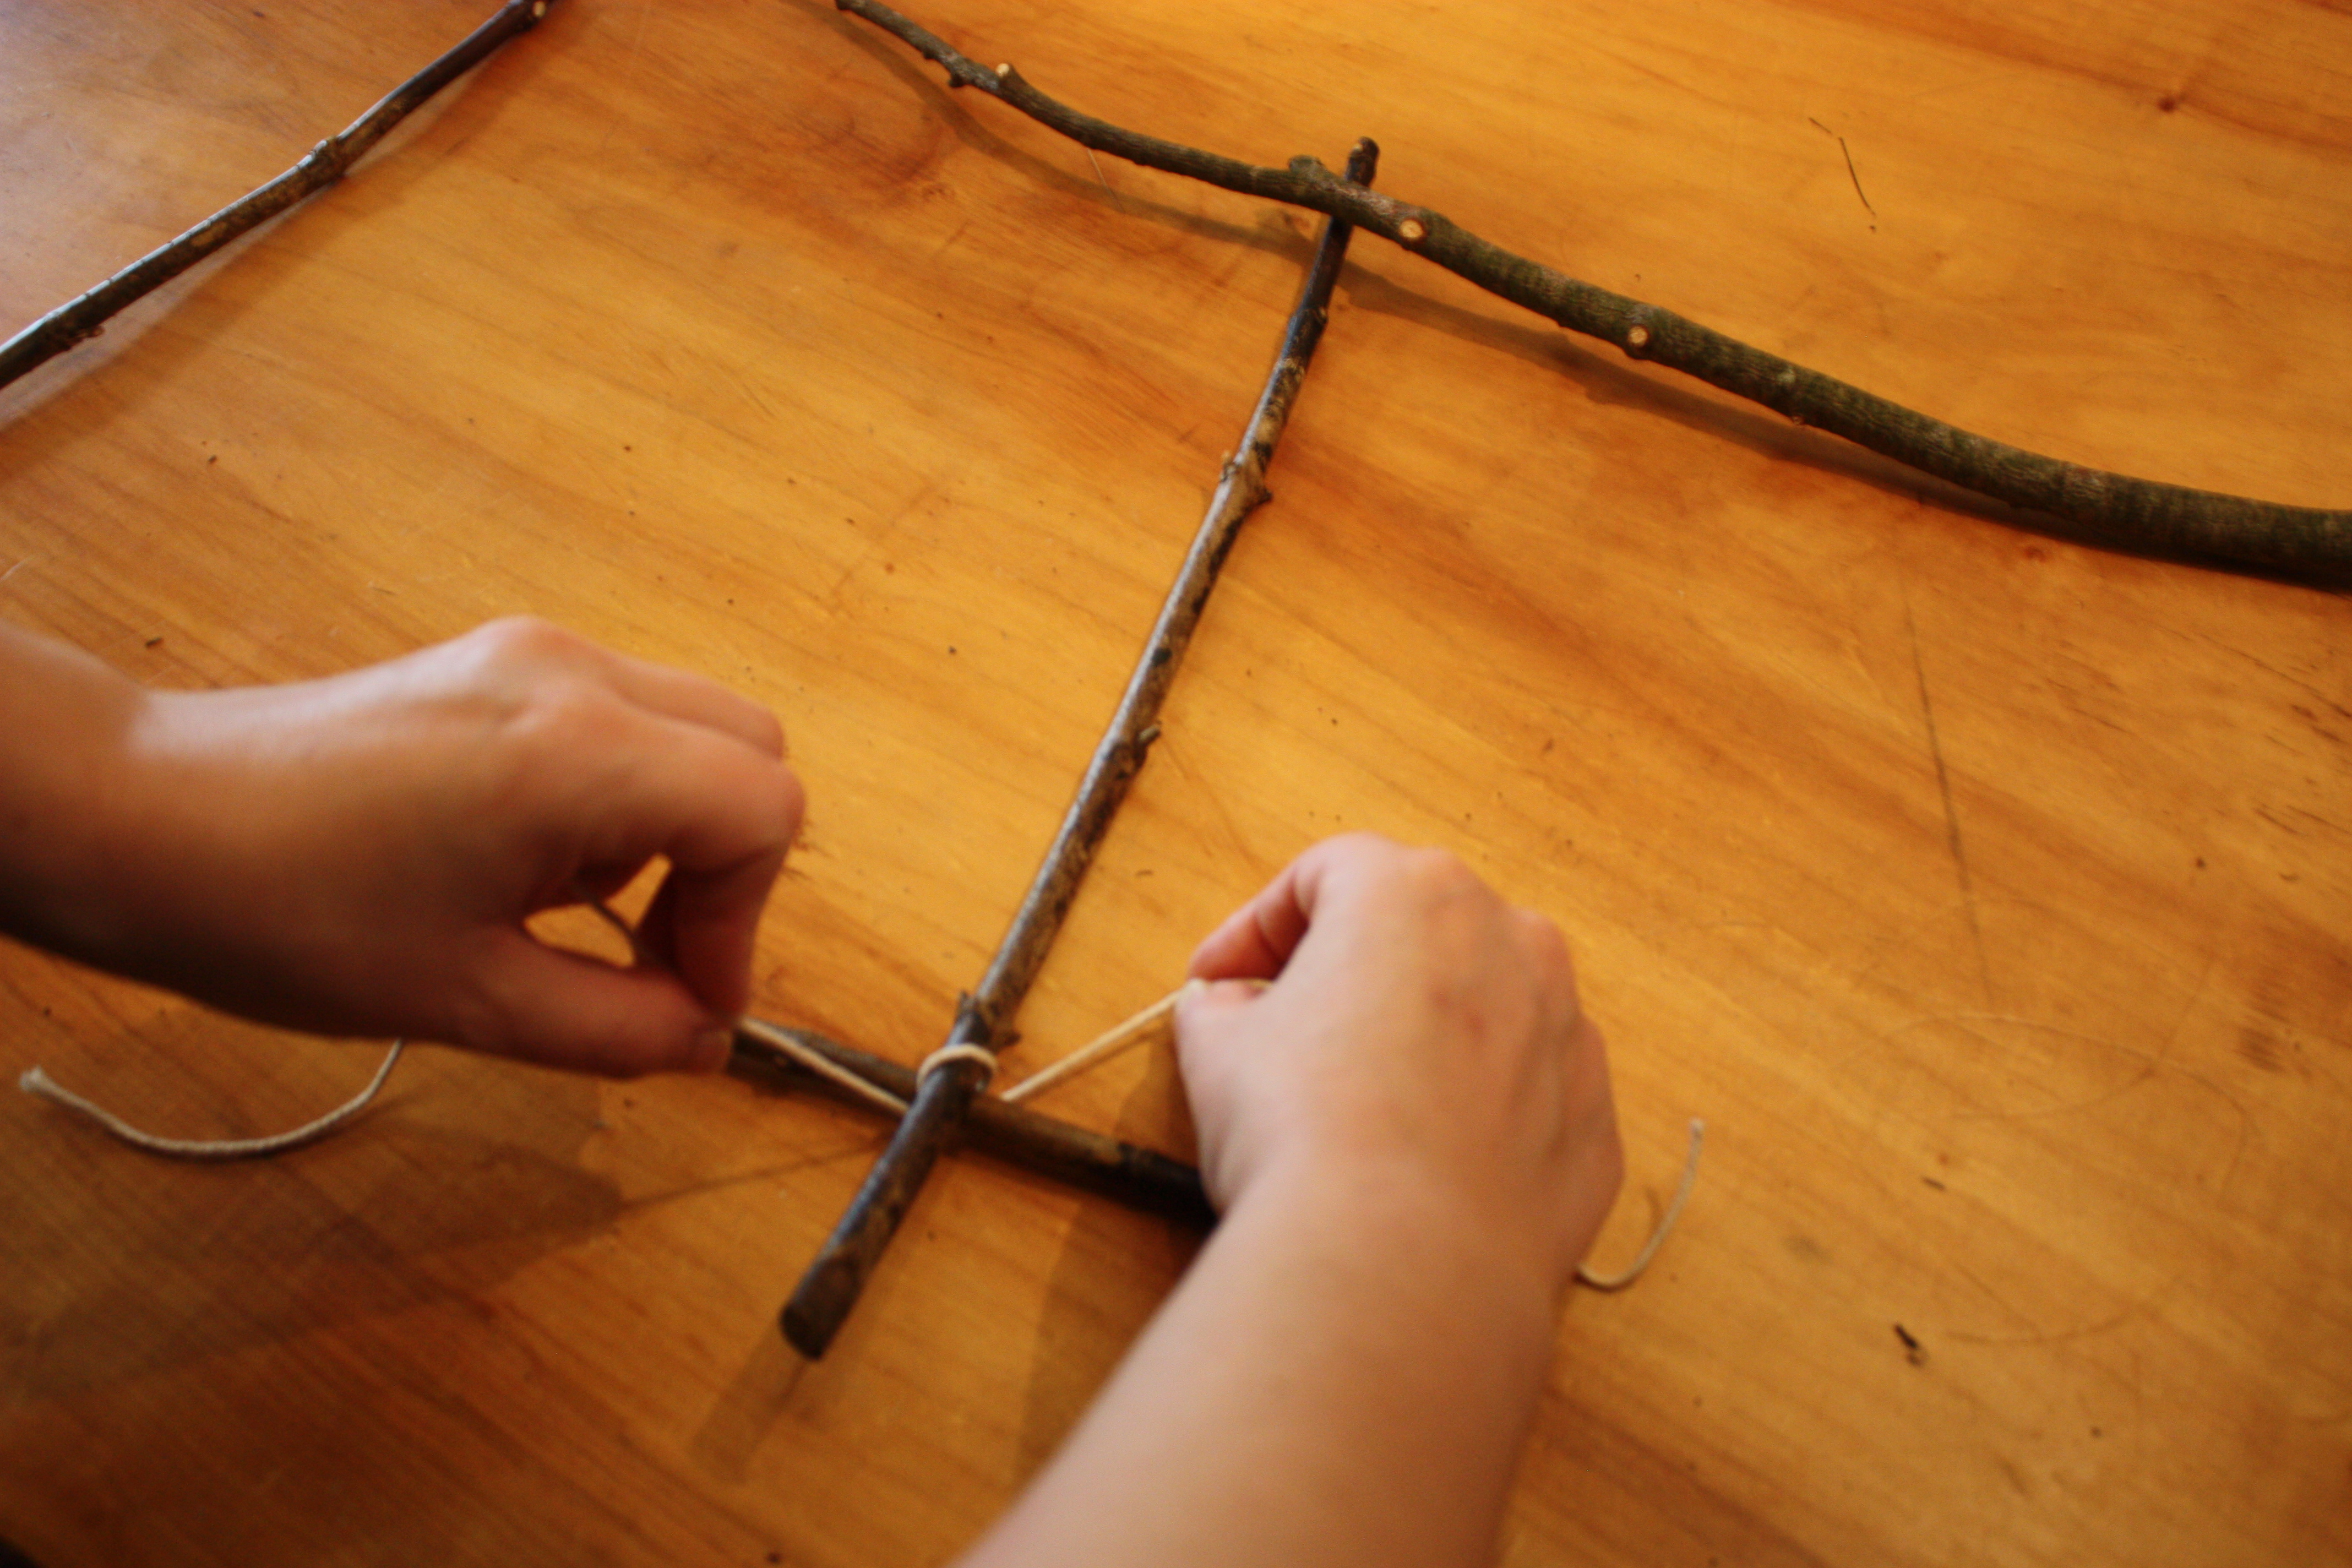
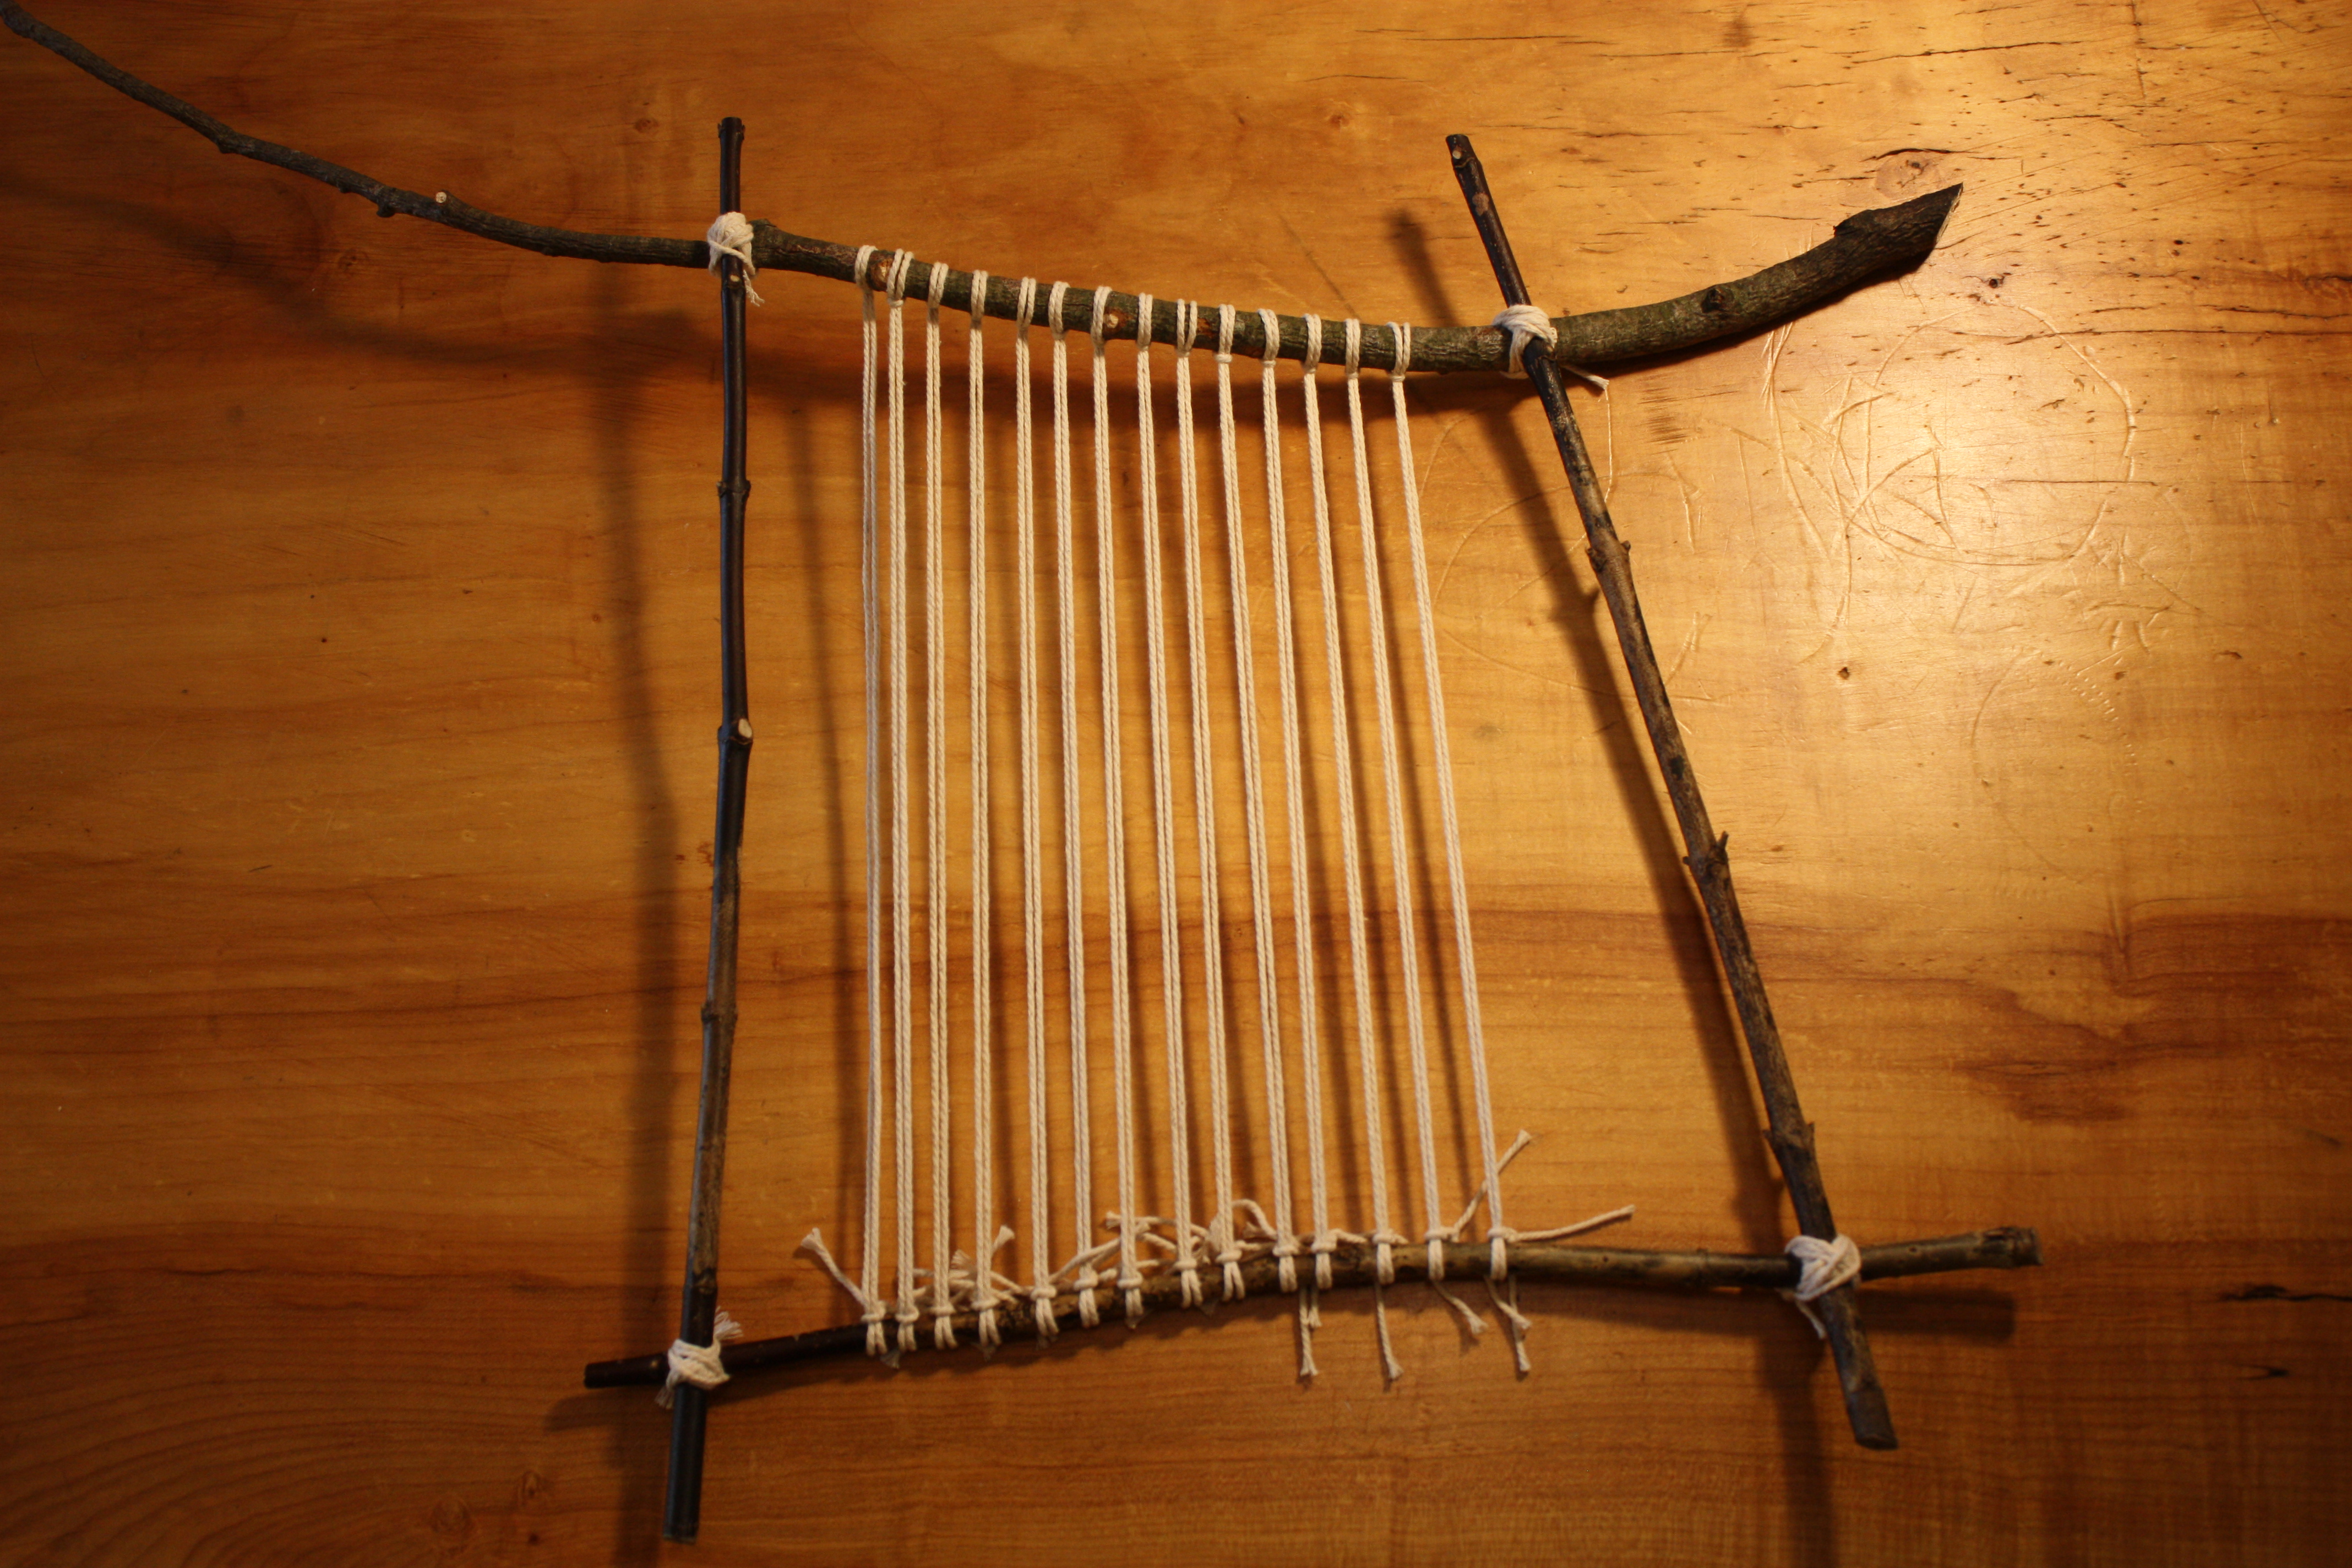
Step 1: Build the Branch Loom
- Choose branches. Pick sturdy ones that can withstand tension while you weave. Trim to your desired size and snip off small side twigs.
- Decide orientation. In the example below, the top branch doubles as the hanging bar, providing a strong line that looks great on a wall.
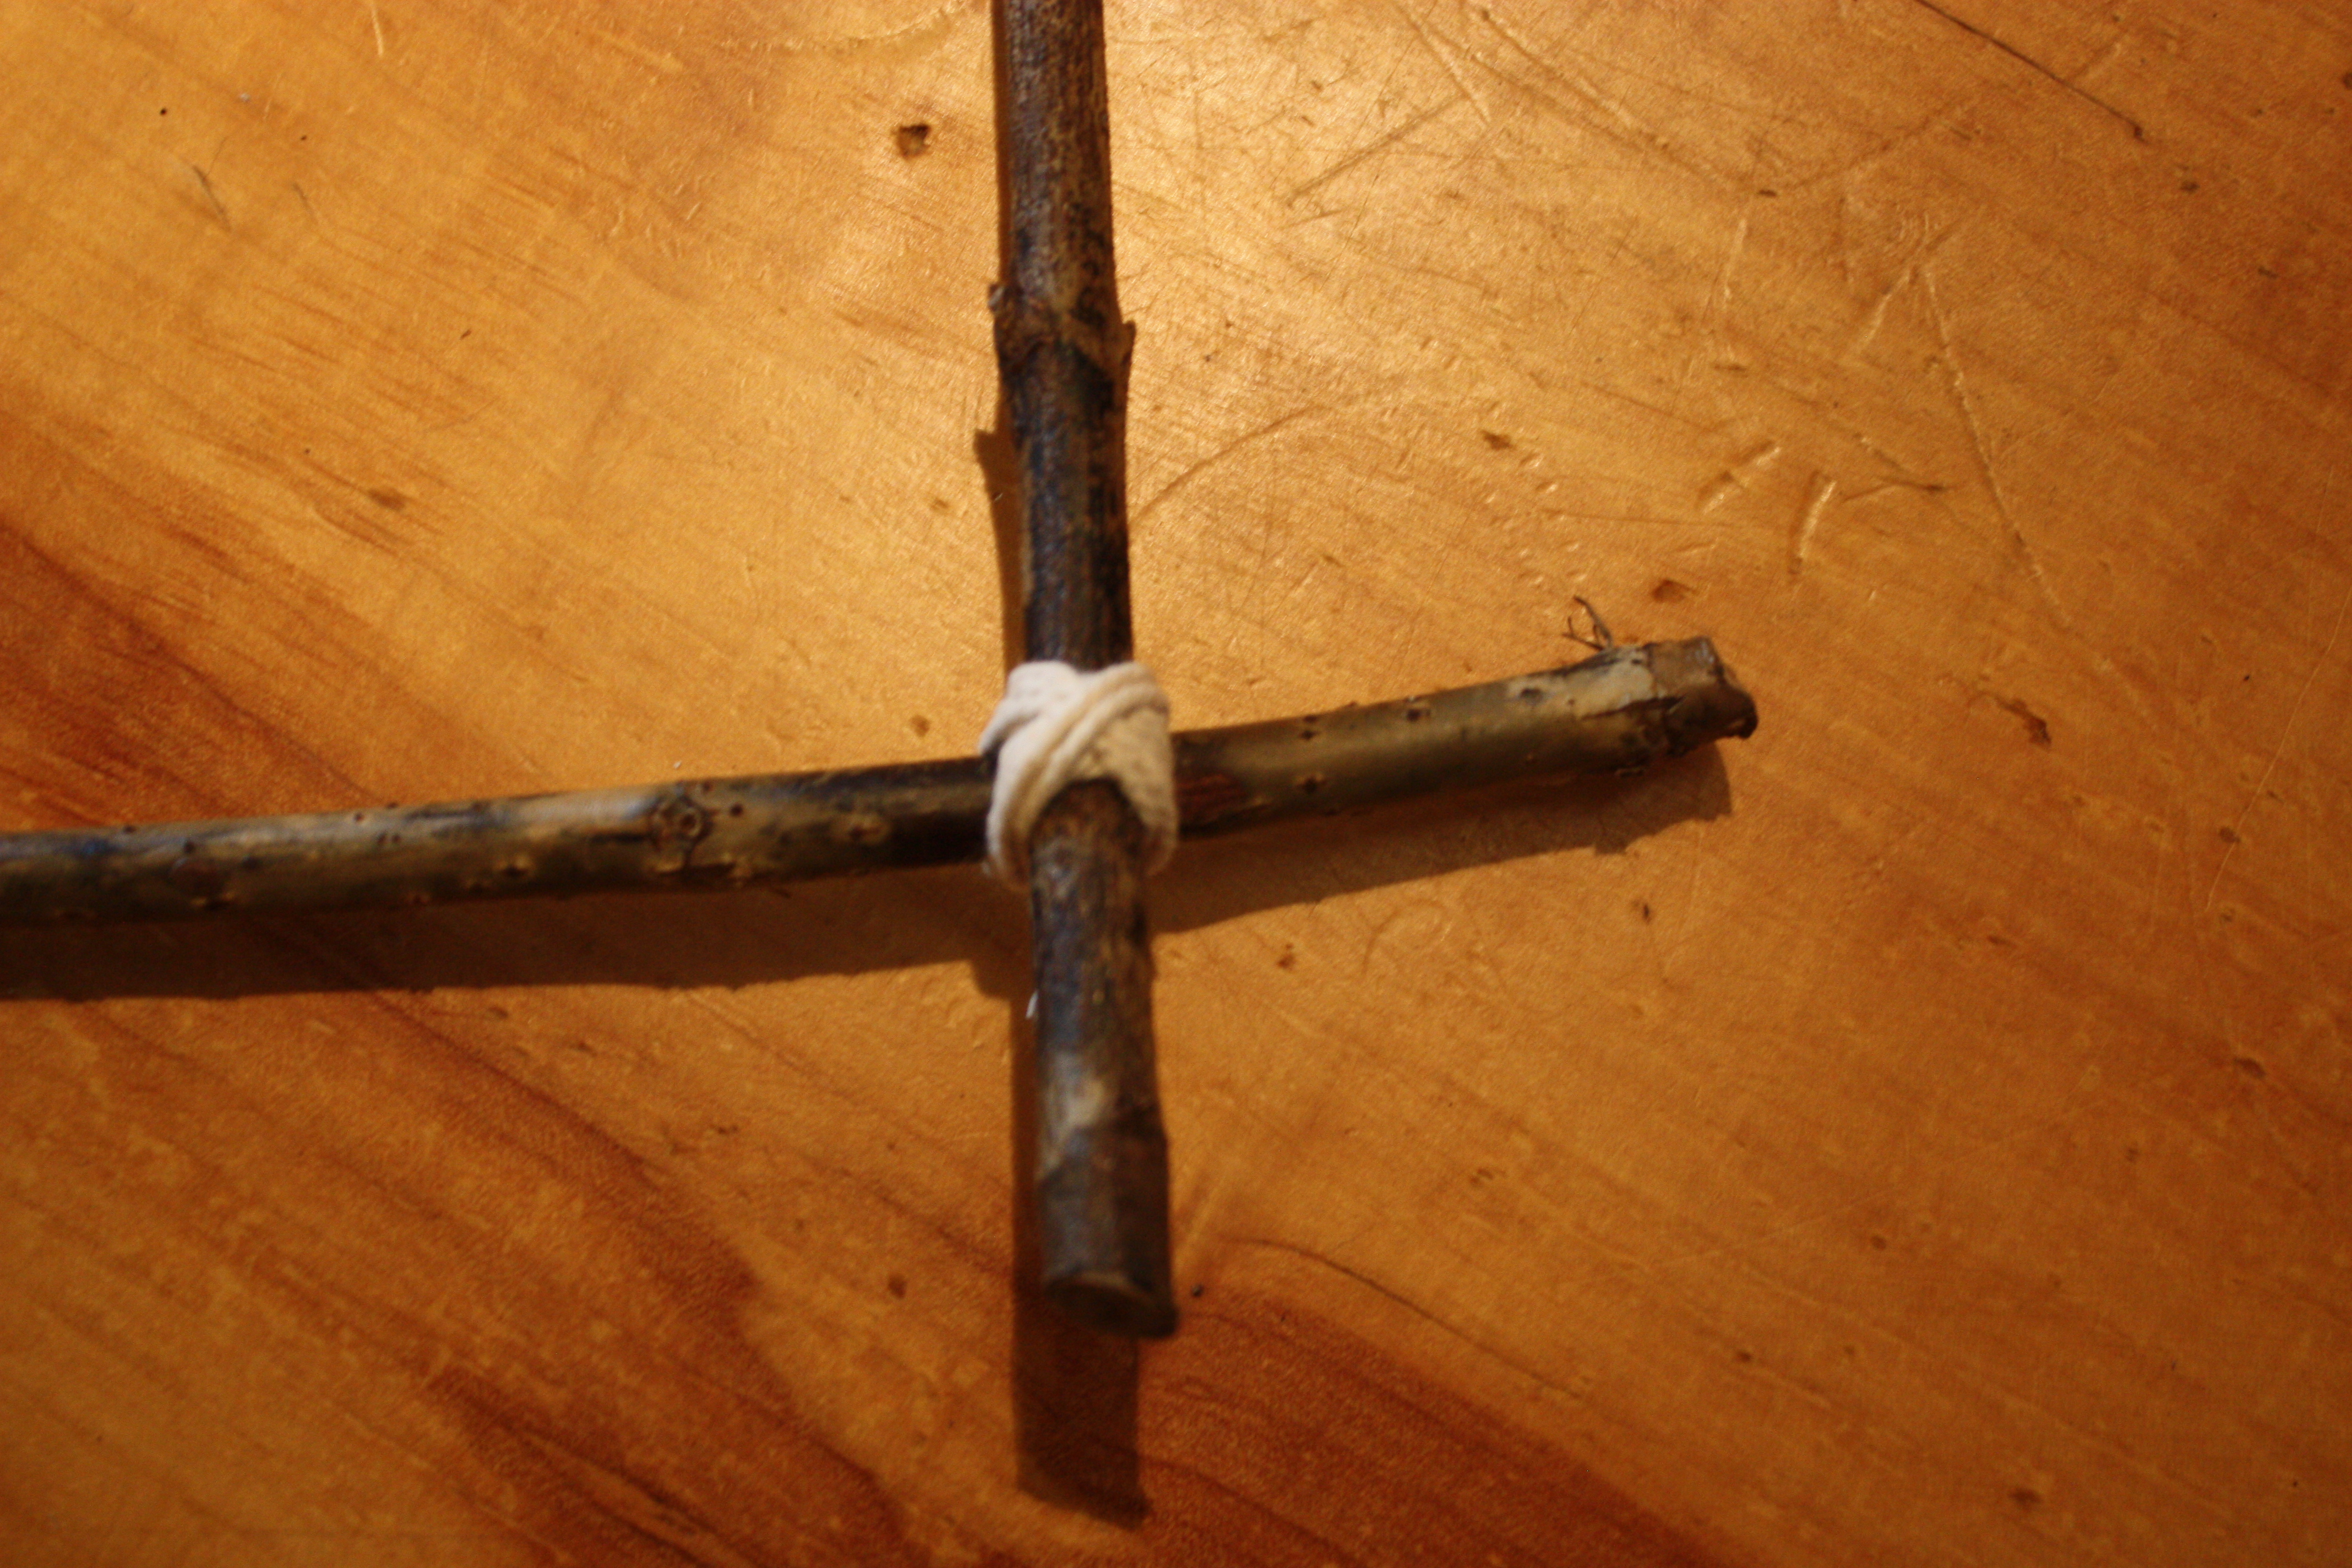
- Secure corners. Lash the corners tightly with strong twine, wrapping several times and knotting firmly.
- Optional: You can use a pre-made loom frame kit instead of branches.

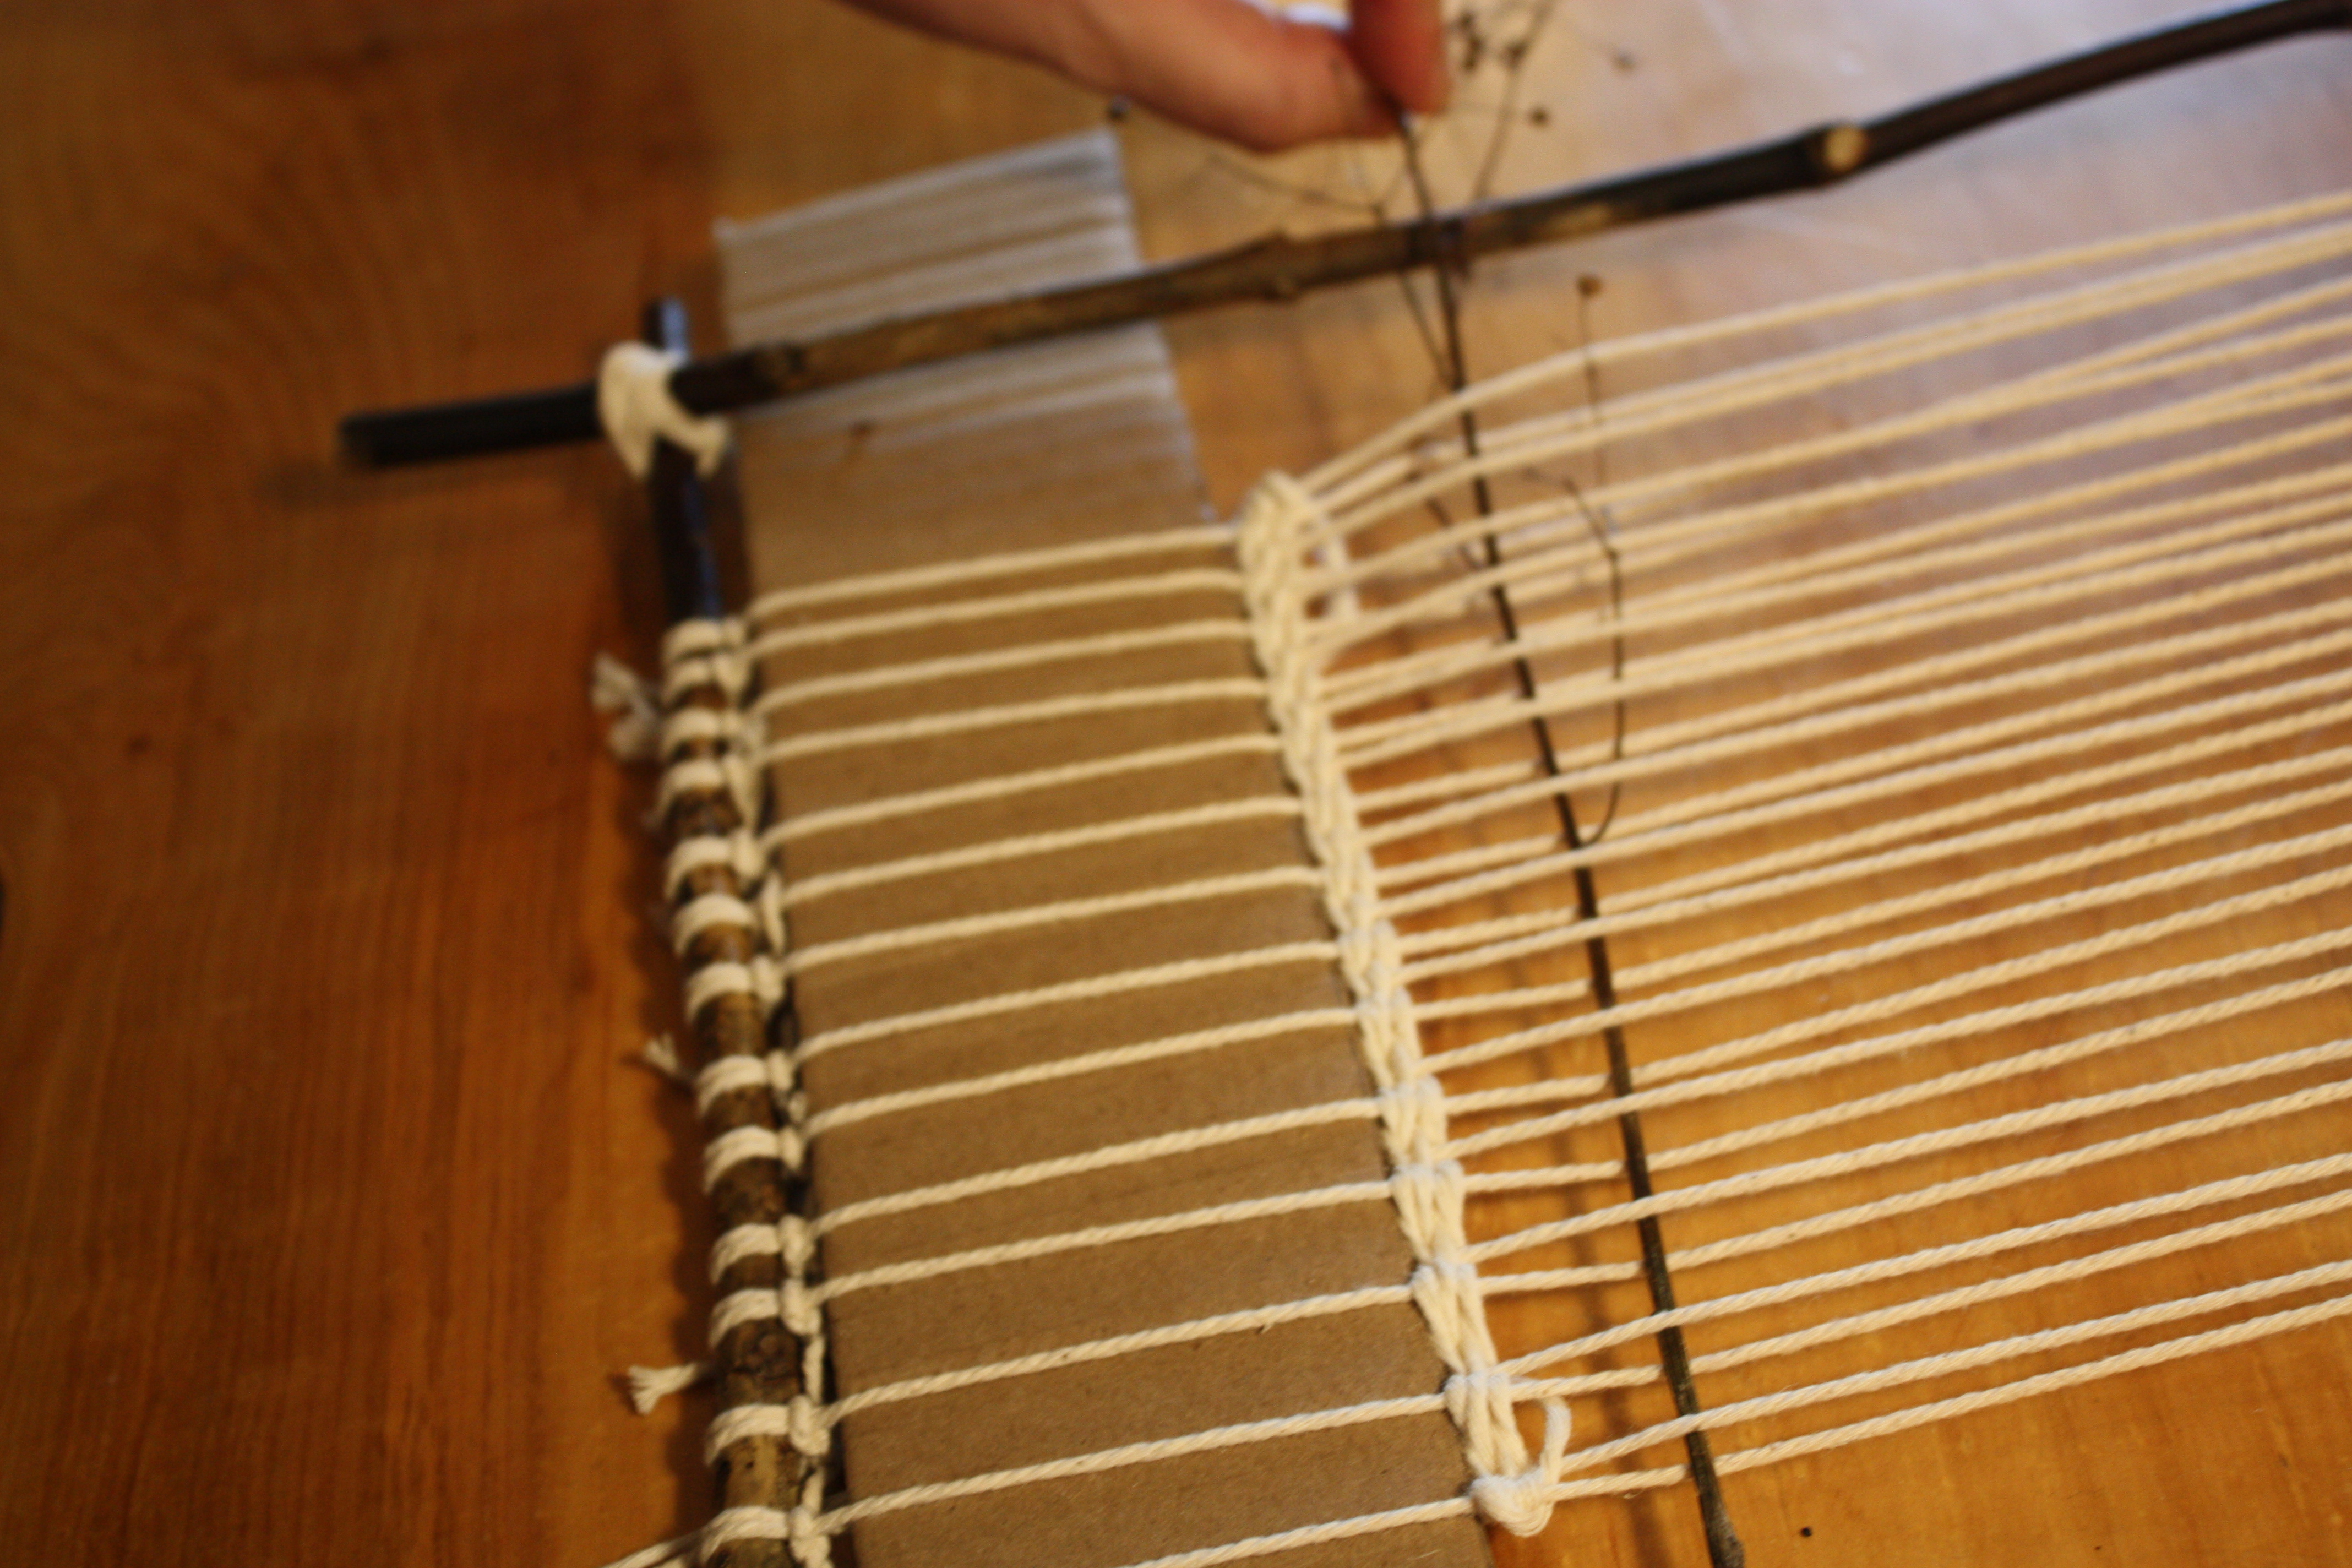
Step 2: Warp the Loom
The warp strings are the vertical foundation of the frame. The horizontal strands that you’ll add later are called the weft. Because branch frames are irregular, it’s best to tie individual warp strings instead of one continuous wrap. This prevents slippage and keeps the spacing even.
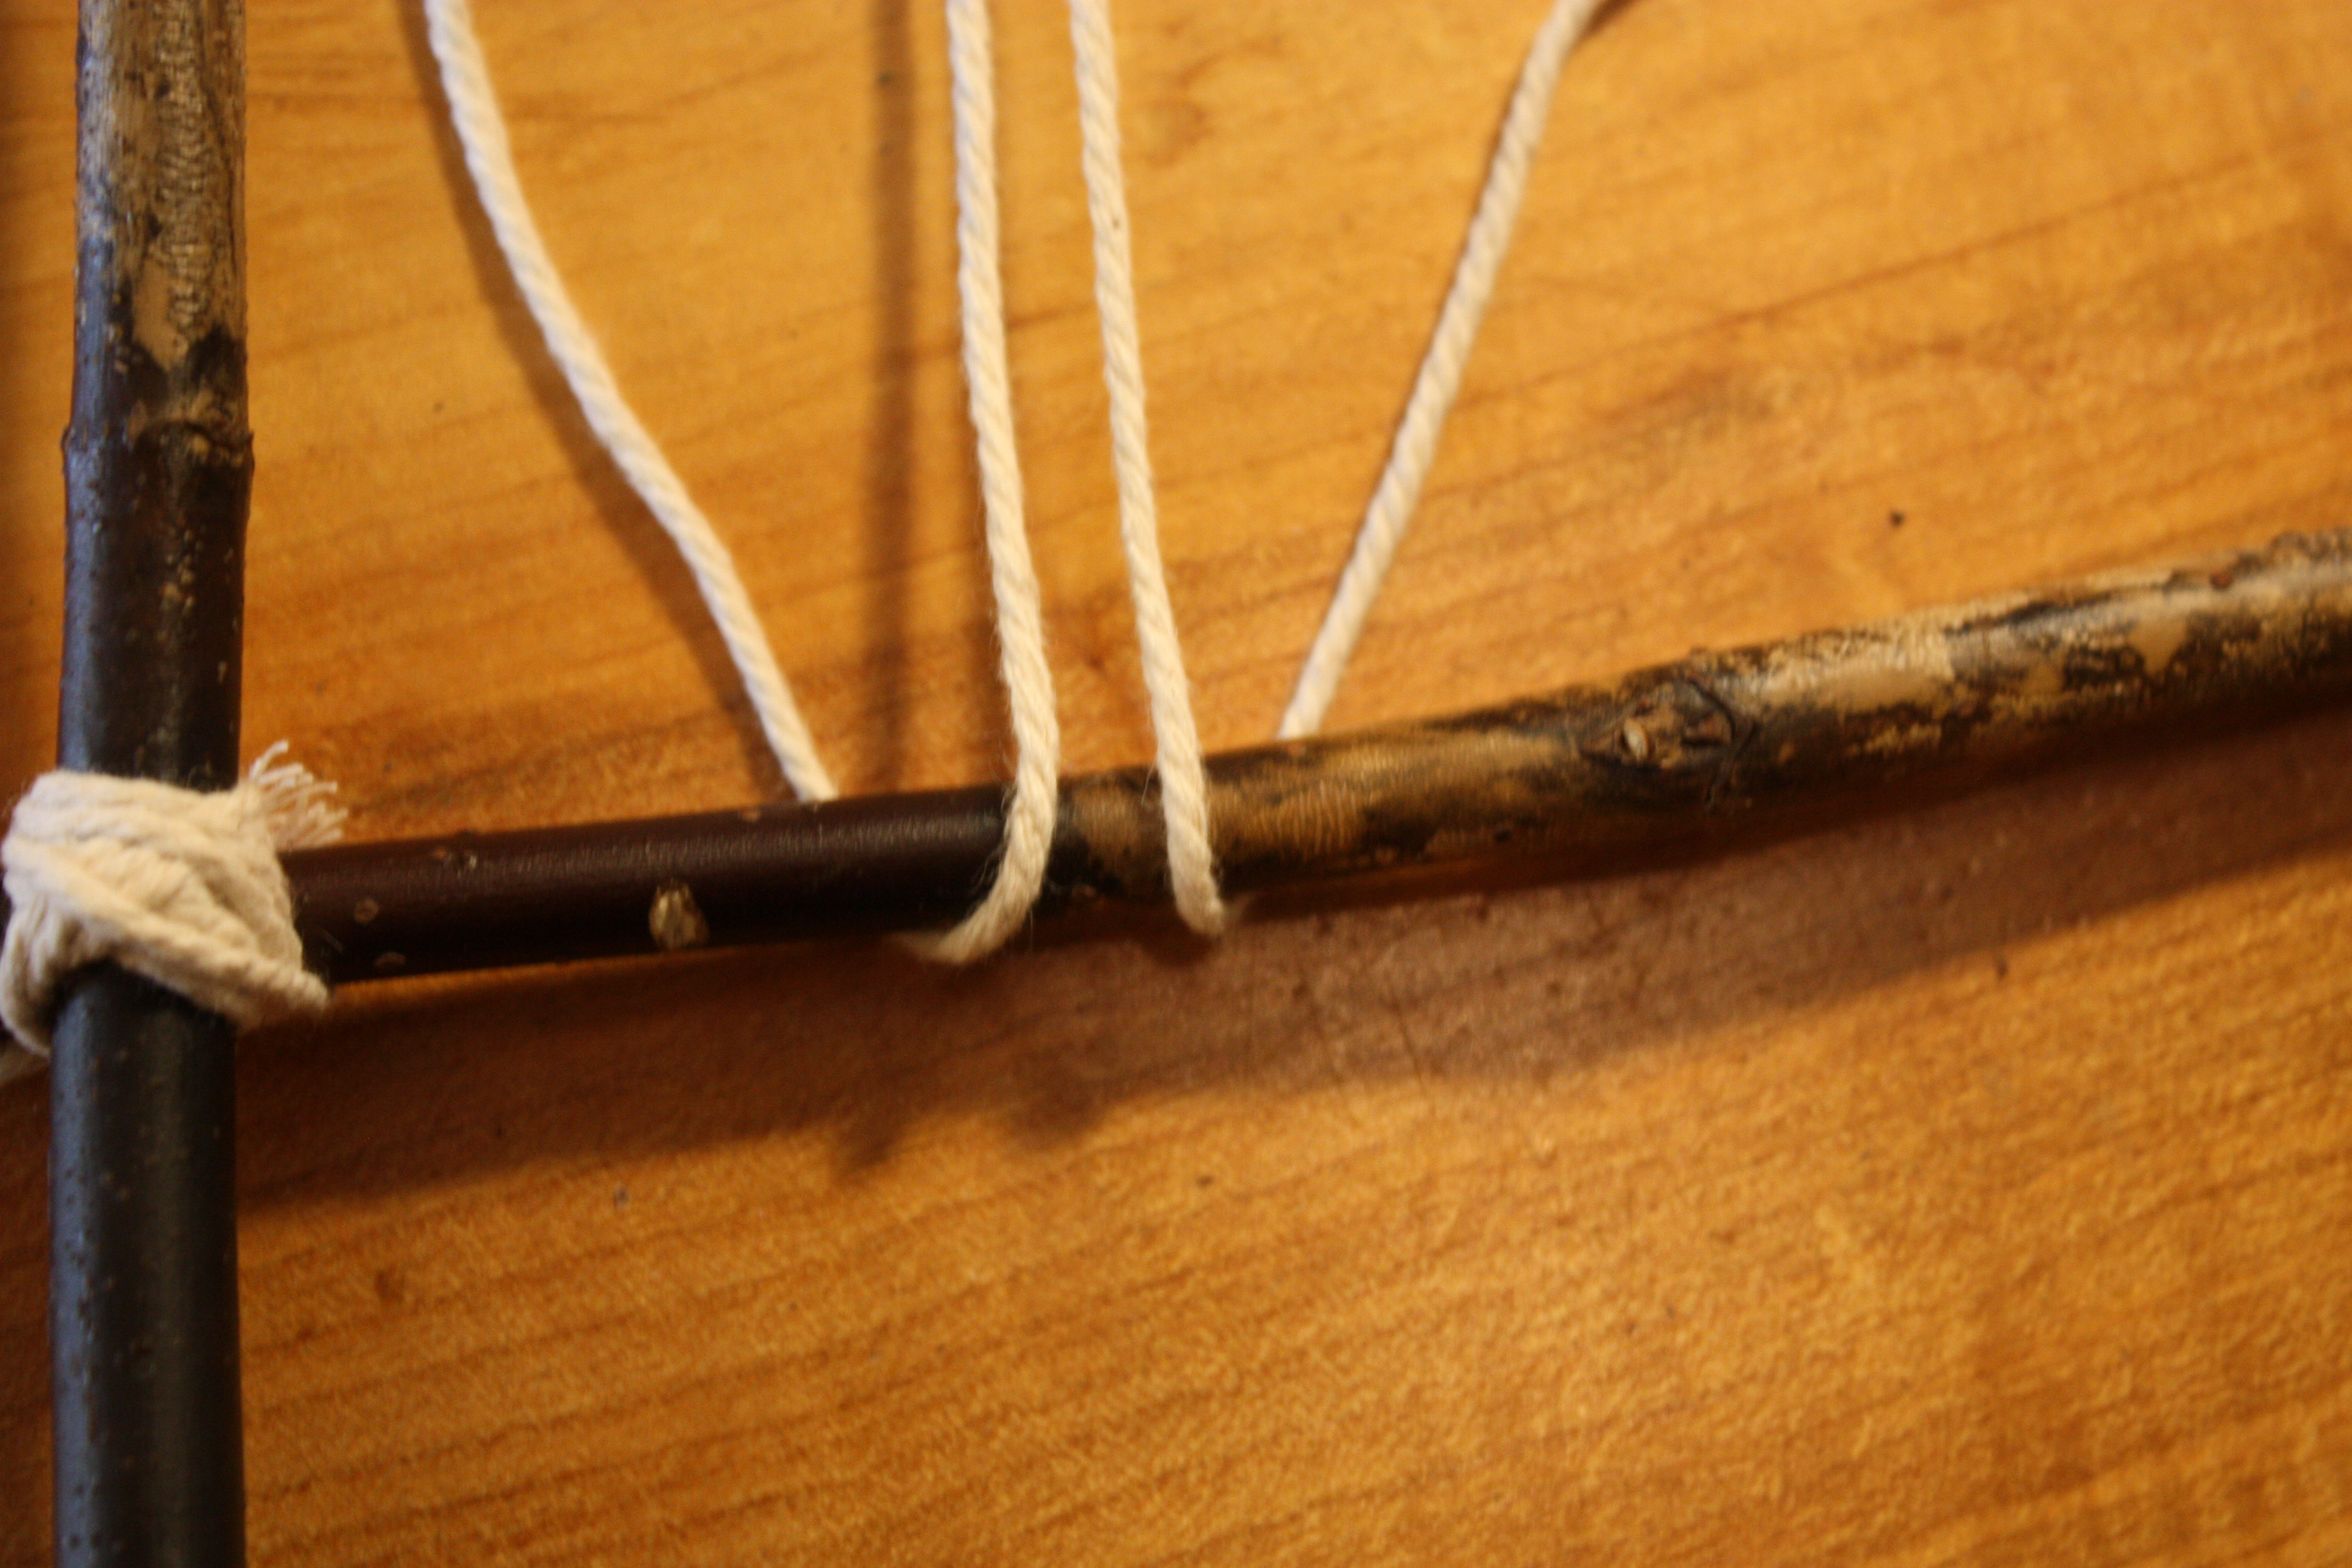
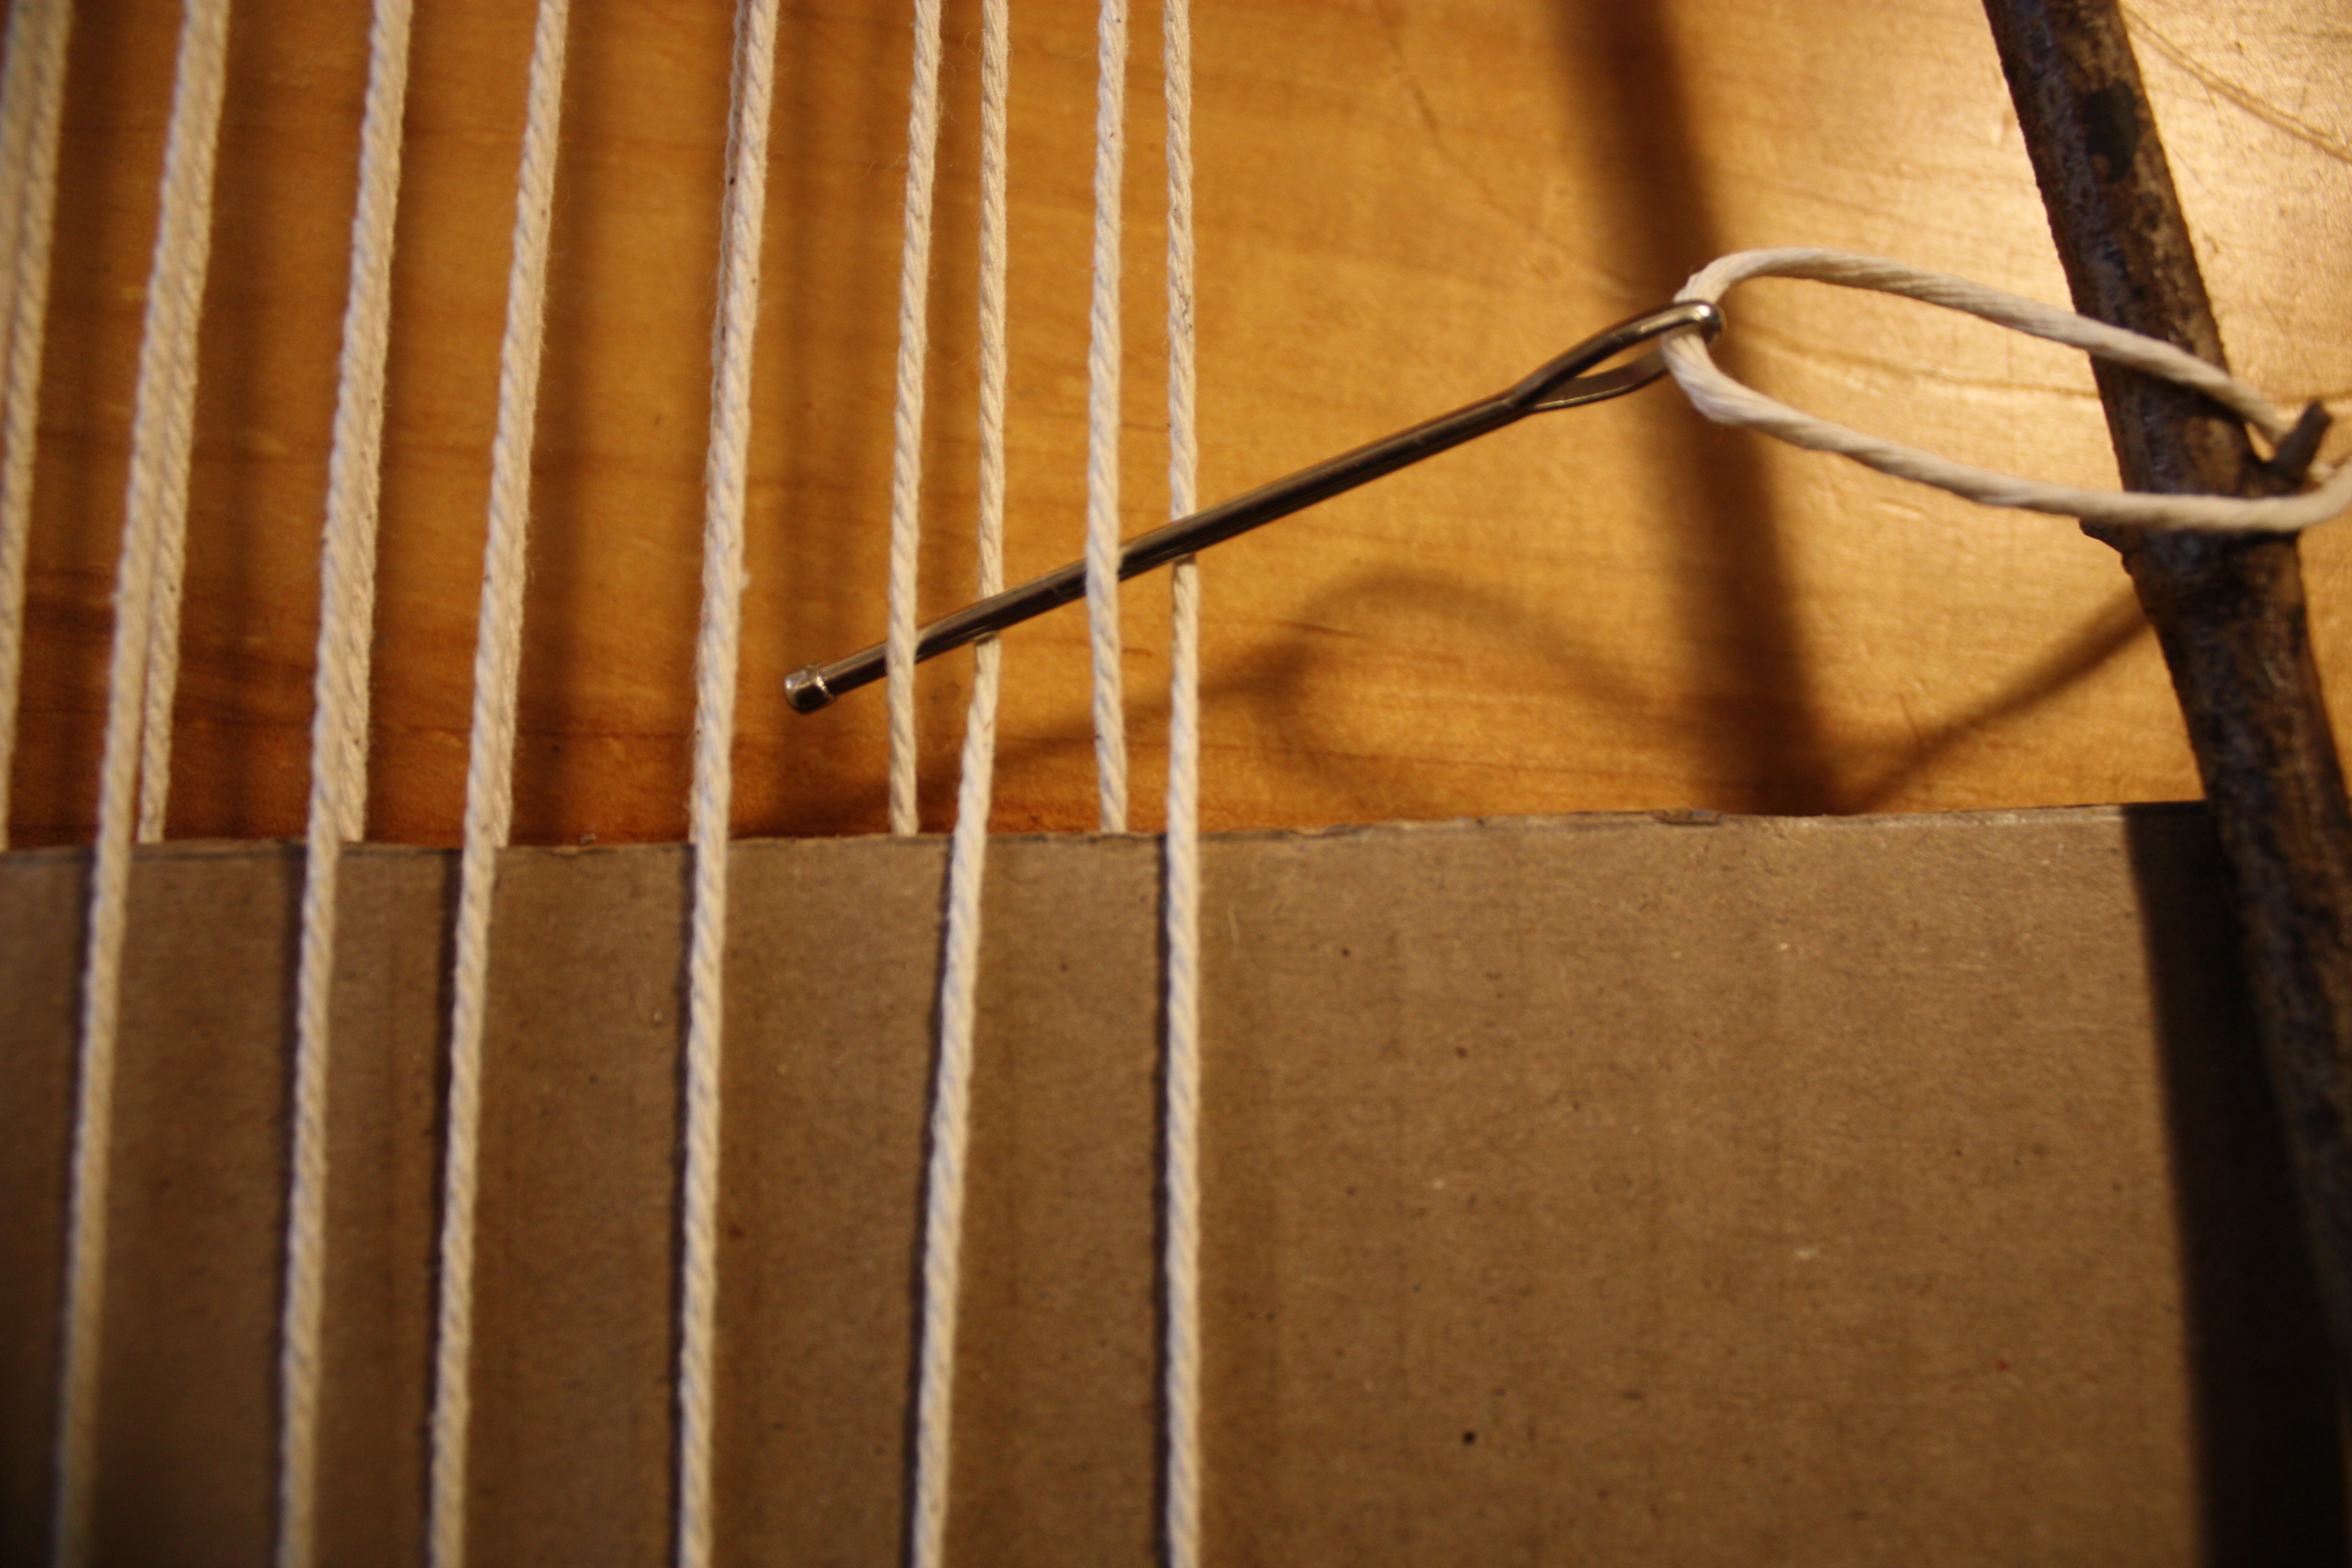
- Measure & cut. Cut each warp thread to twice the frame’s height, plus about two inches extra at the bottom for tying off.[EM4] [AP5]
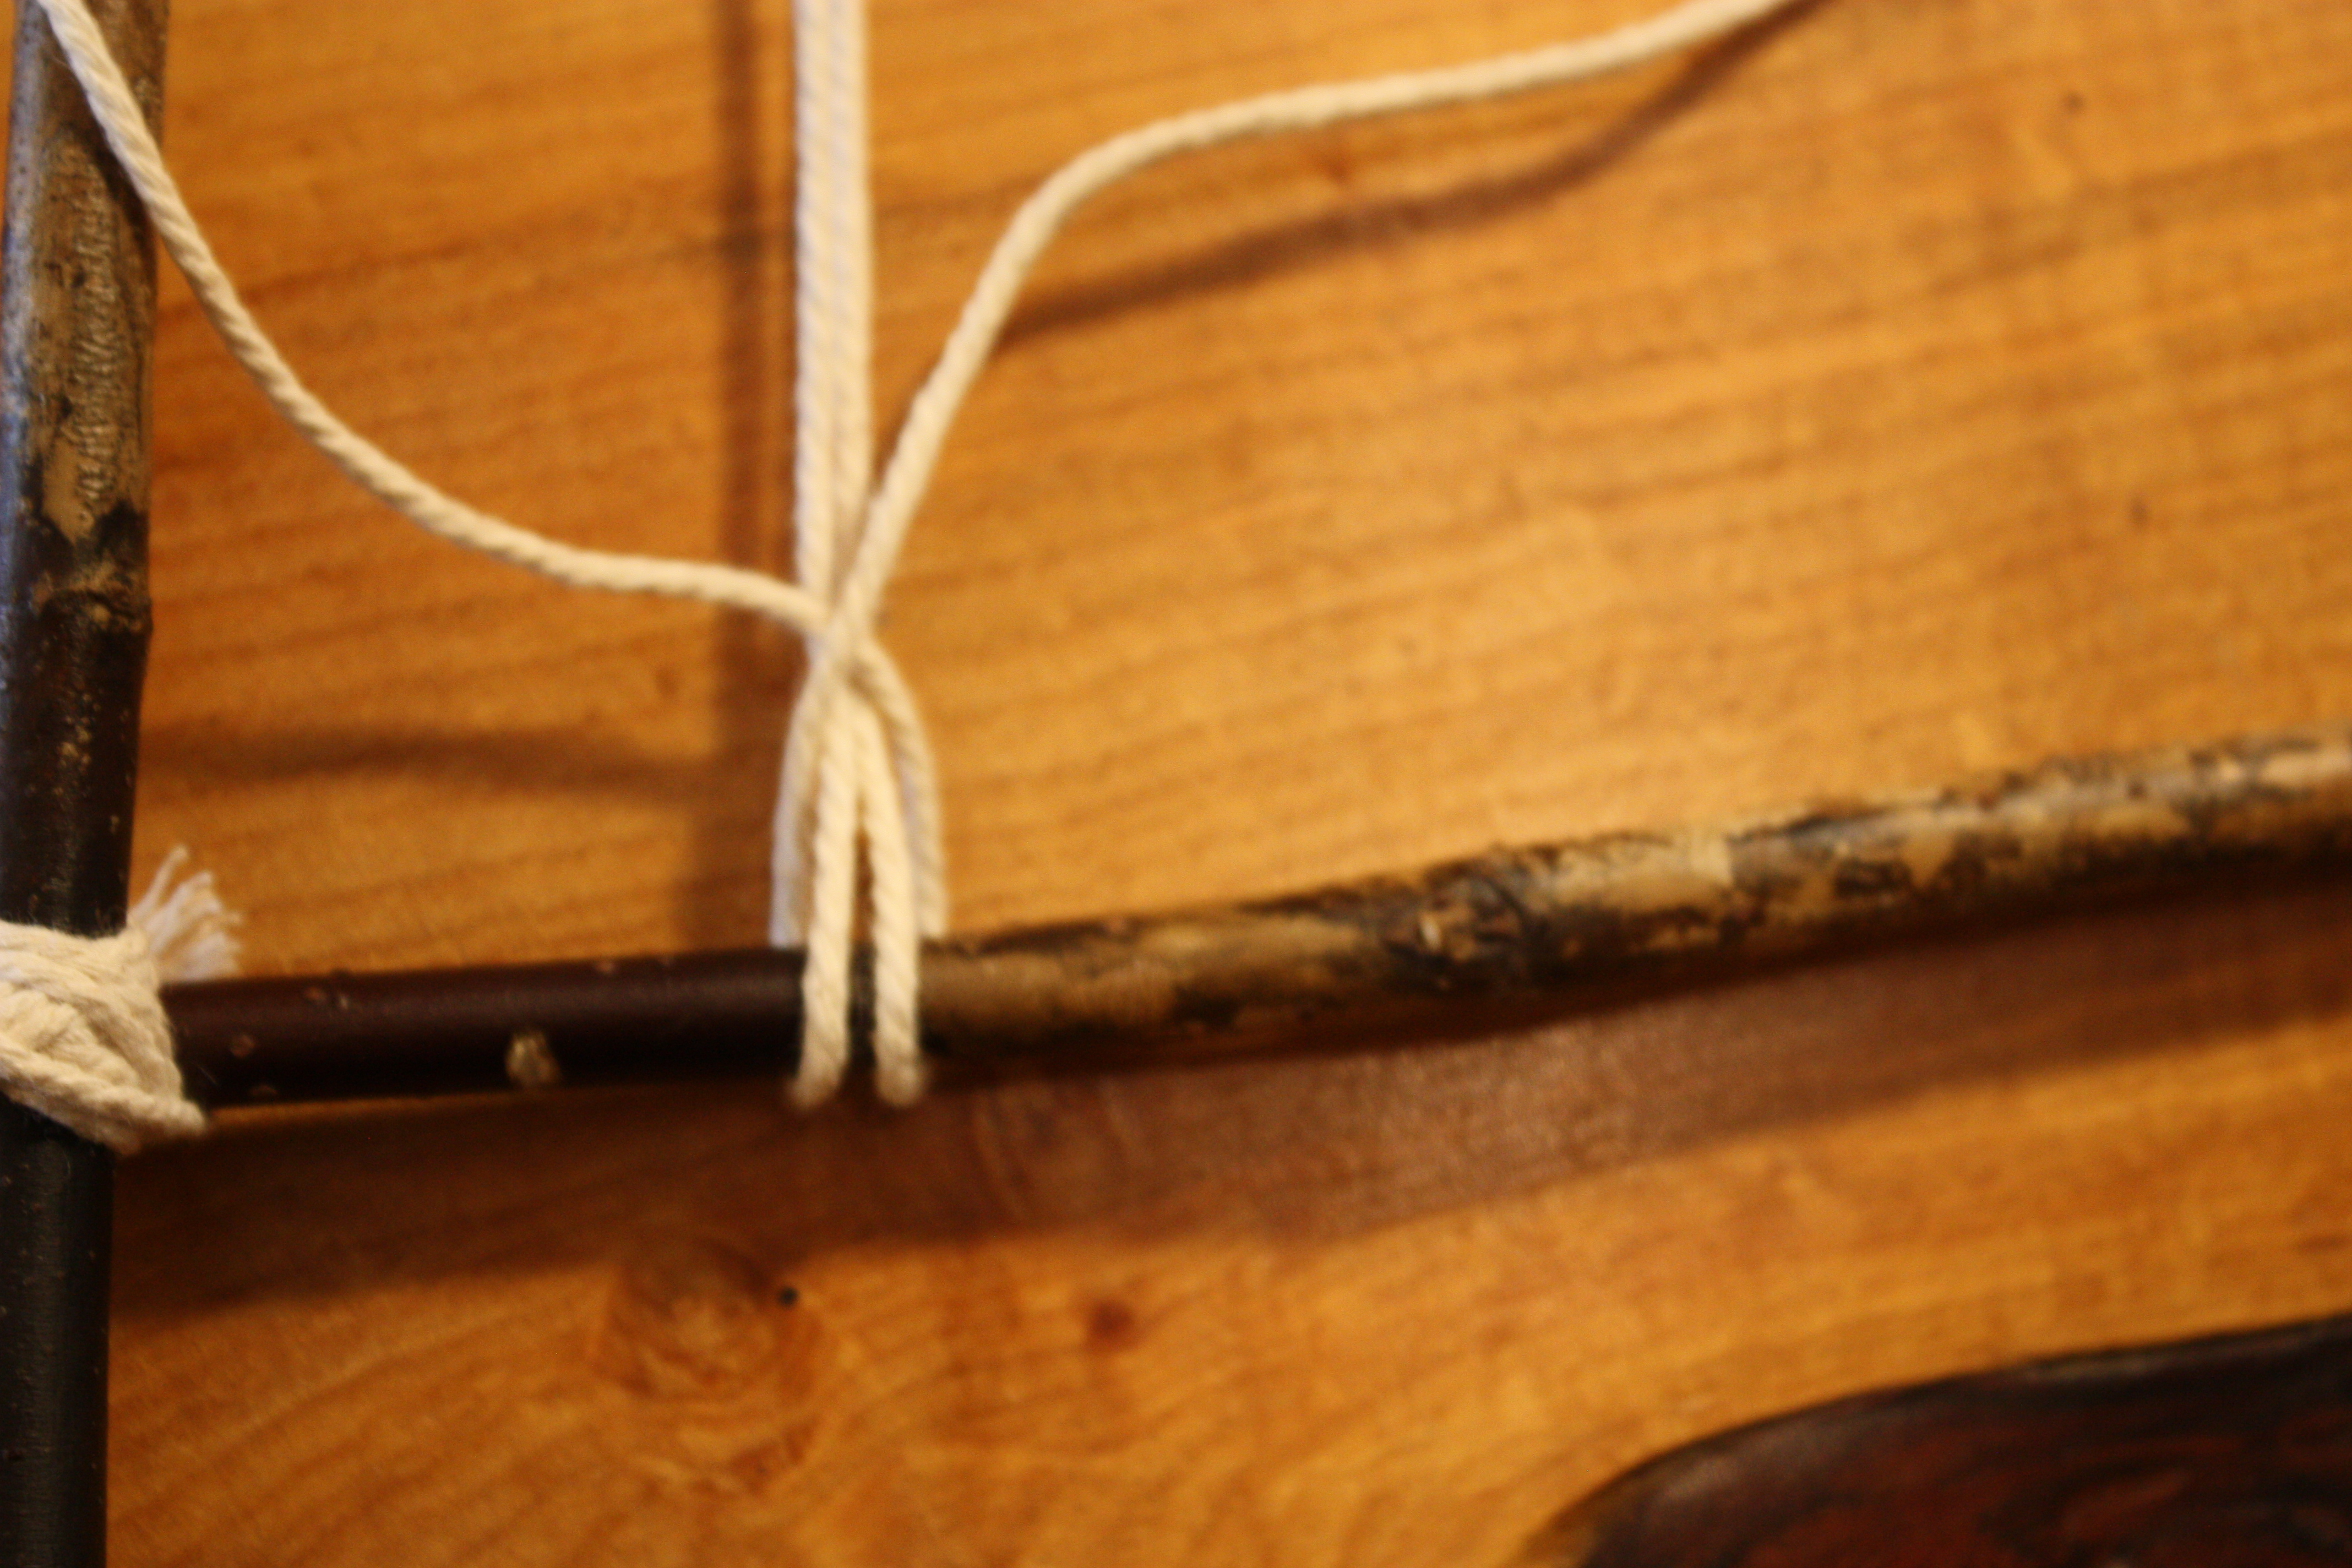
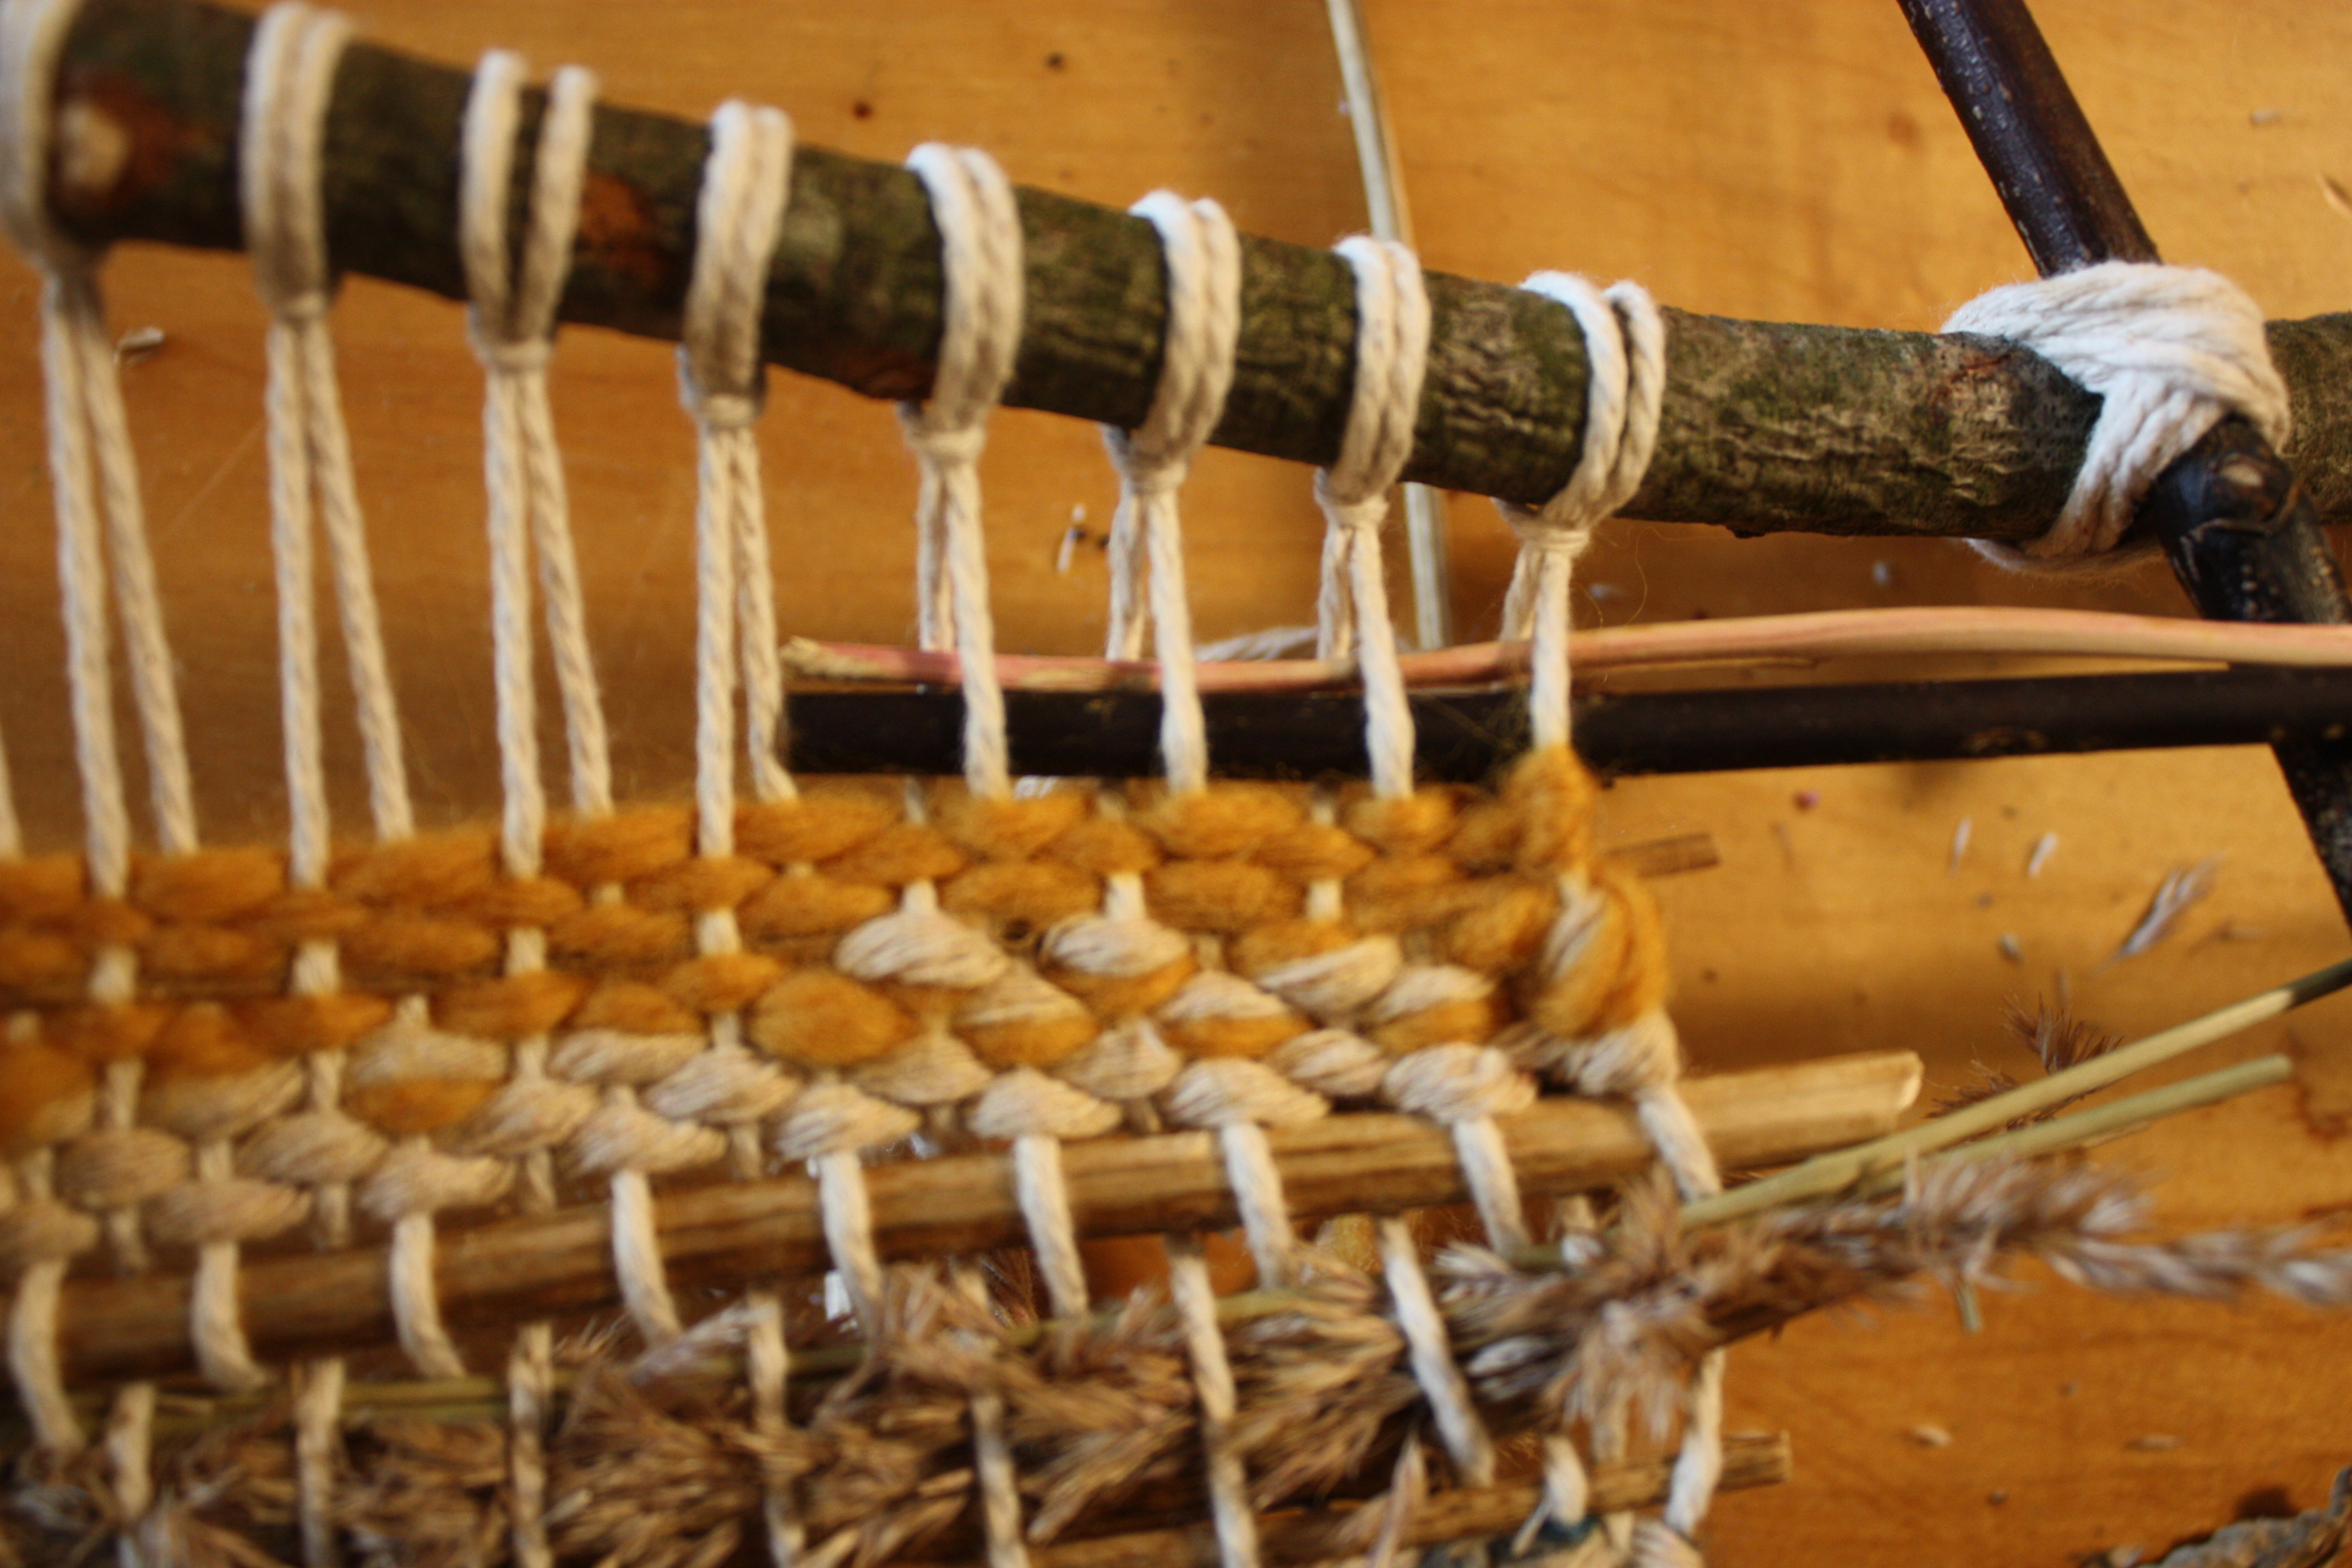
- Attach to the top. Fold the strand in half, loop it over the top branch, and pull the two loose ends through the loop. Tighten securely.
- Tie at the bottom. Knot the loose ends around the bottom branch with the knots facing the back.
- Check tension. The warp should spring back when pressed but not feel overly tight. It will firm up as you weave.
- Spacing. Repeat every ¼ inch until the frame is fully warped, then trim excess string on the back.


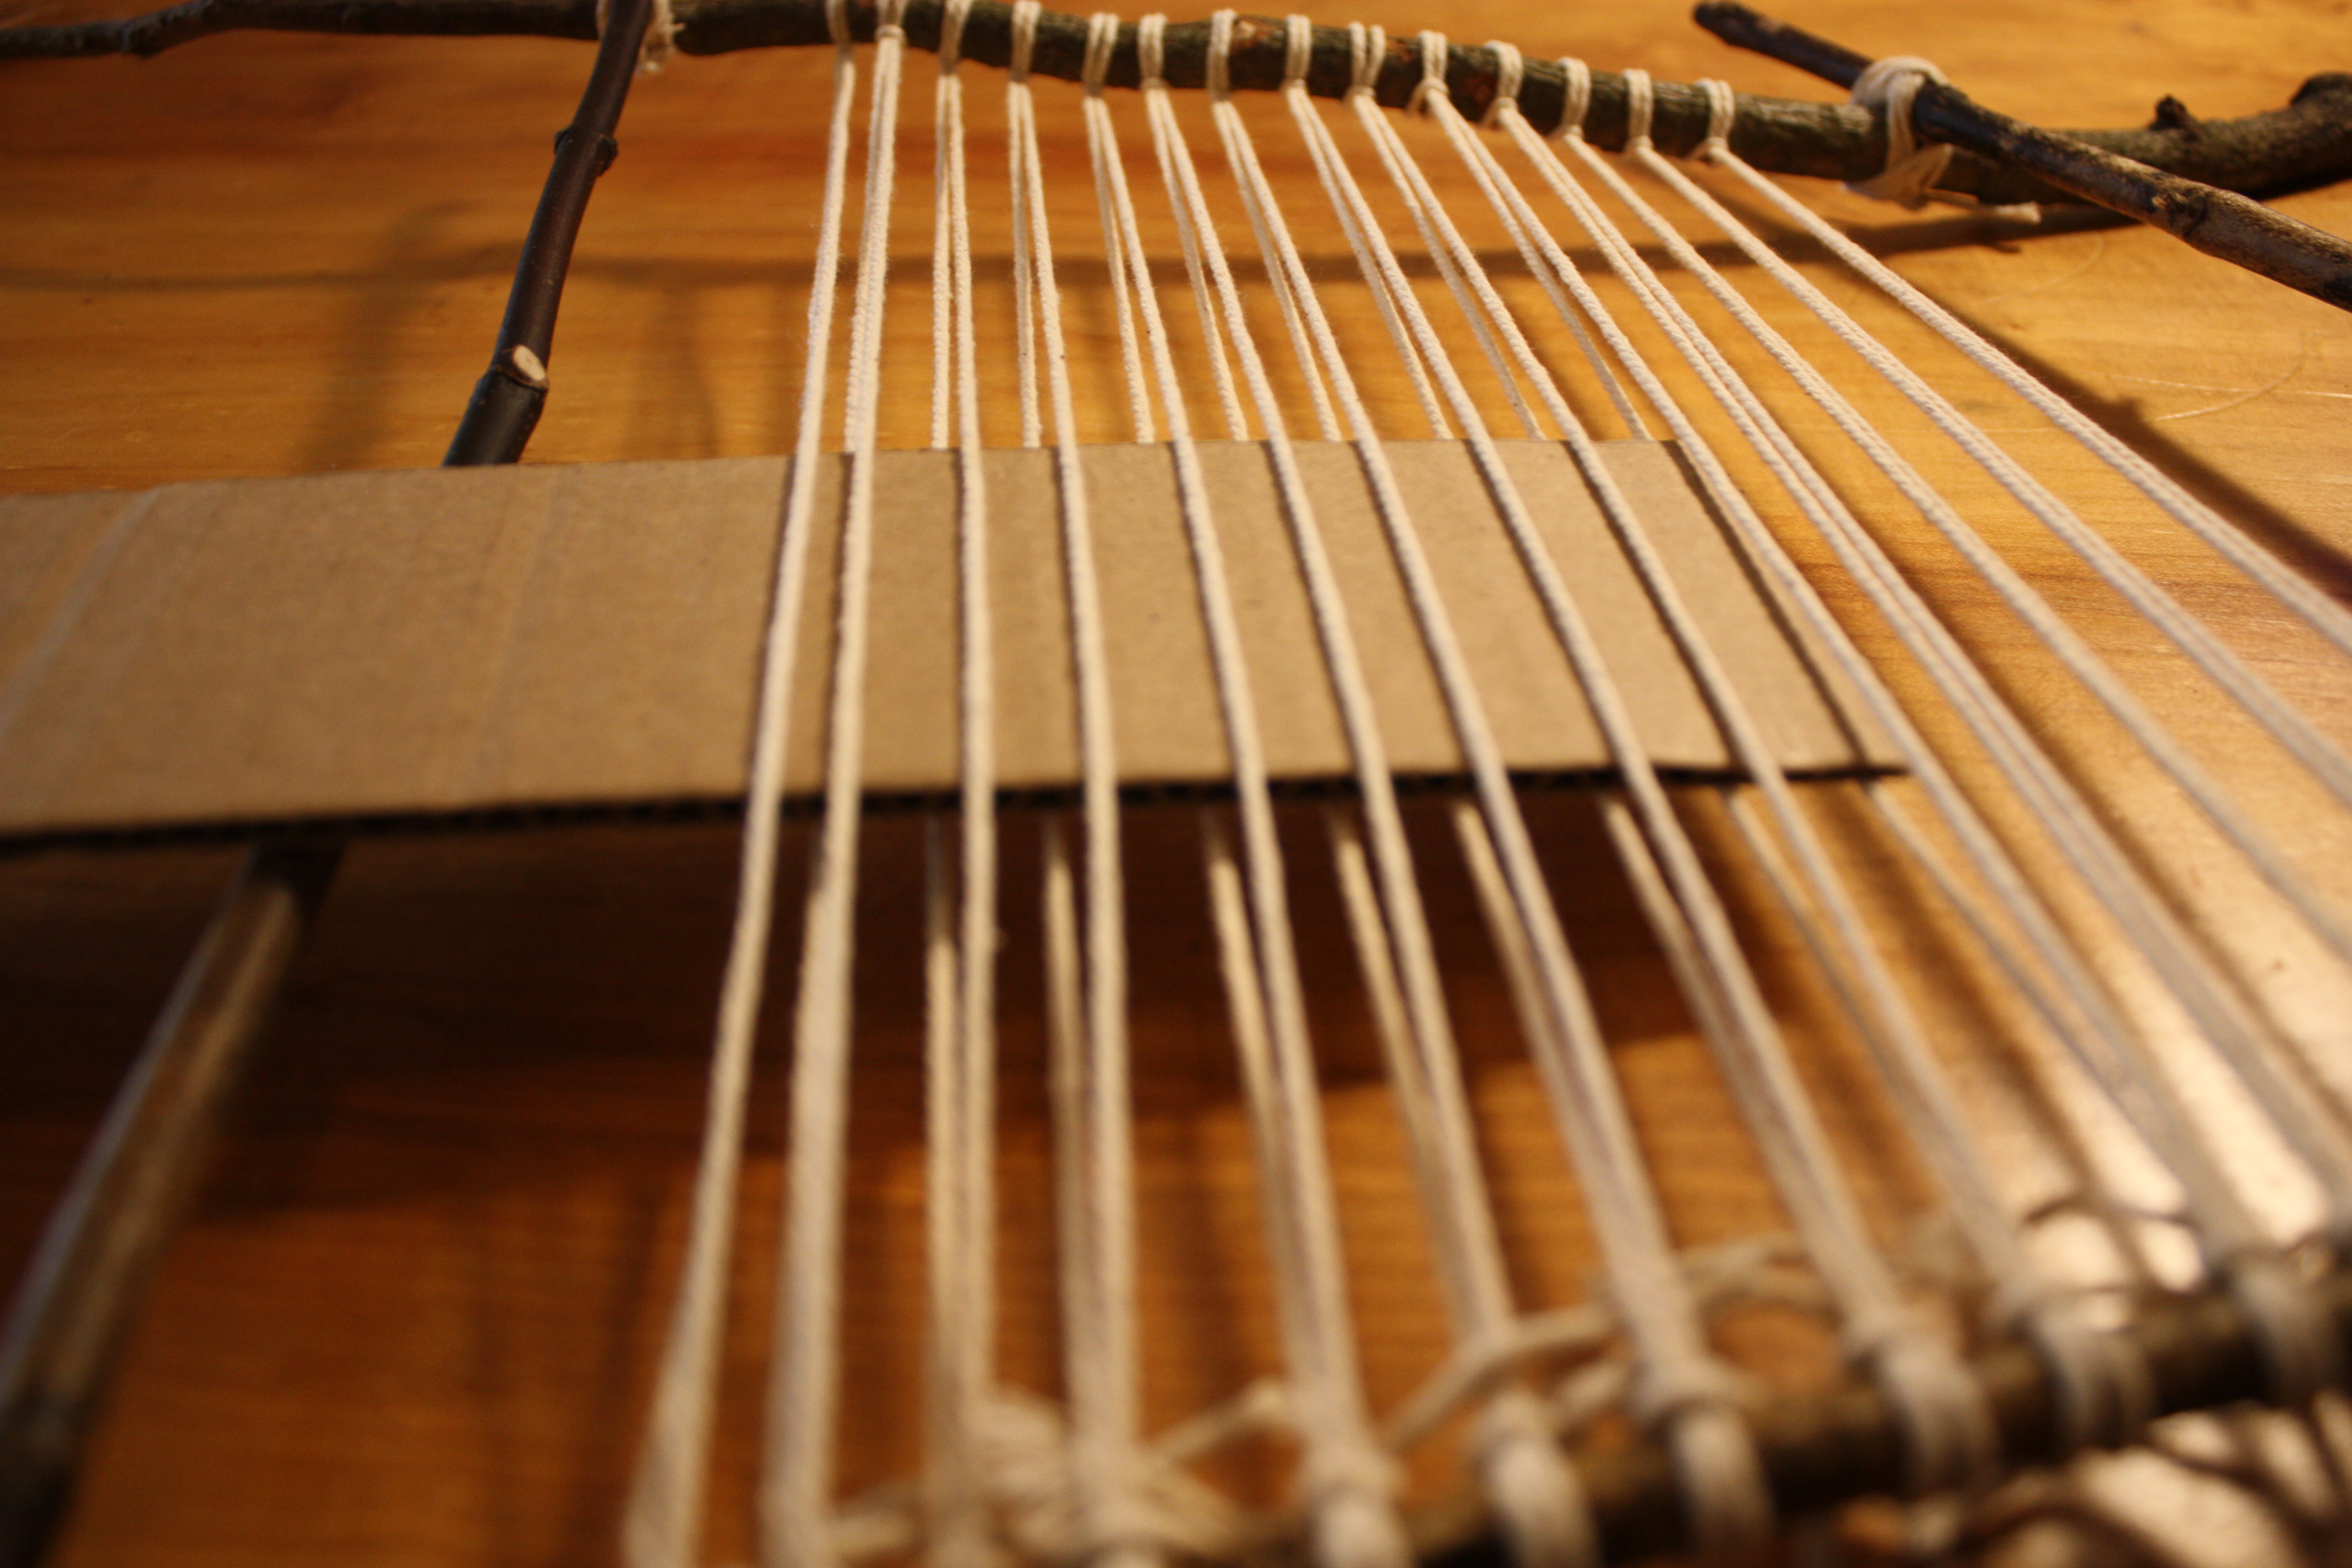
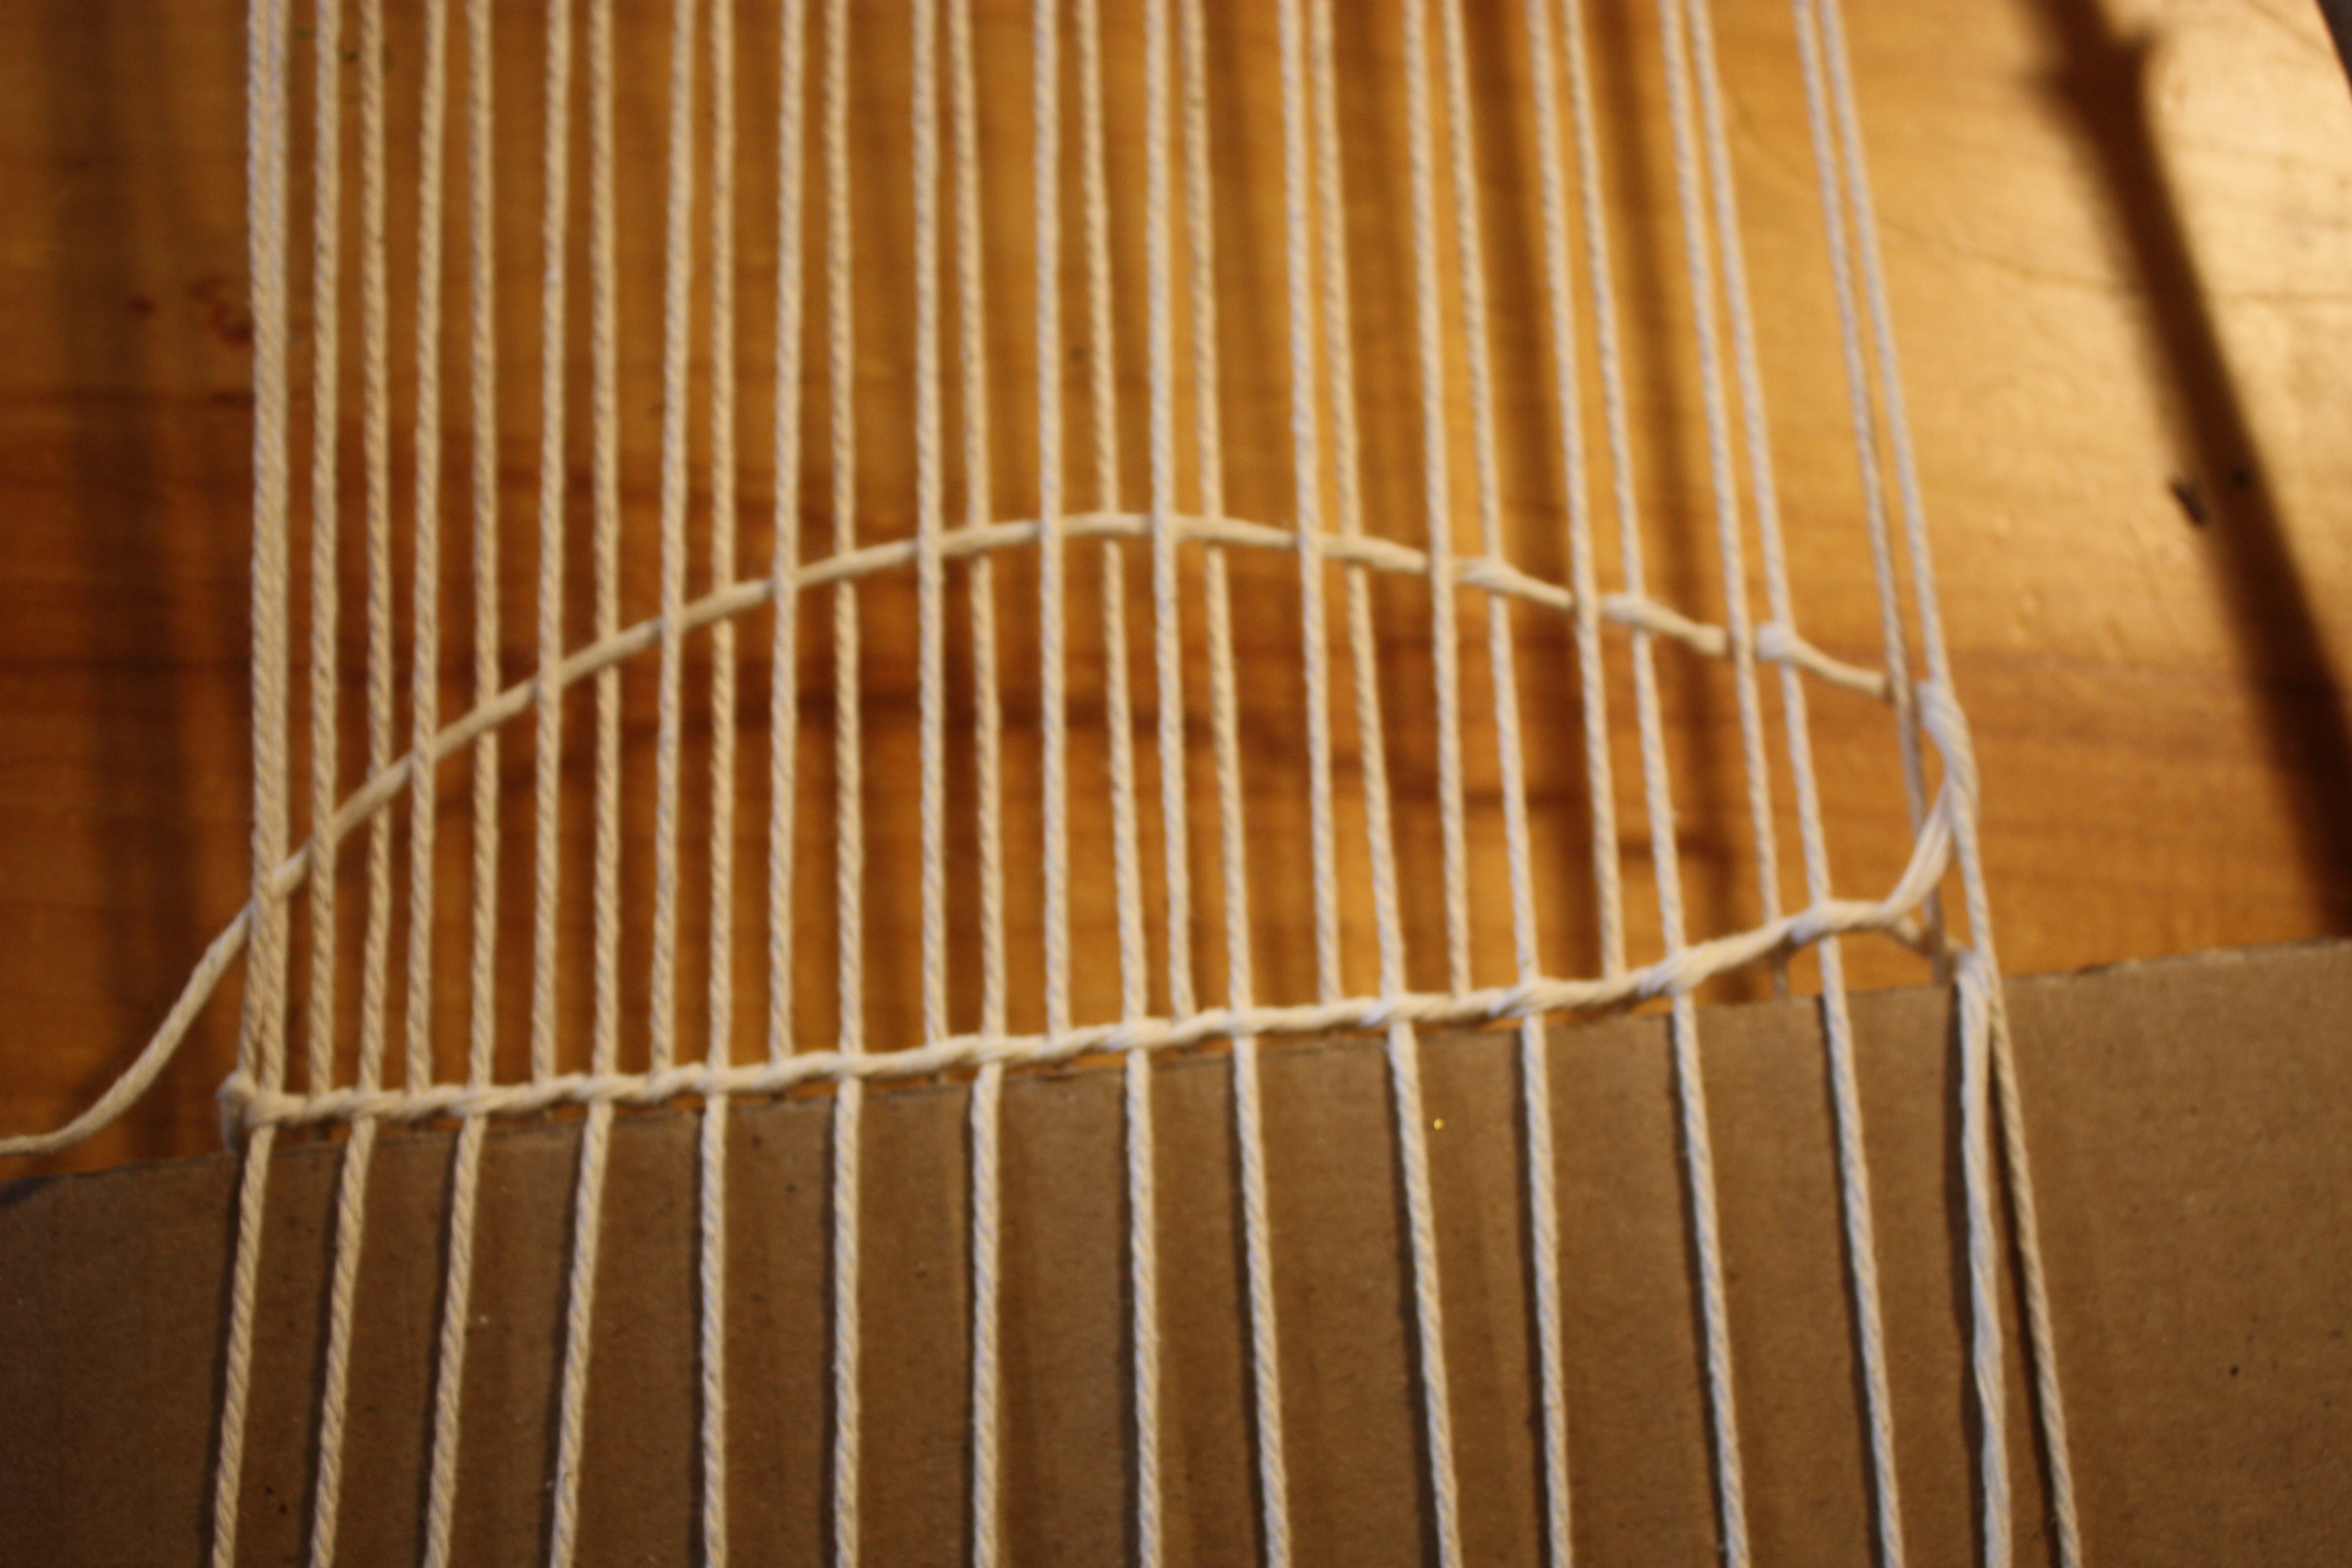
Step 3: Add a Firm Base
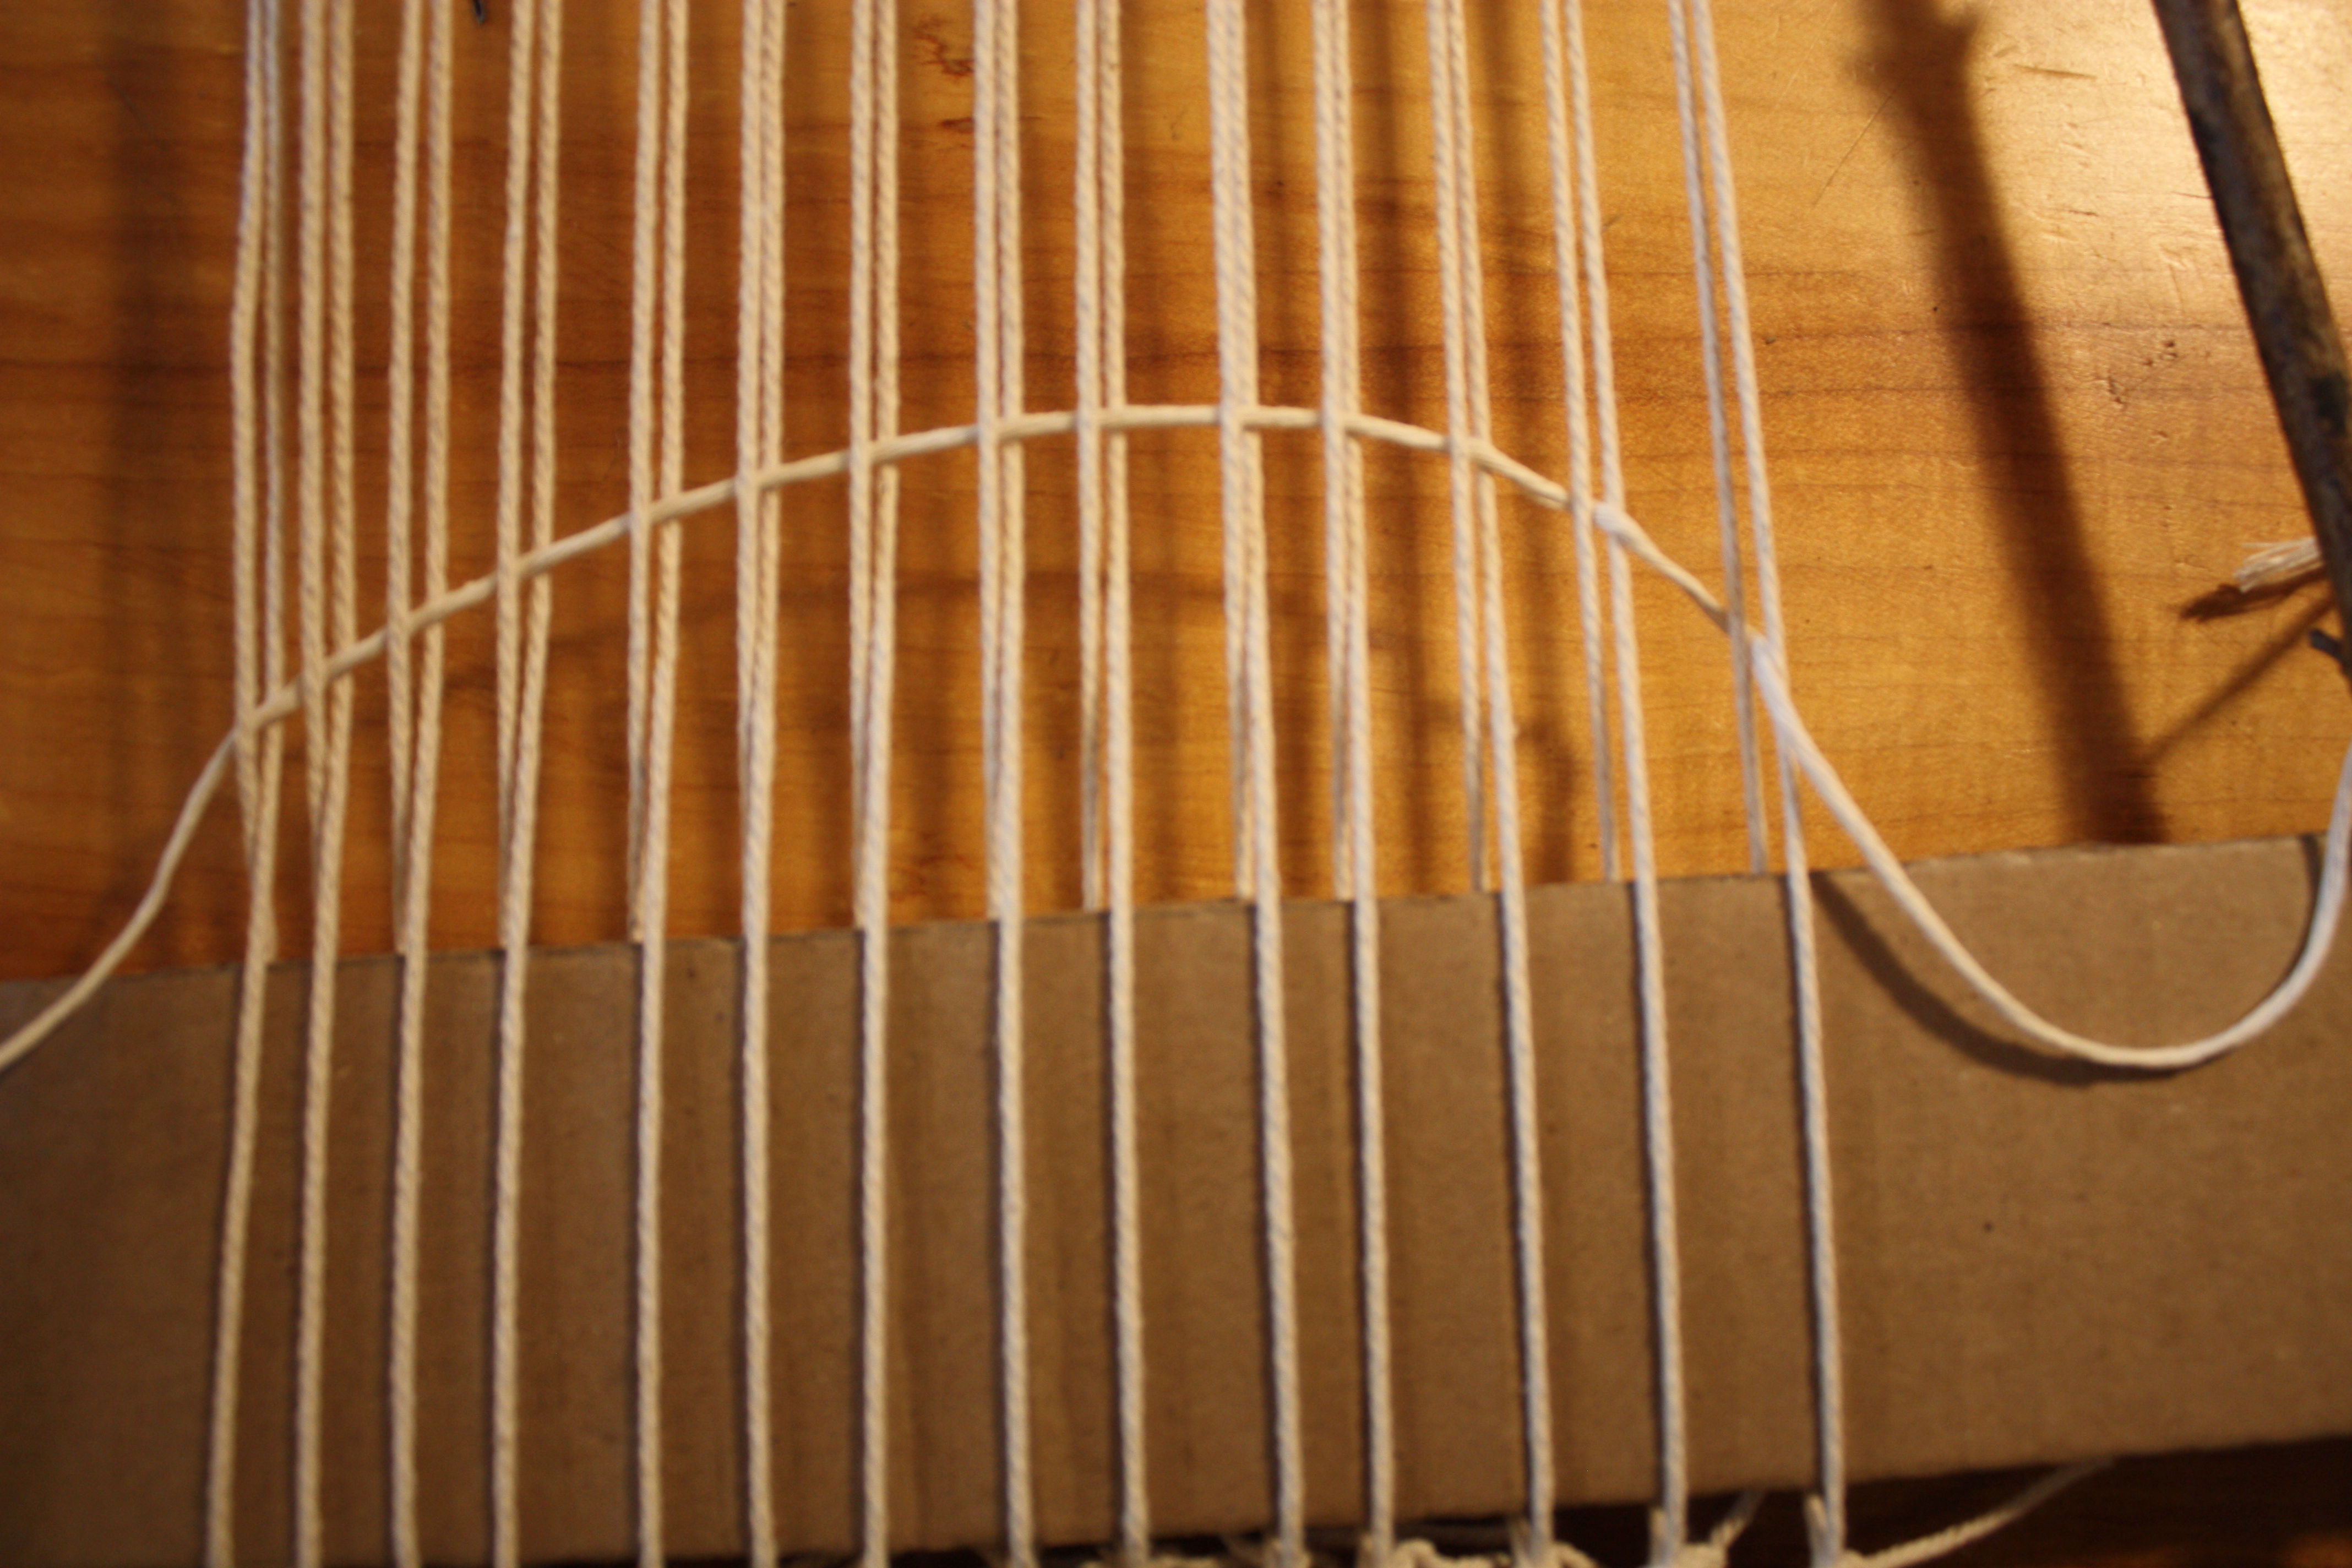
- Prepare the base. Cut a strip of sturdy cardboard or cardstock about the width of your loom and two and a half inches tall.
- Weave the strip. Thread it across the warp in a plain weave pattern (over one warp, under the next, repeating). This creates a steady foundation, allowing you to press materials down evenly and helping the piece hold its shape. If needed, gently lift each warp string to guide the strip through.

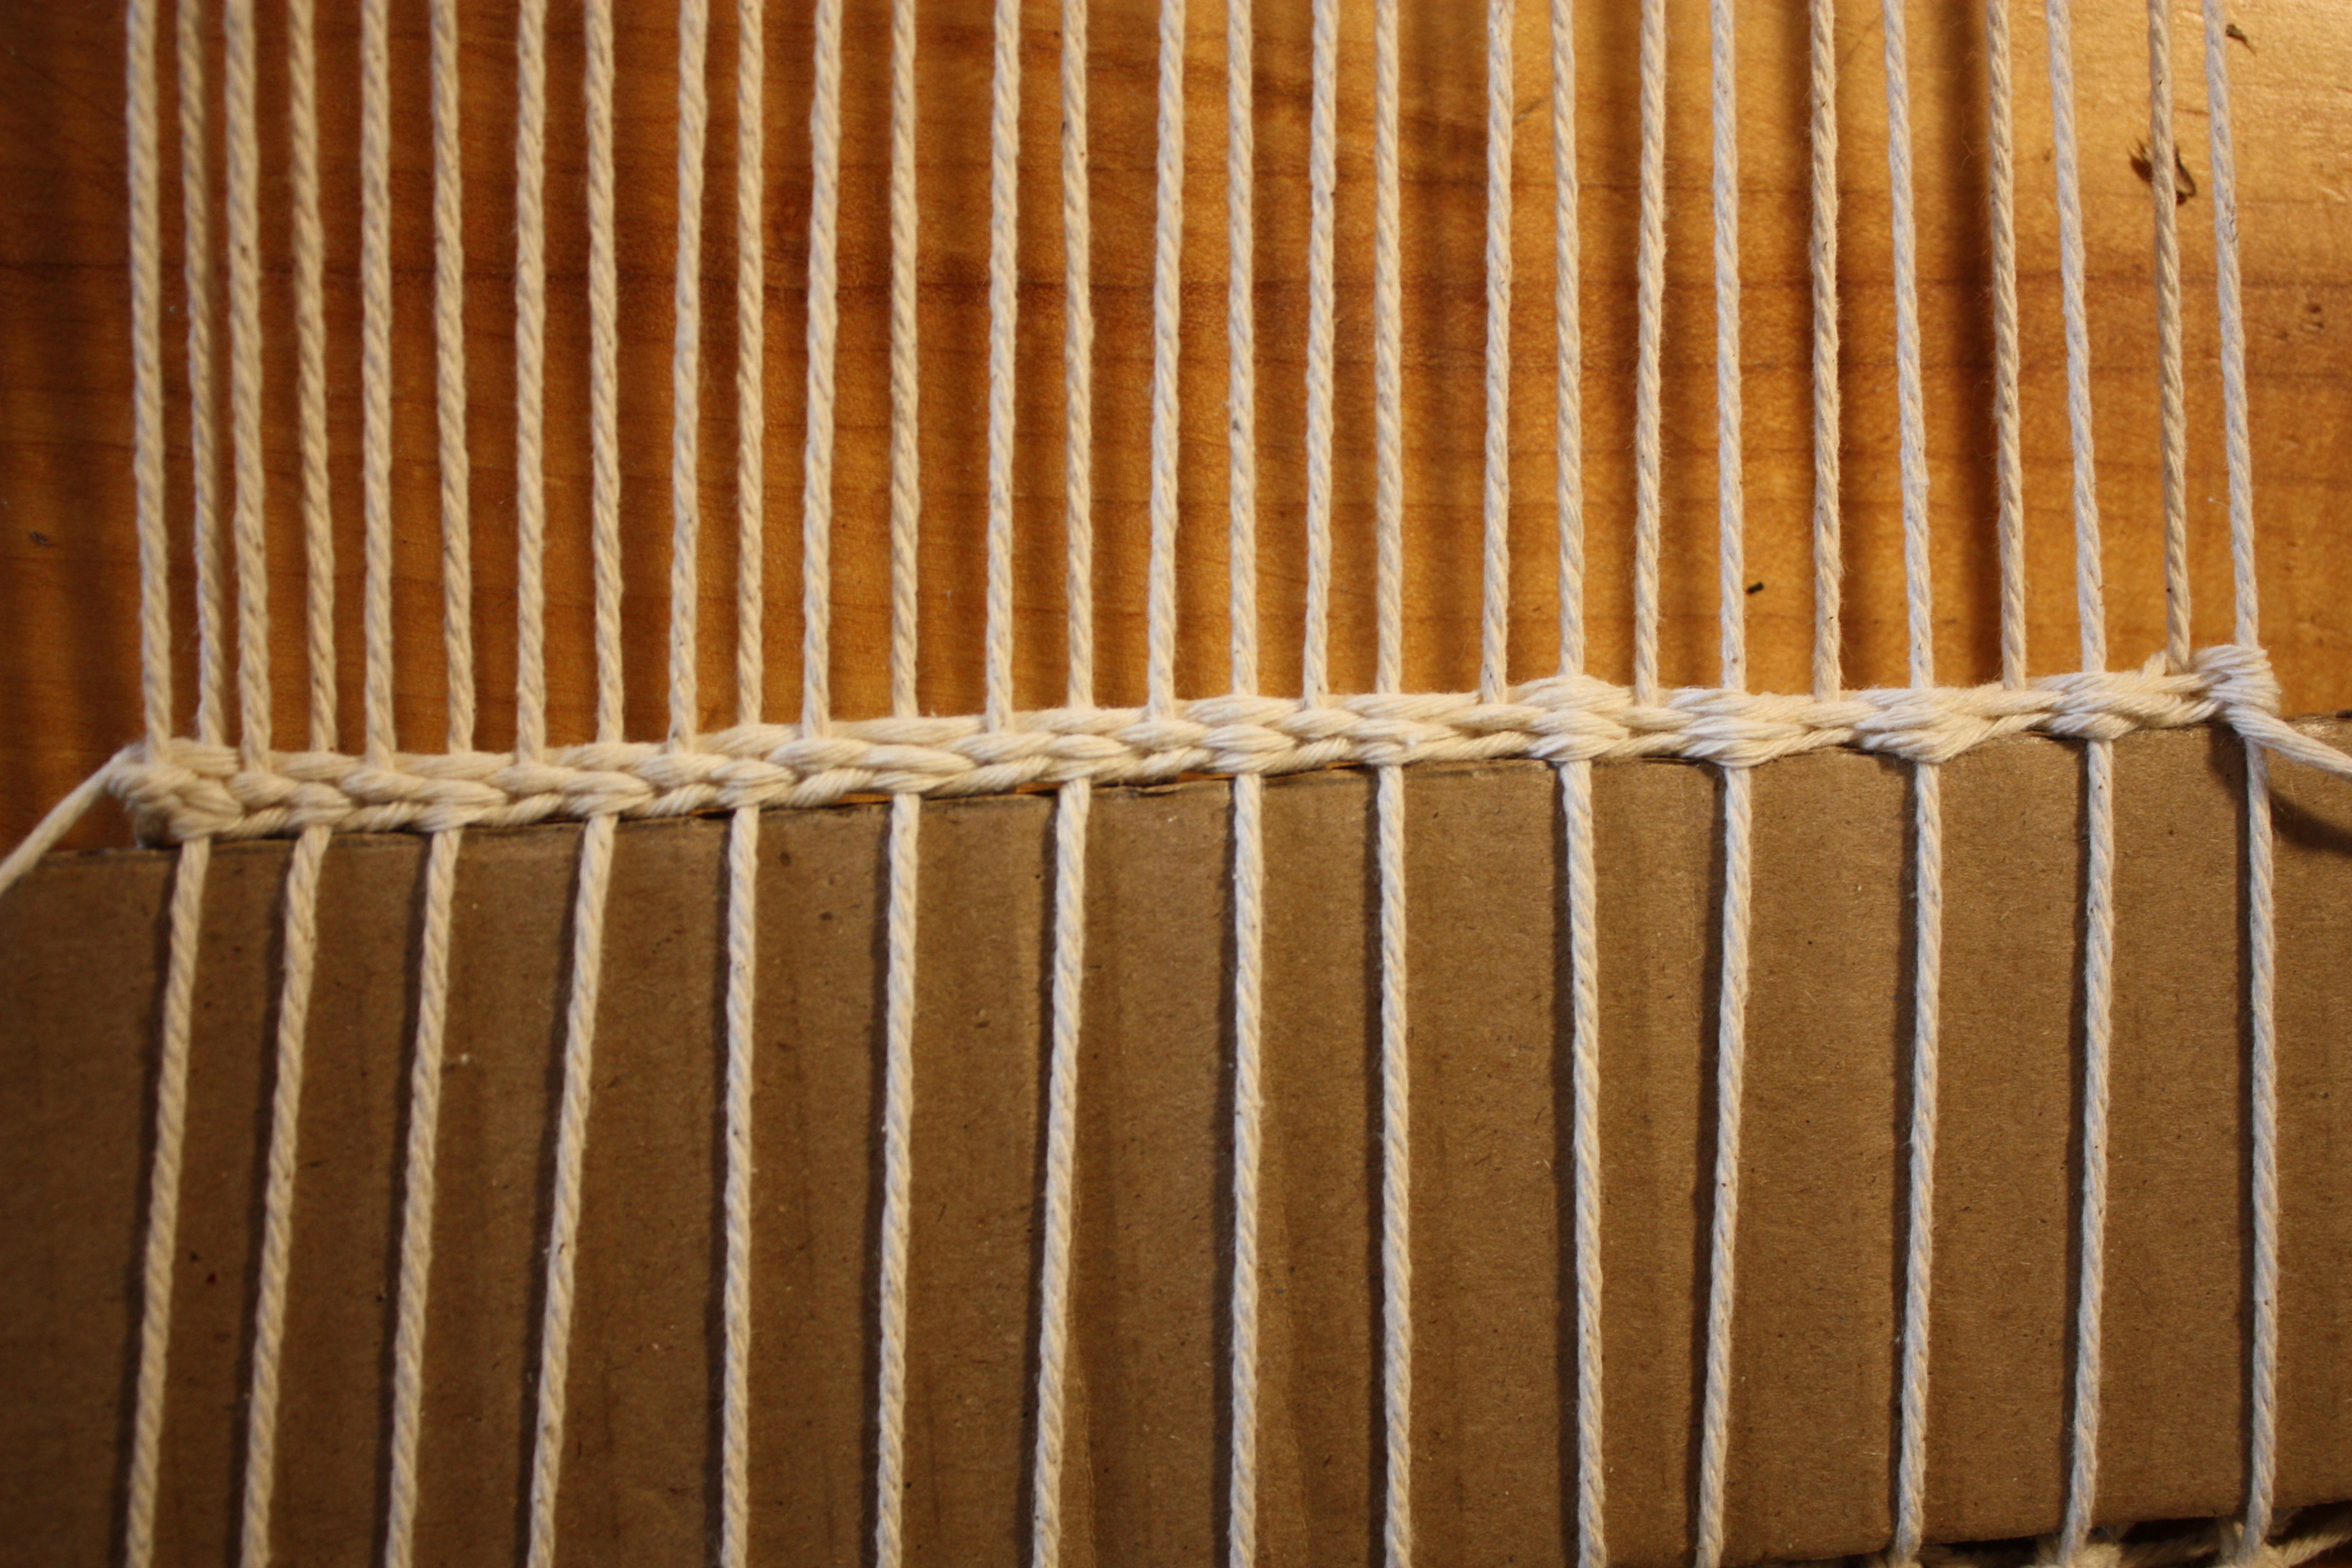
Step 4: Foundation Rows (Plain Weave + Twinning/Twisting Stitch)
First plain-weave row (weft string).
- Start the first row. Thread your needle with a single strand of yarn measured at about twice the width of the frame, plus a little extra so it stays secure in the needle and can double back later. Weave it across the warp in plain weave, starting in the opposite over–under pattern to the cardstock row beneath (e.g., if the cardstock began “over,” start your yarn “under”).
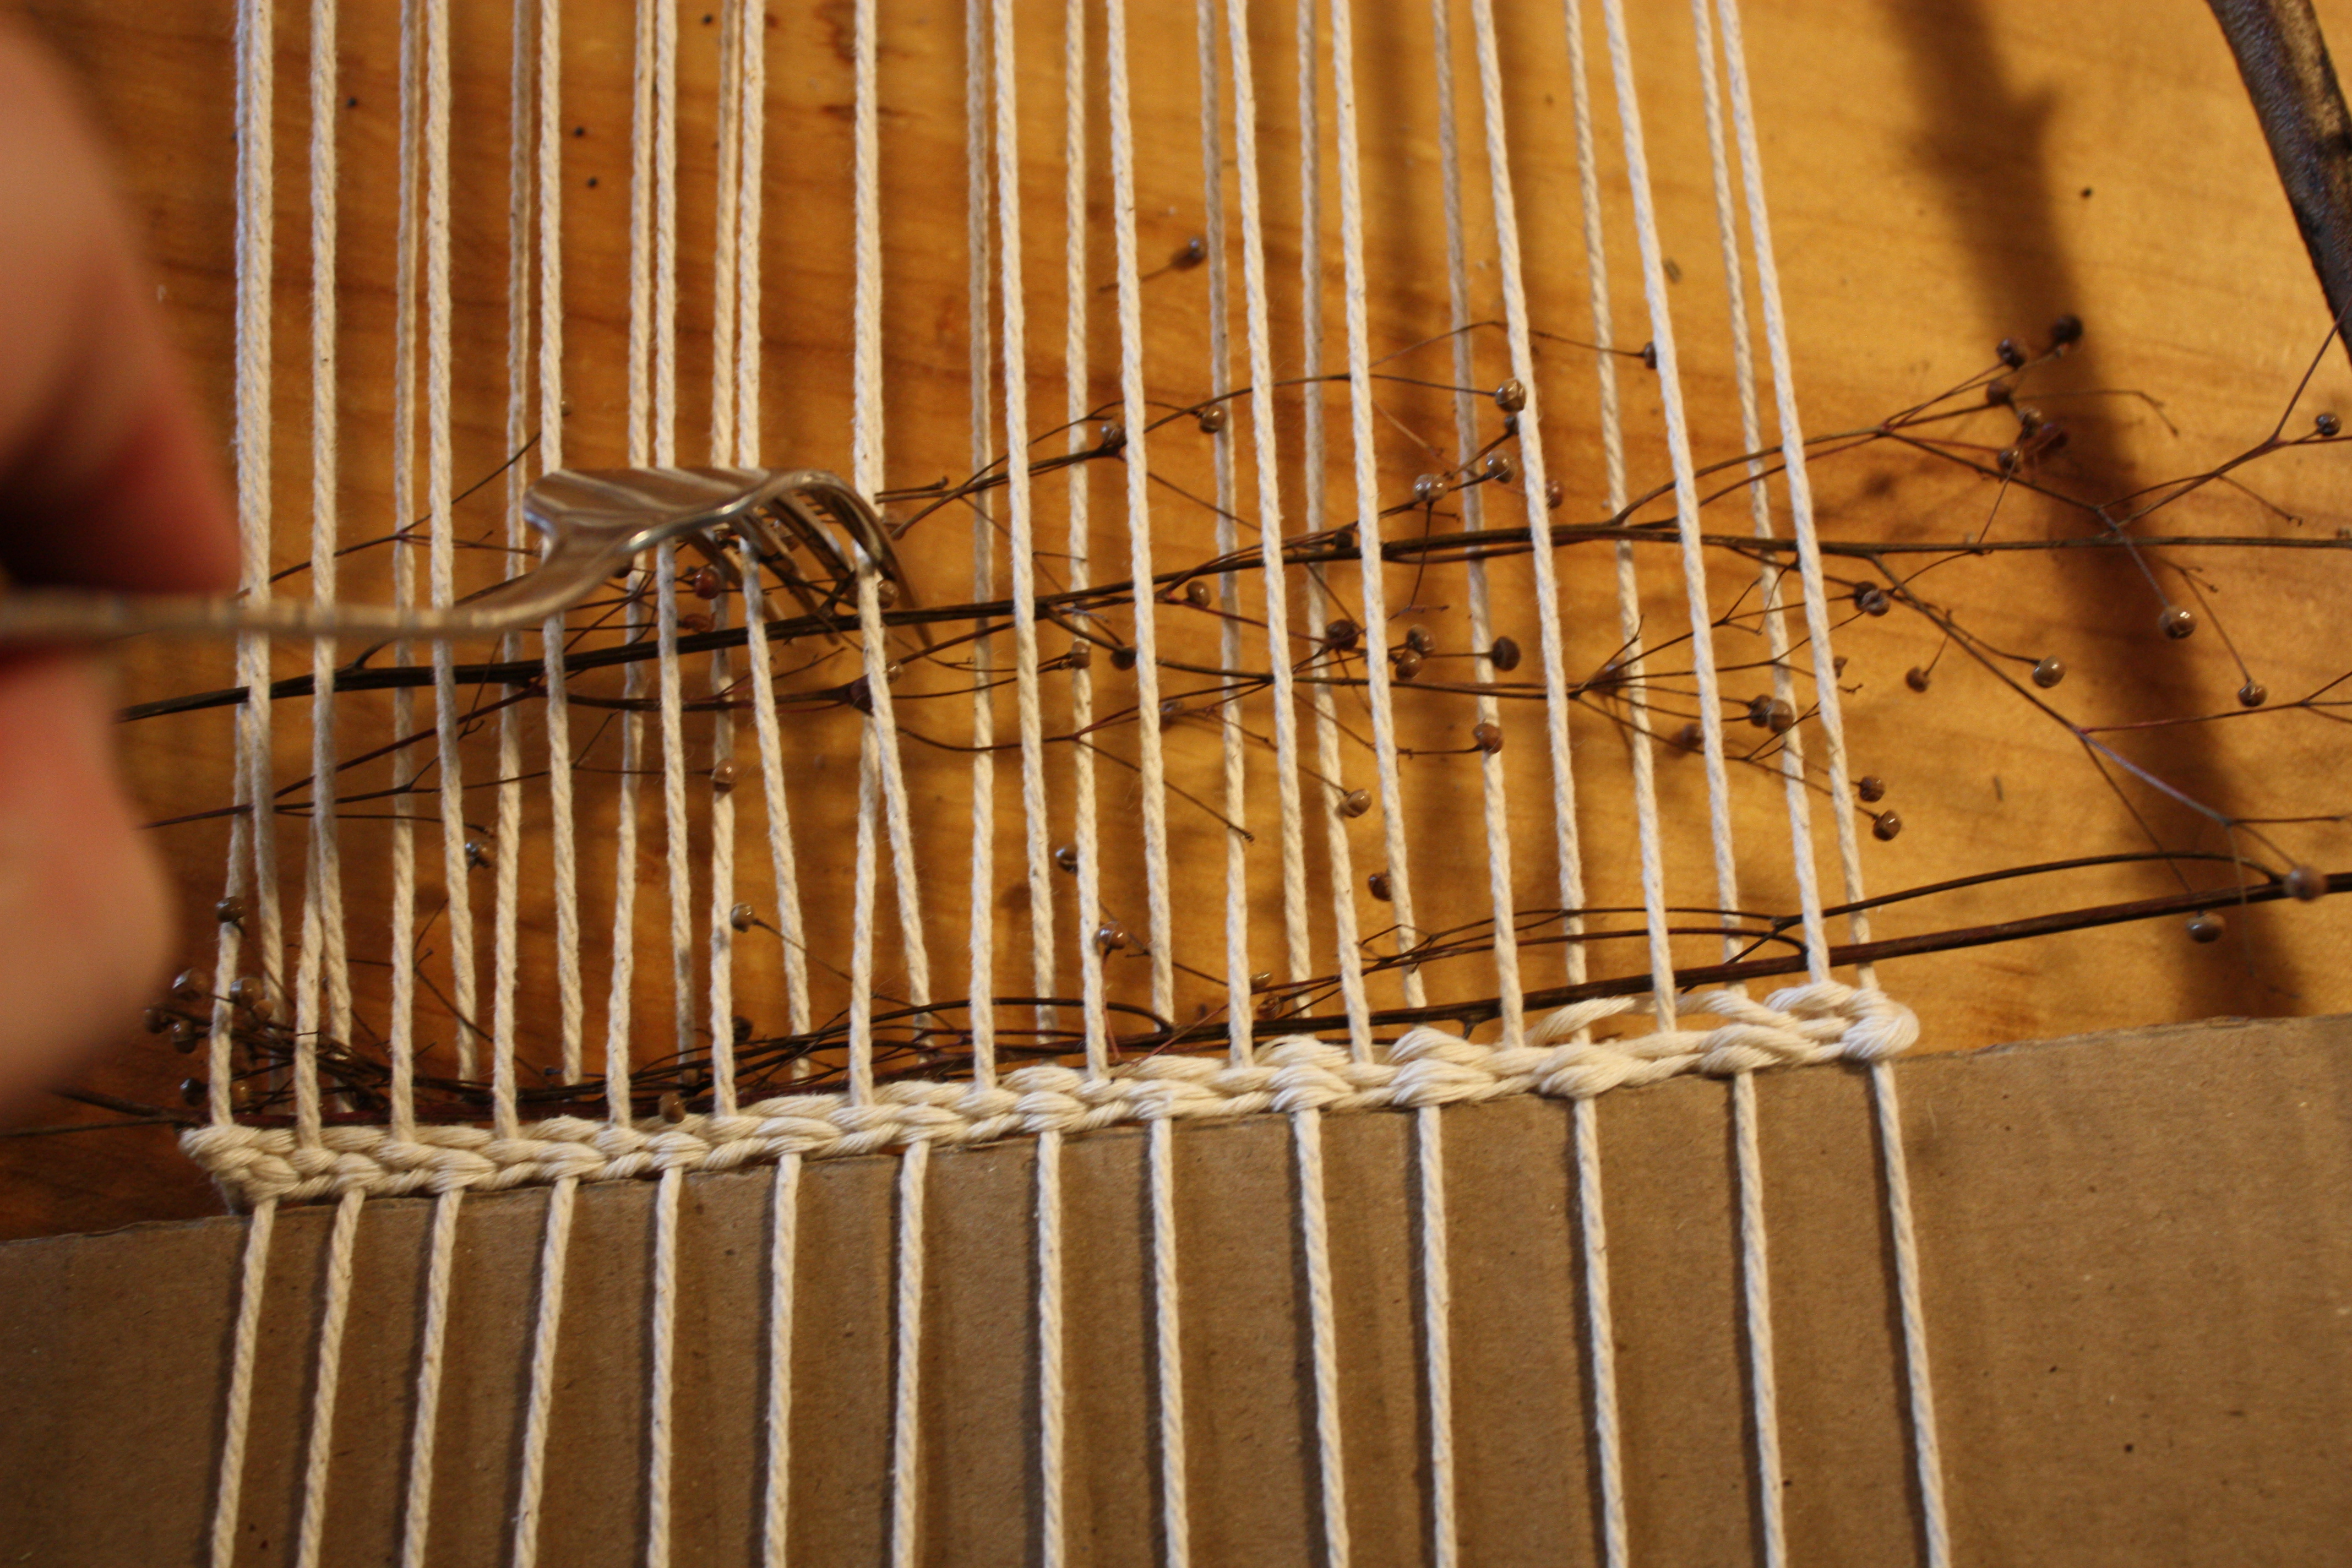
- Pack down and adjust. Use a fork or comb to pack the row firmly and adjust any drifting warps.

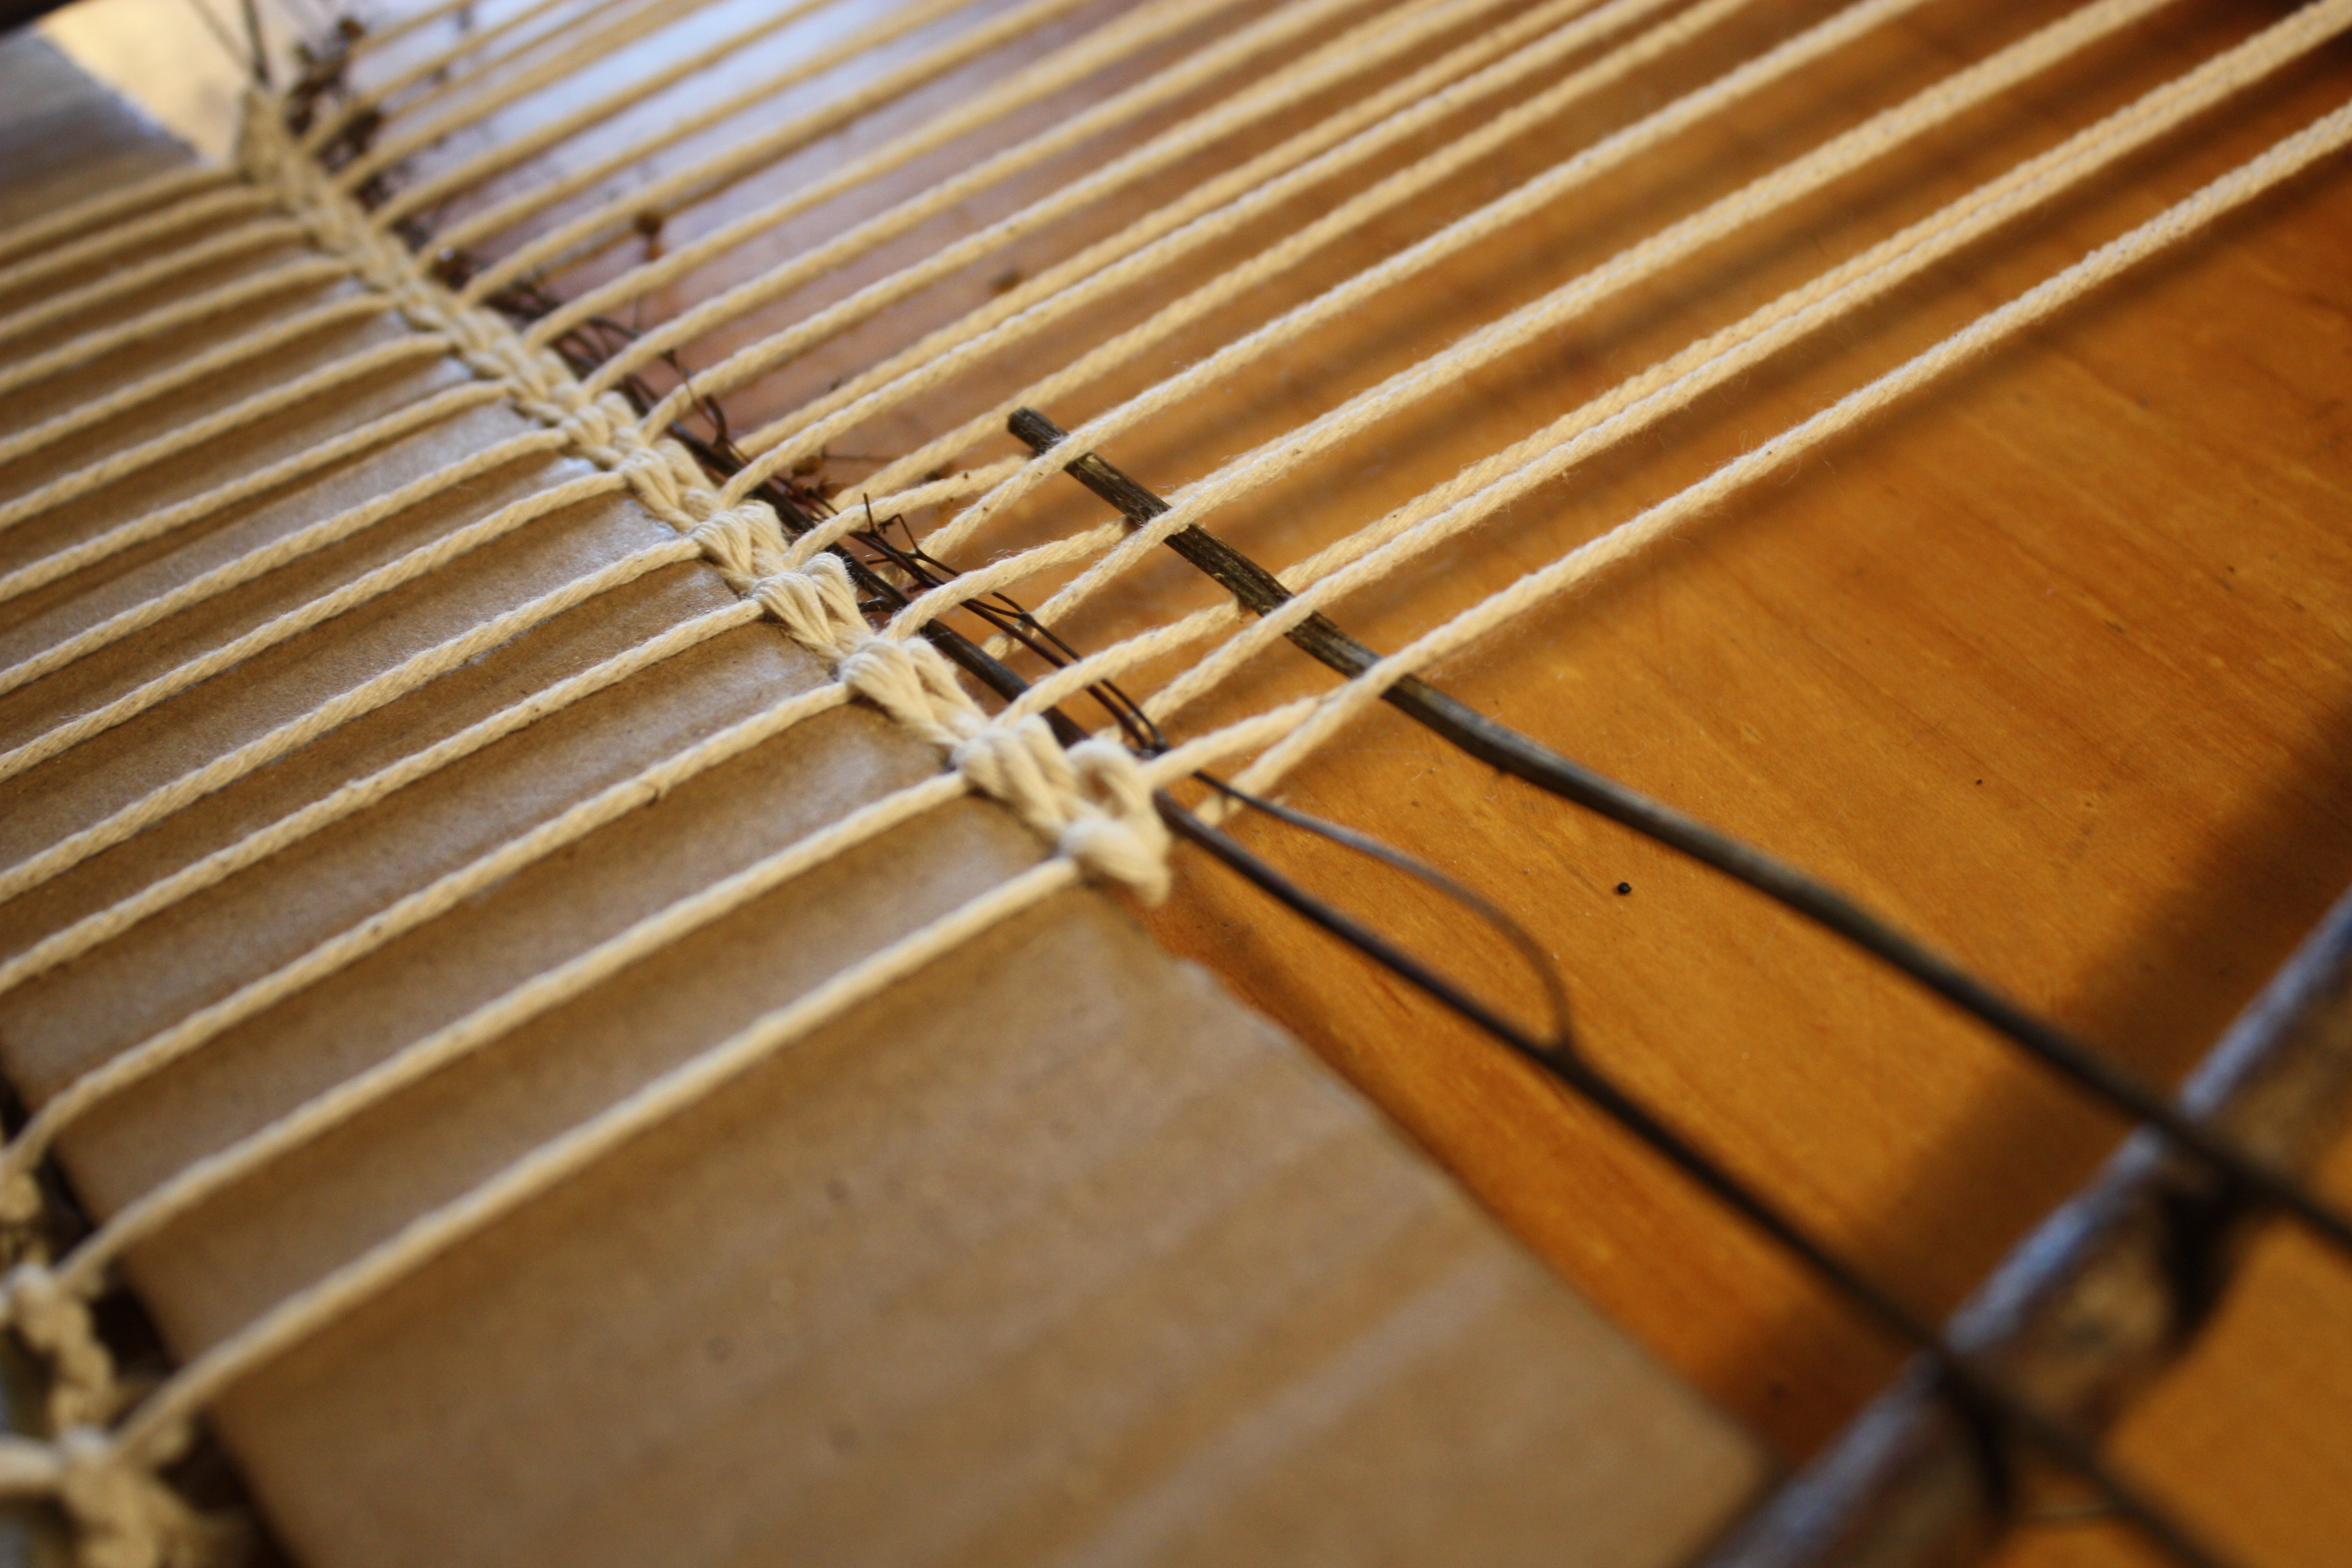
Twinning/Twisting Stitch (Weft string)
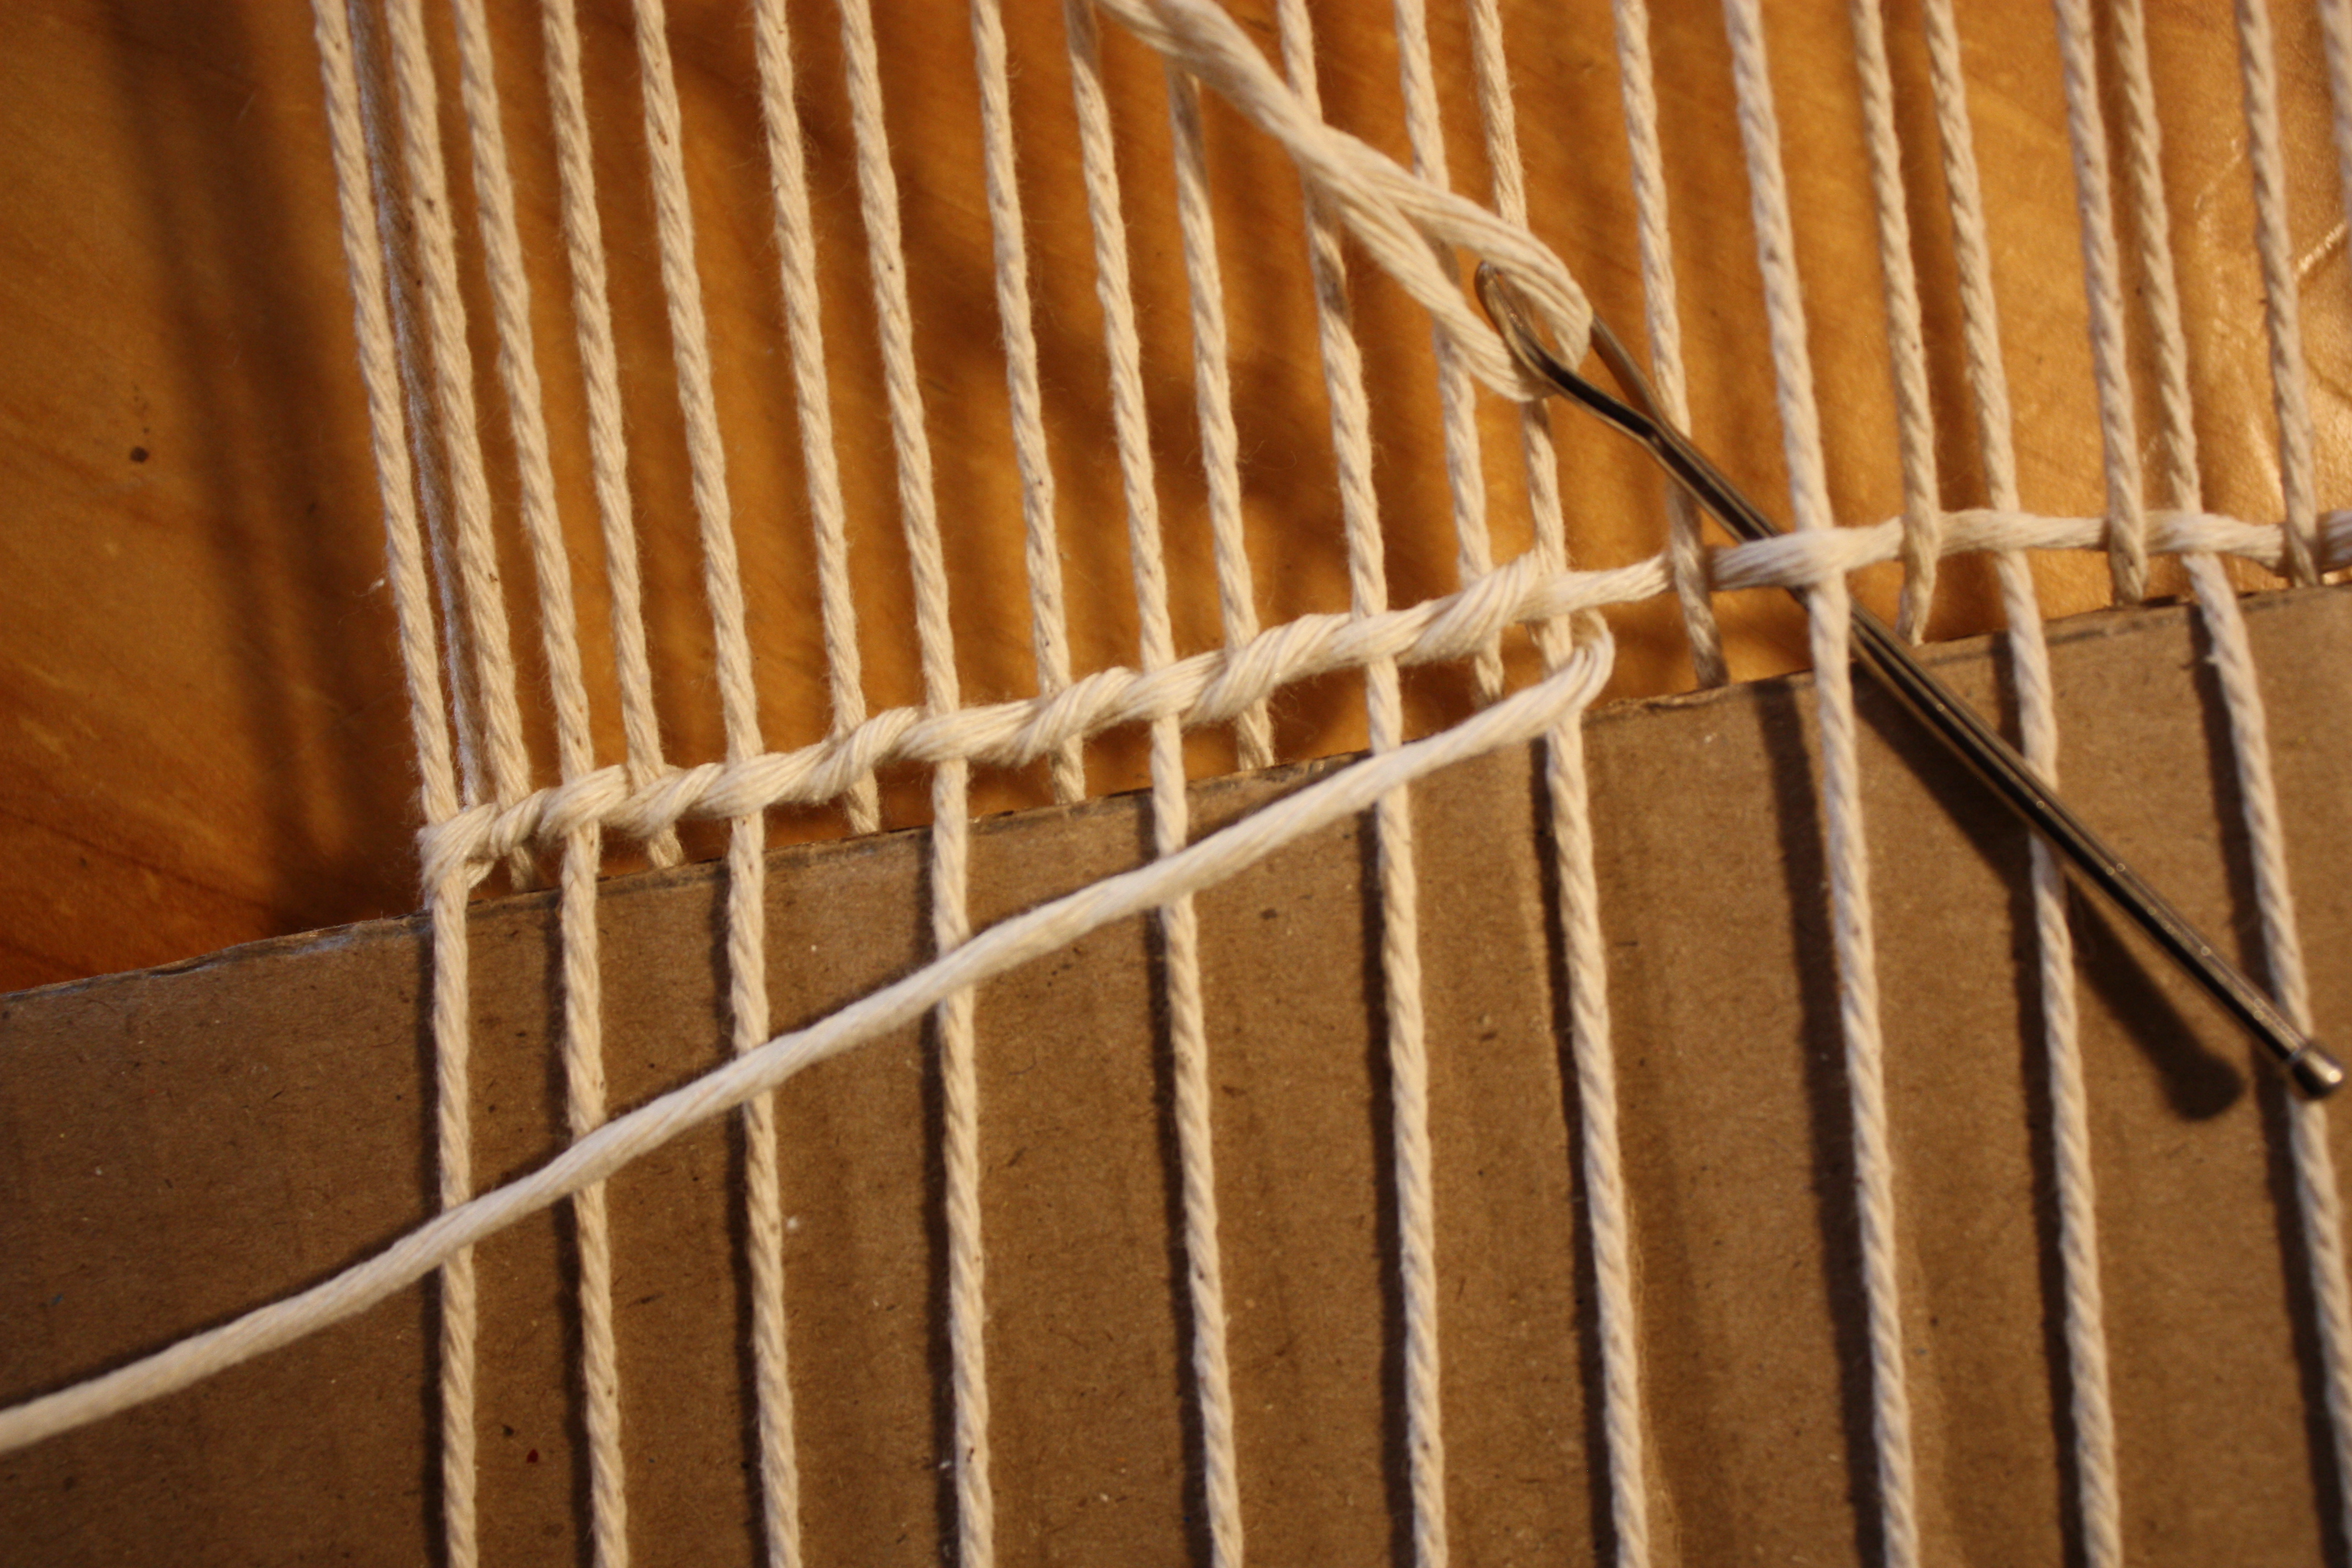
1. Add the twinning/twisting stitch - Look for the warp where your weft yarn is currently sitting on top. (This is where you ended the previous plain-weave row.) Insert your needle down and behind that warp—just under the front-facing weft—then bring the needle forward again and cross to the next warp. See Pic 18 for this motion.
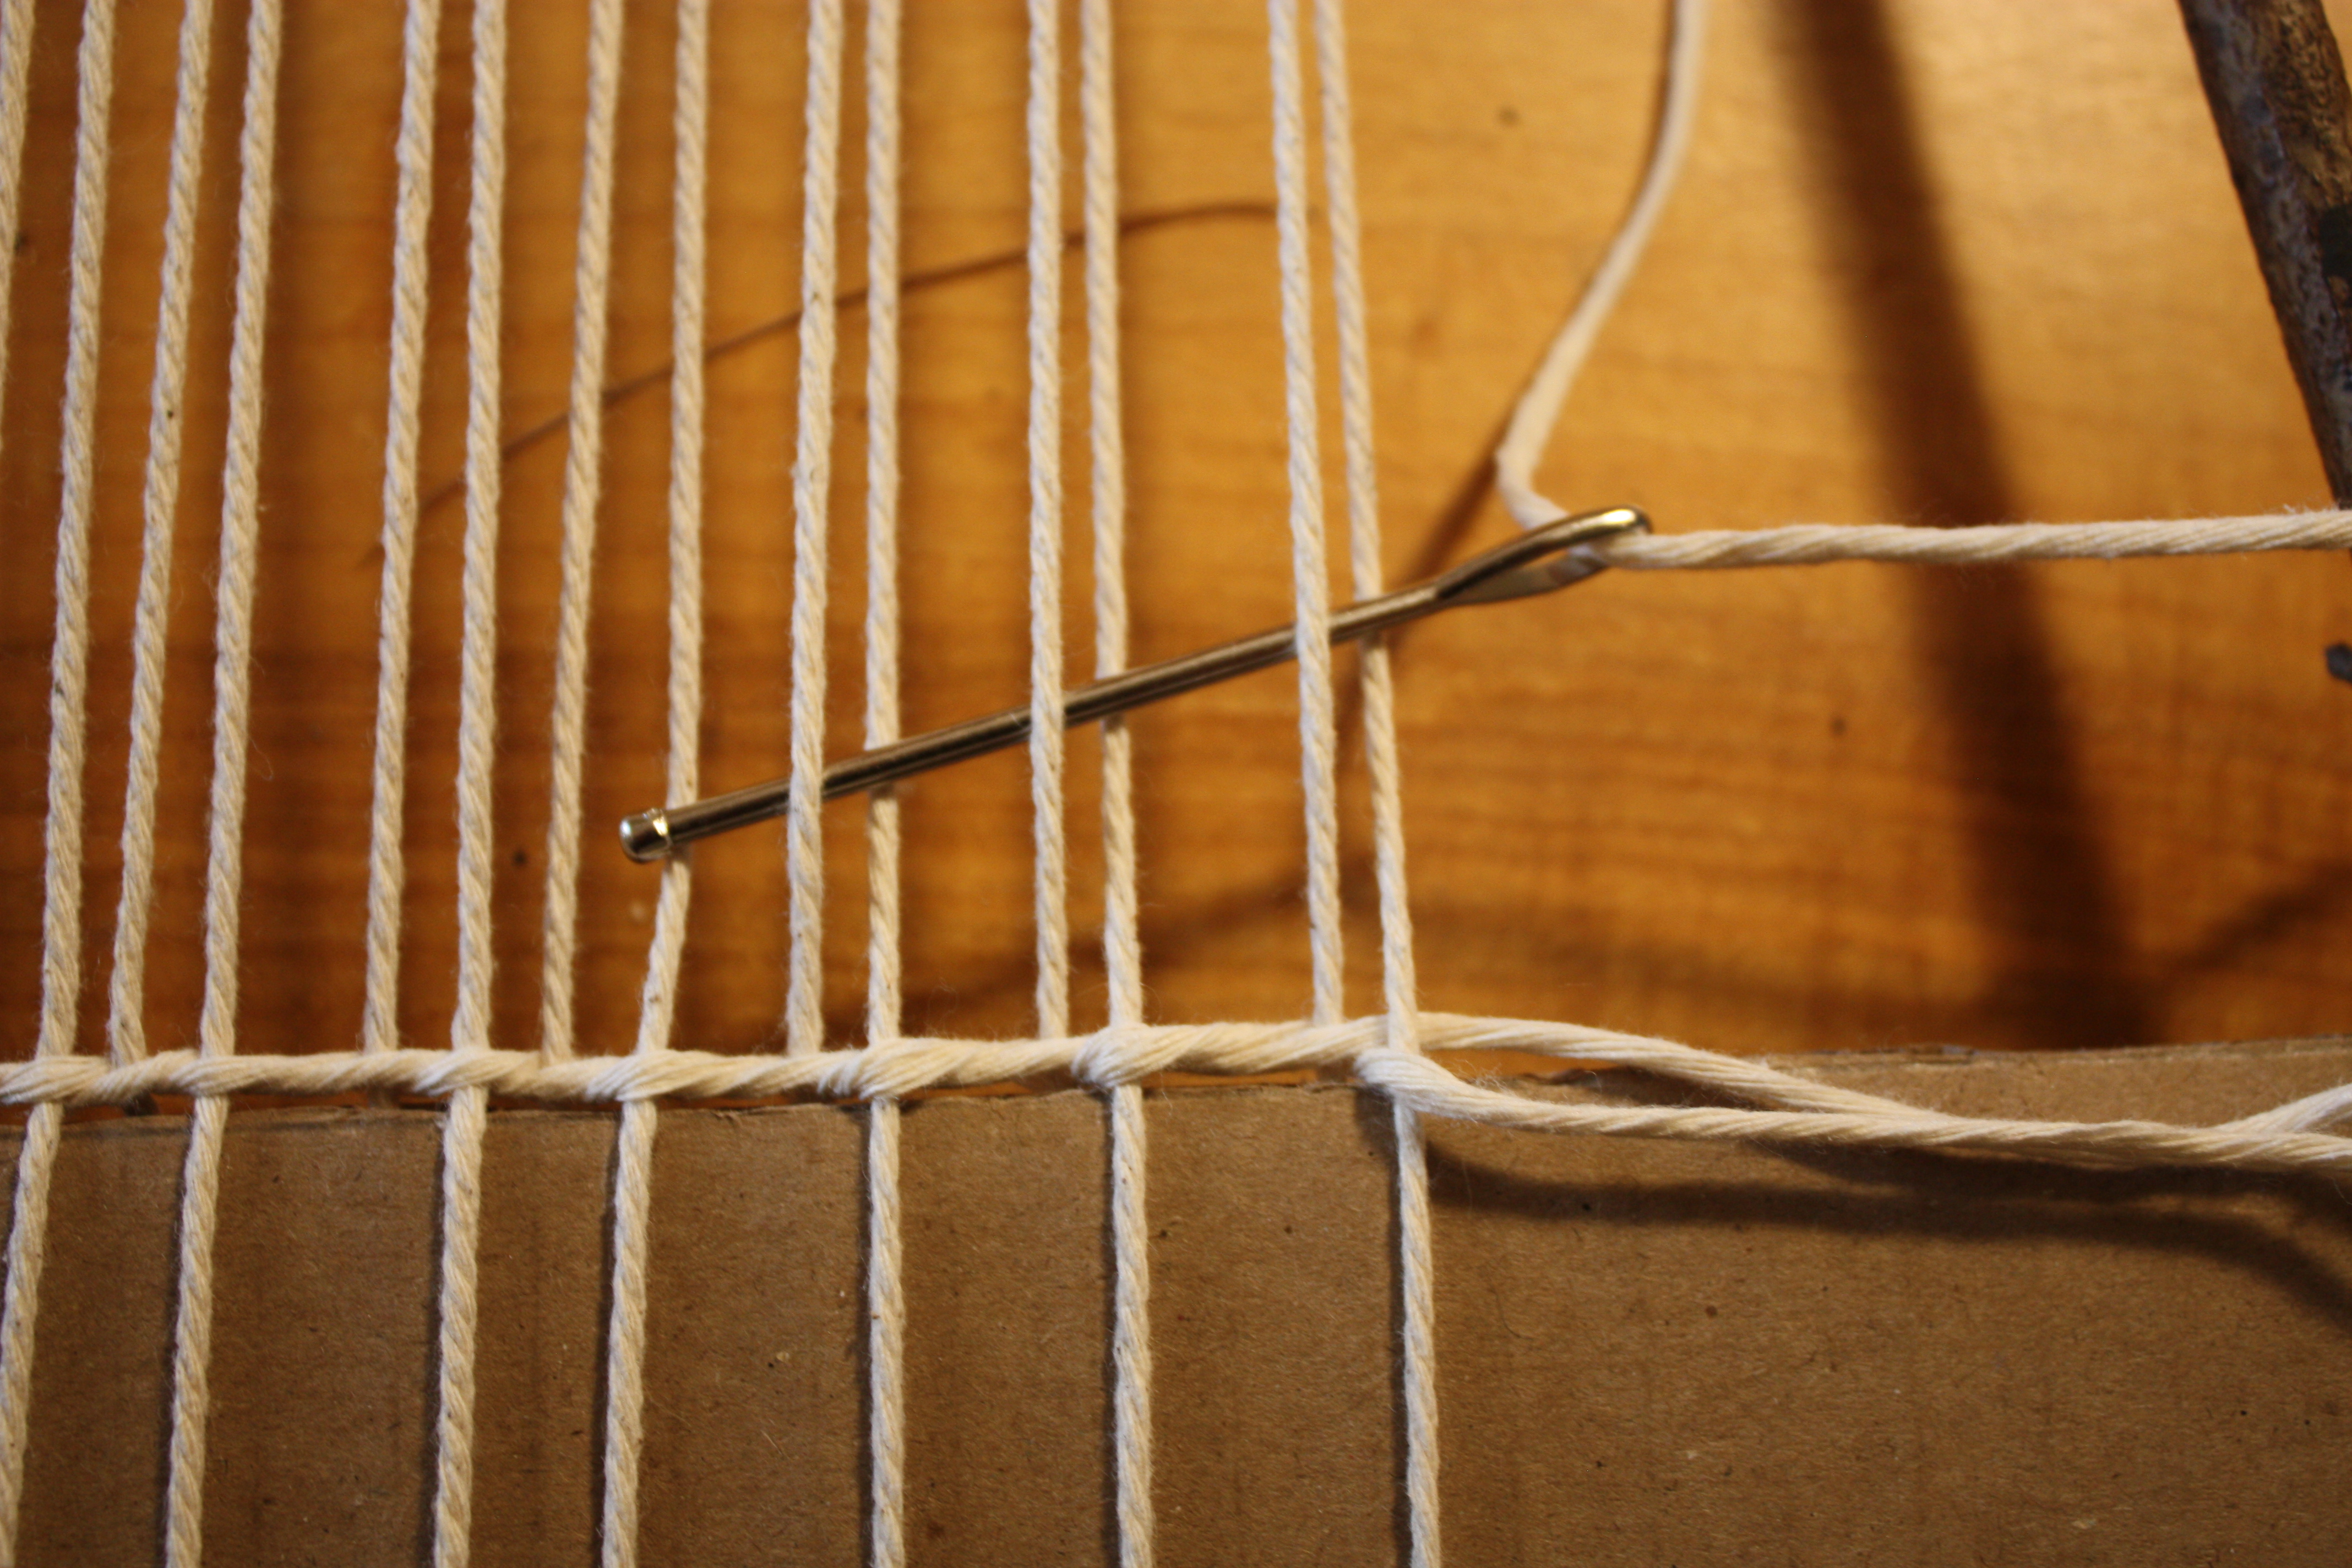
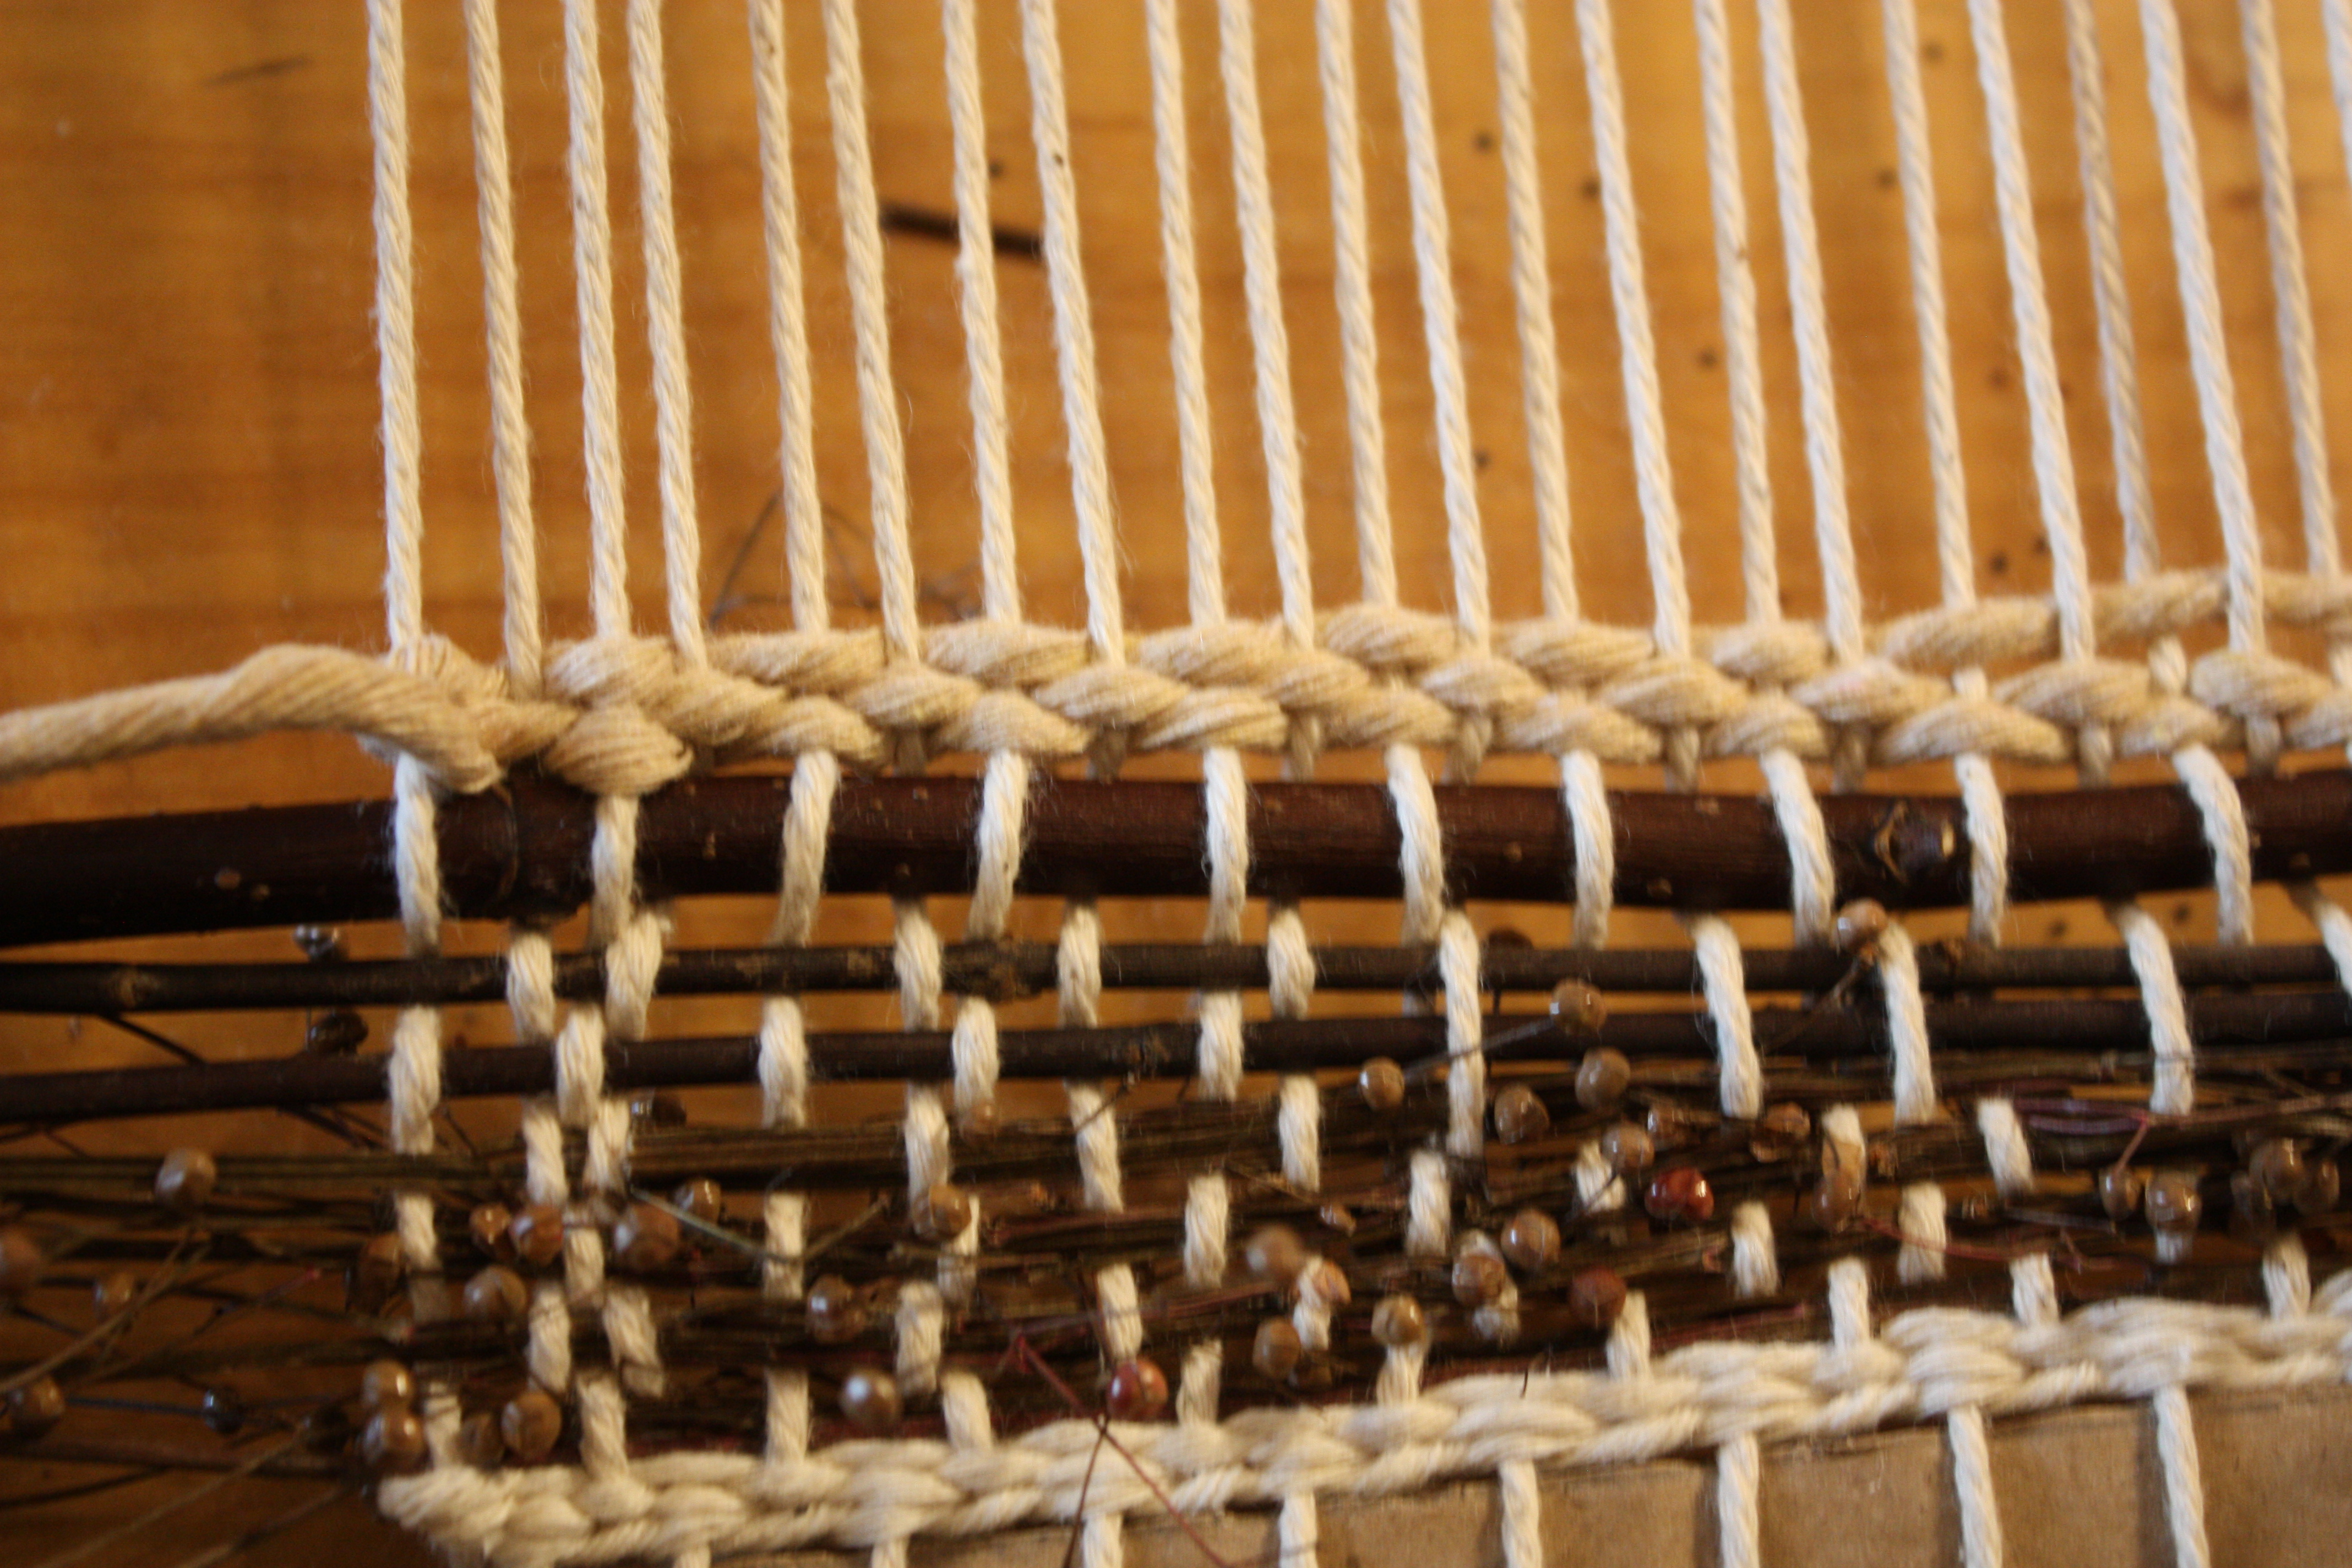
2. Repeat the motion - Continue moving across the row: dip behind → bring forward → cross to the next warp. A rope-like twist will form along the base, tightening and securing the bottom edge. See Pic 19–21 for how the twist looks and how the plain weave continues afterward. “
This extra row works almost like a braided hem: it locks the warps together and gives you a sturdy edge to build upon.
More Plain Weave:
- Continue plain weave. Add two to three more rows of plain weave, alternating the over/under pattern on each new row (if you ended “over” on the last warp in the previous row, begin “under” on the next) and pack down after each pass.
This creates a stable “security blanket” for everything that follows.
Step 5: Fill the Warp
Now the fun part—building texture, colour and movement.
- Plan loosely. Sketch ideas or lay materials out in groups, but let the stems guide you, as density and shapes often look different once woven.
- Alternate materials for structure. Switching between natural stems and occasional yarn rows adds stability and supports delicate flowers.
- Vary density. Bunch grasses or weave several stems together in a row to create fullness.
- Hide the base smartly. Start with droopy or fluffy materials near the bottom to conceal the lower edge once the piece is removed from the loom.
- Protect fragile stems. Use a spare stick to lift the warp in the correct over/under pattern; slide the delicate stem through and remove the stick.
- Fill gaps. If pushing down isn’t closing a space, thread a single flower or stem through to spot-fill.
- Always pack & adjust. After each pass, use a fork or comb to press materials downward and nudge wandering warp strings back into line.

A Note on Nature’s Patterns
Weaving with natural materials is also a reminder of the landscapes from which they come. No matter how carefully you plan your weaves or how much control you want to have over the pattern, nature resists being bent entirely to our will. Stems curve differently, textures shift and some materials may not behave as expected. Instead of fighting that, embrace it; your finished piece will reflect not just your design, but the unpredictable beauty of the plants themselves.
Step 6: Finish & Remove from the Loom
- Lock it in. End your piece with three rows of plain weave and a final twisting stitch row to secure the weaving.
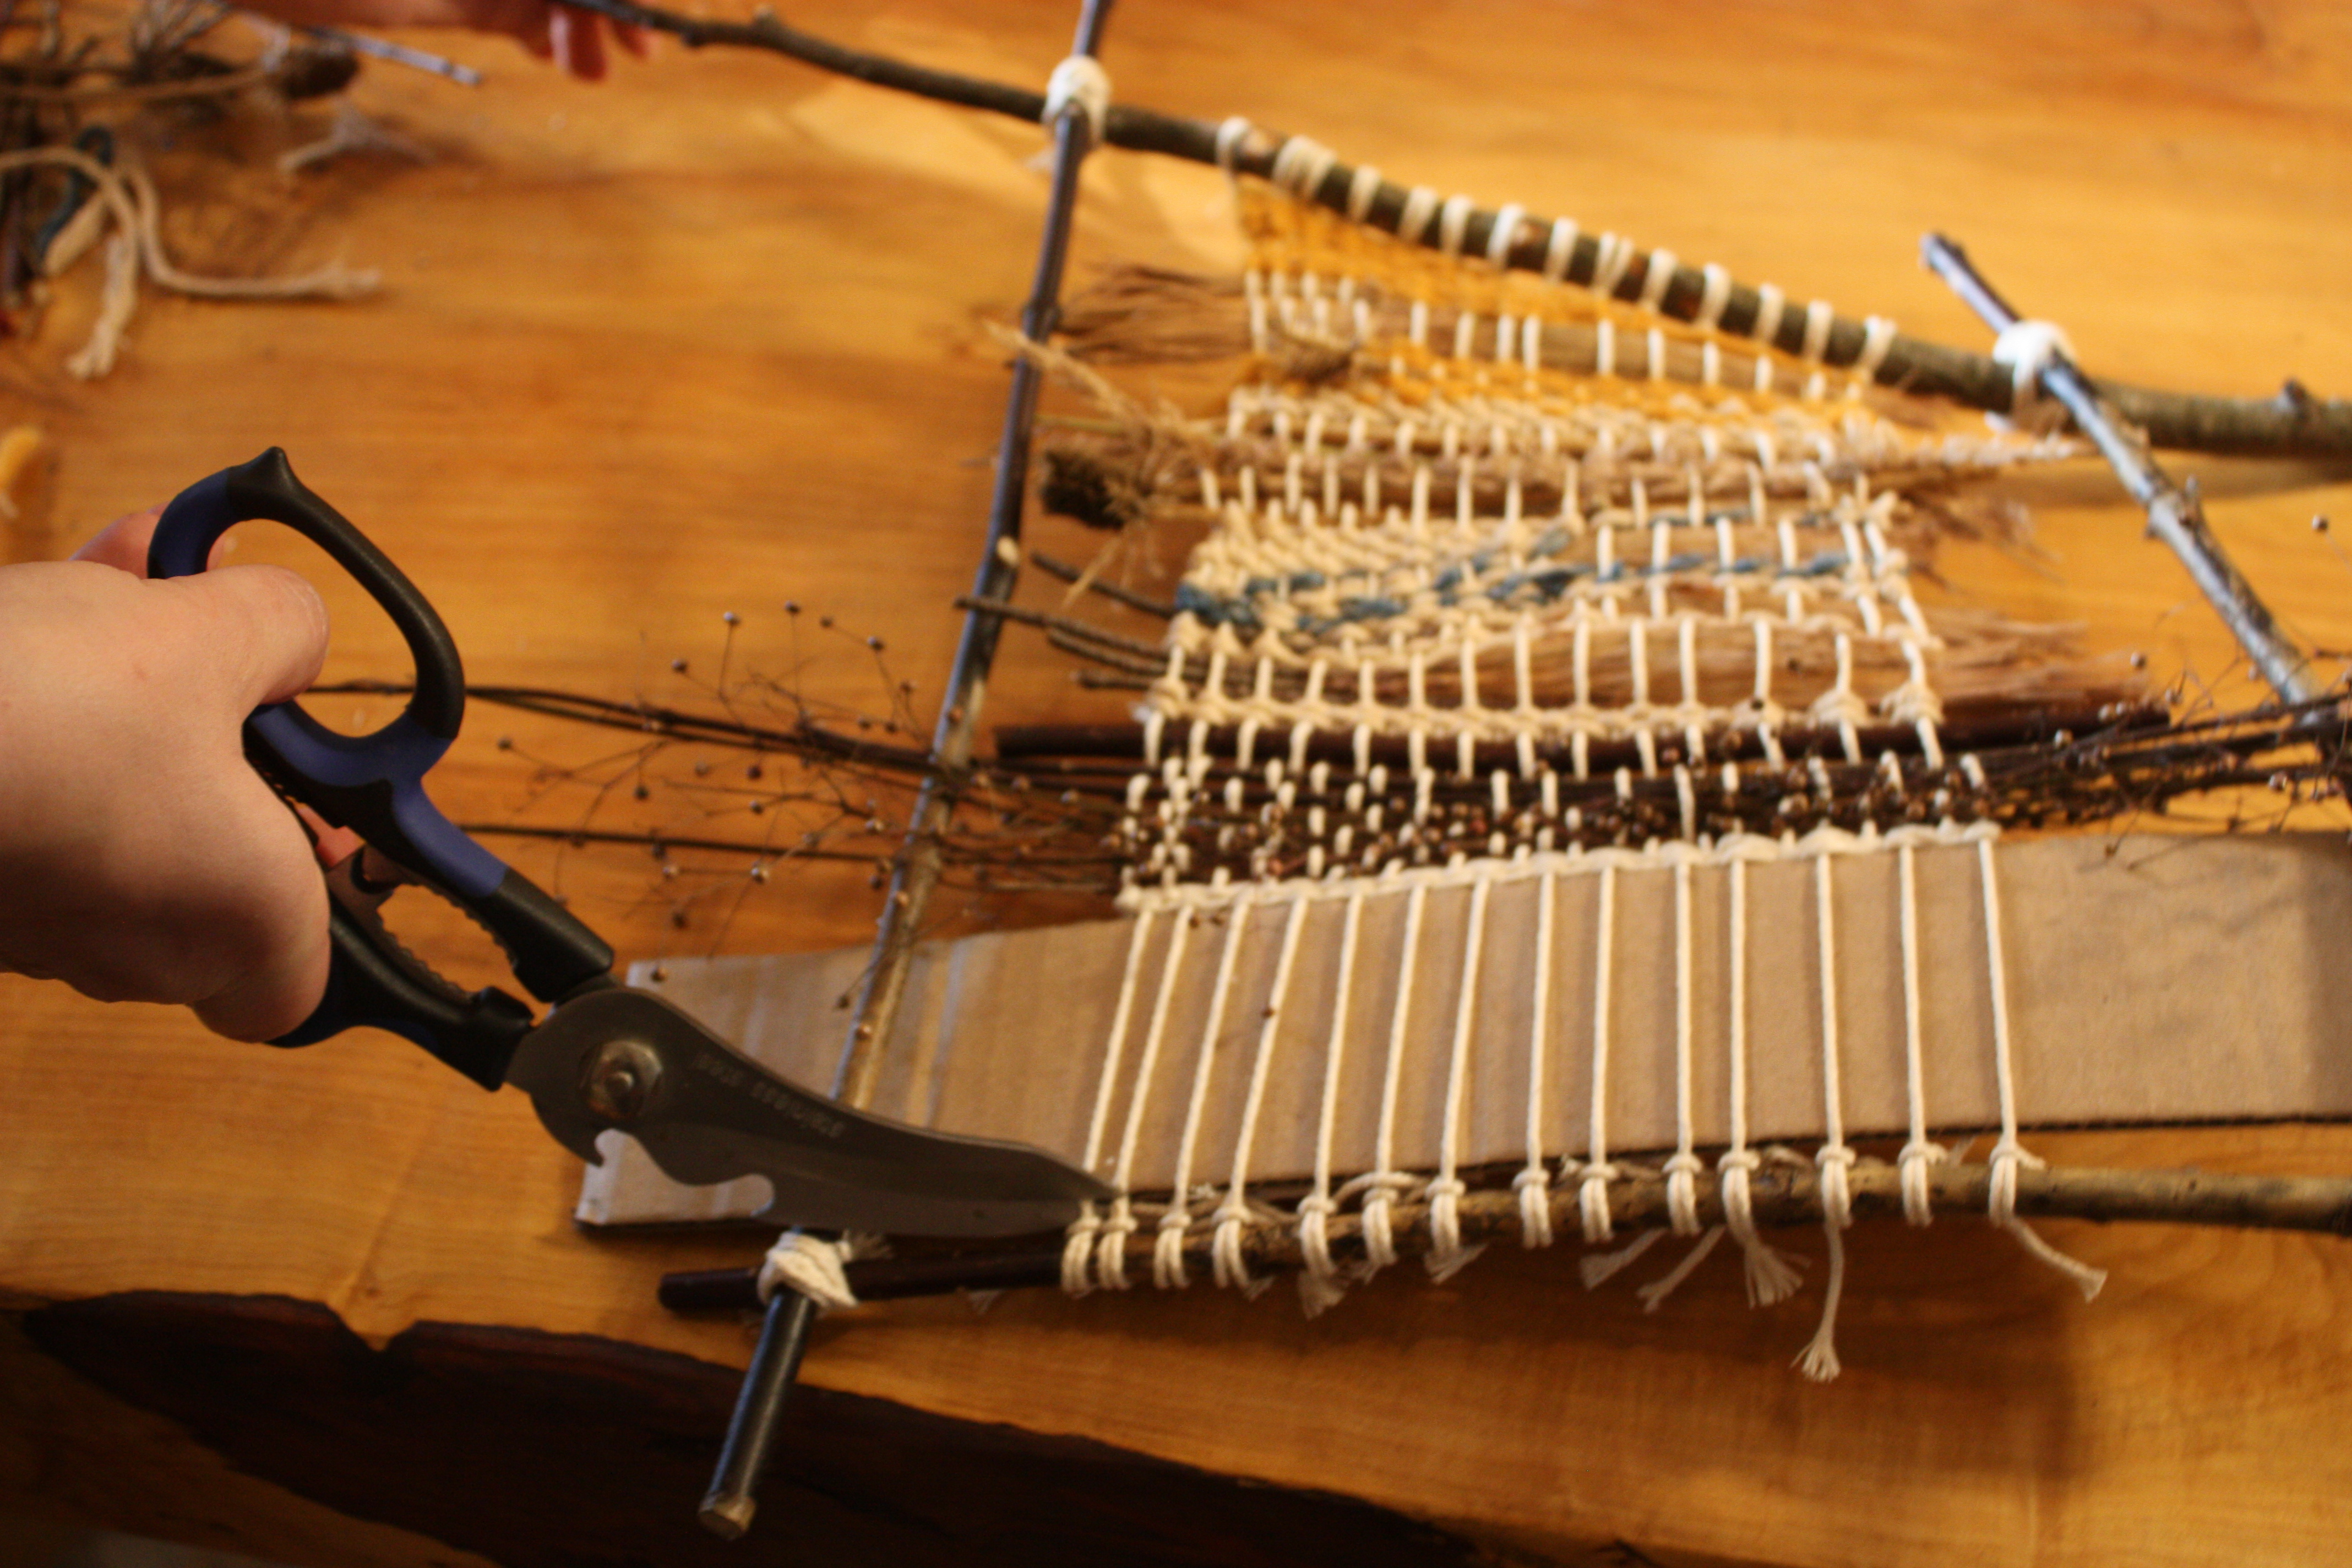
- Detach from the loom. Keep the top edge attached to the hanging branch and carefully cut or untie the other warp strings from the frame.
- Tie off the warp. Gather the bottom warp strings in small groups (about three or four) and knot each group. These can be left as tassels, decorated with extra stems, or tucked behind the weave for a clean, finished look.

Step 7: Touch Ups & Shaping
- Tuck yarn ends. Flip your weave over and thread any loose weft yarn ends into existing yarn channels, or knot and trim them if space is too tight.
- Shape the foliage. Step back and look at your piece. Trim stems for balance, adjust lengths and ensure the composition feels harmonious.

Step 8: Display & Admire
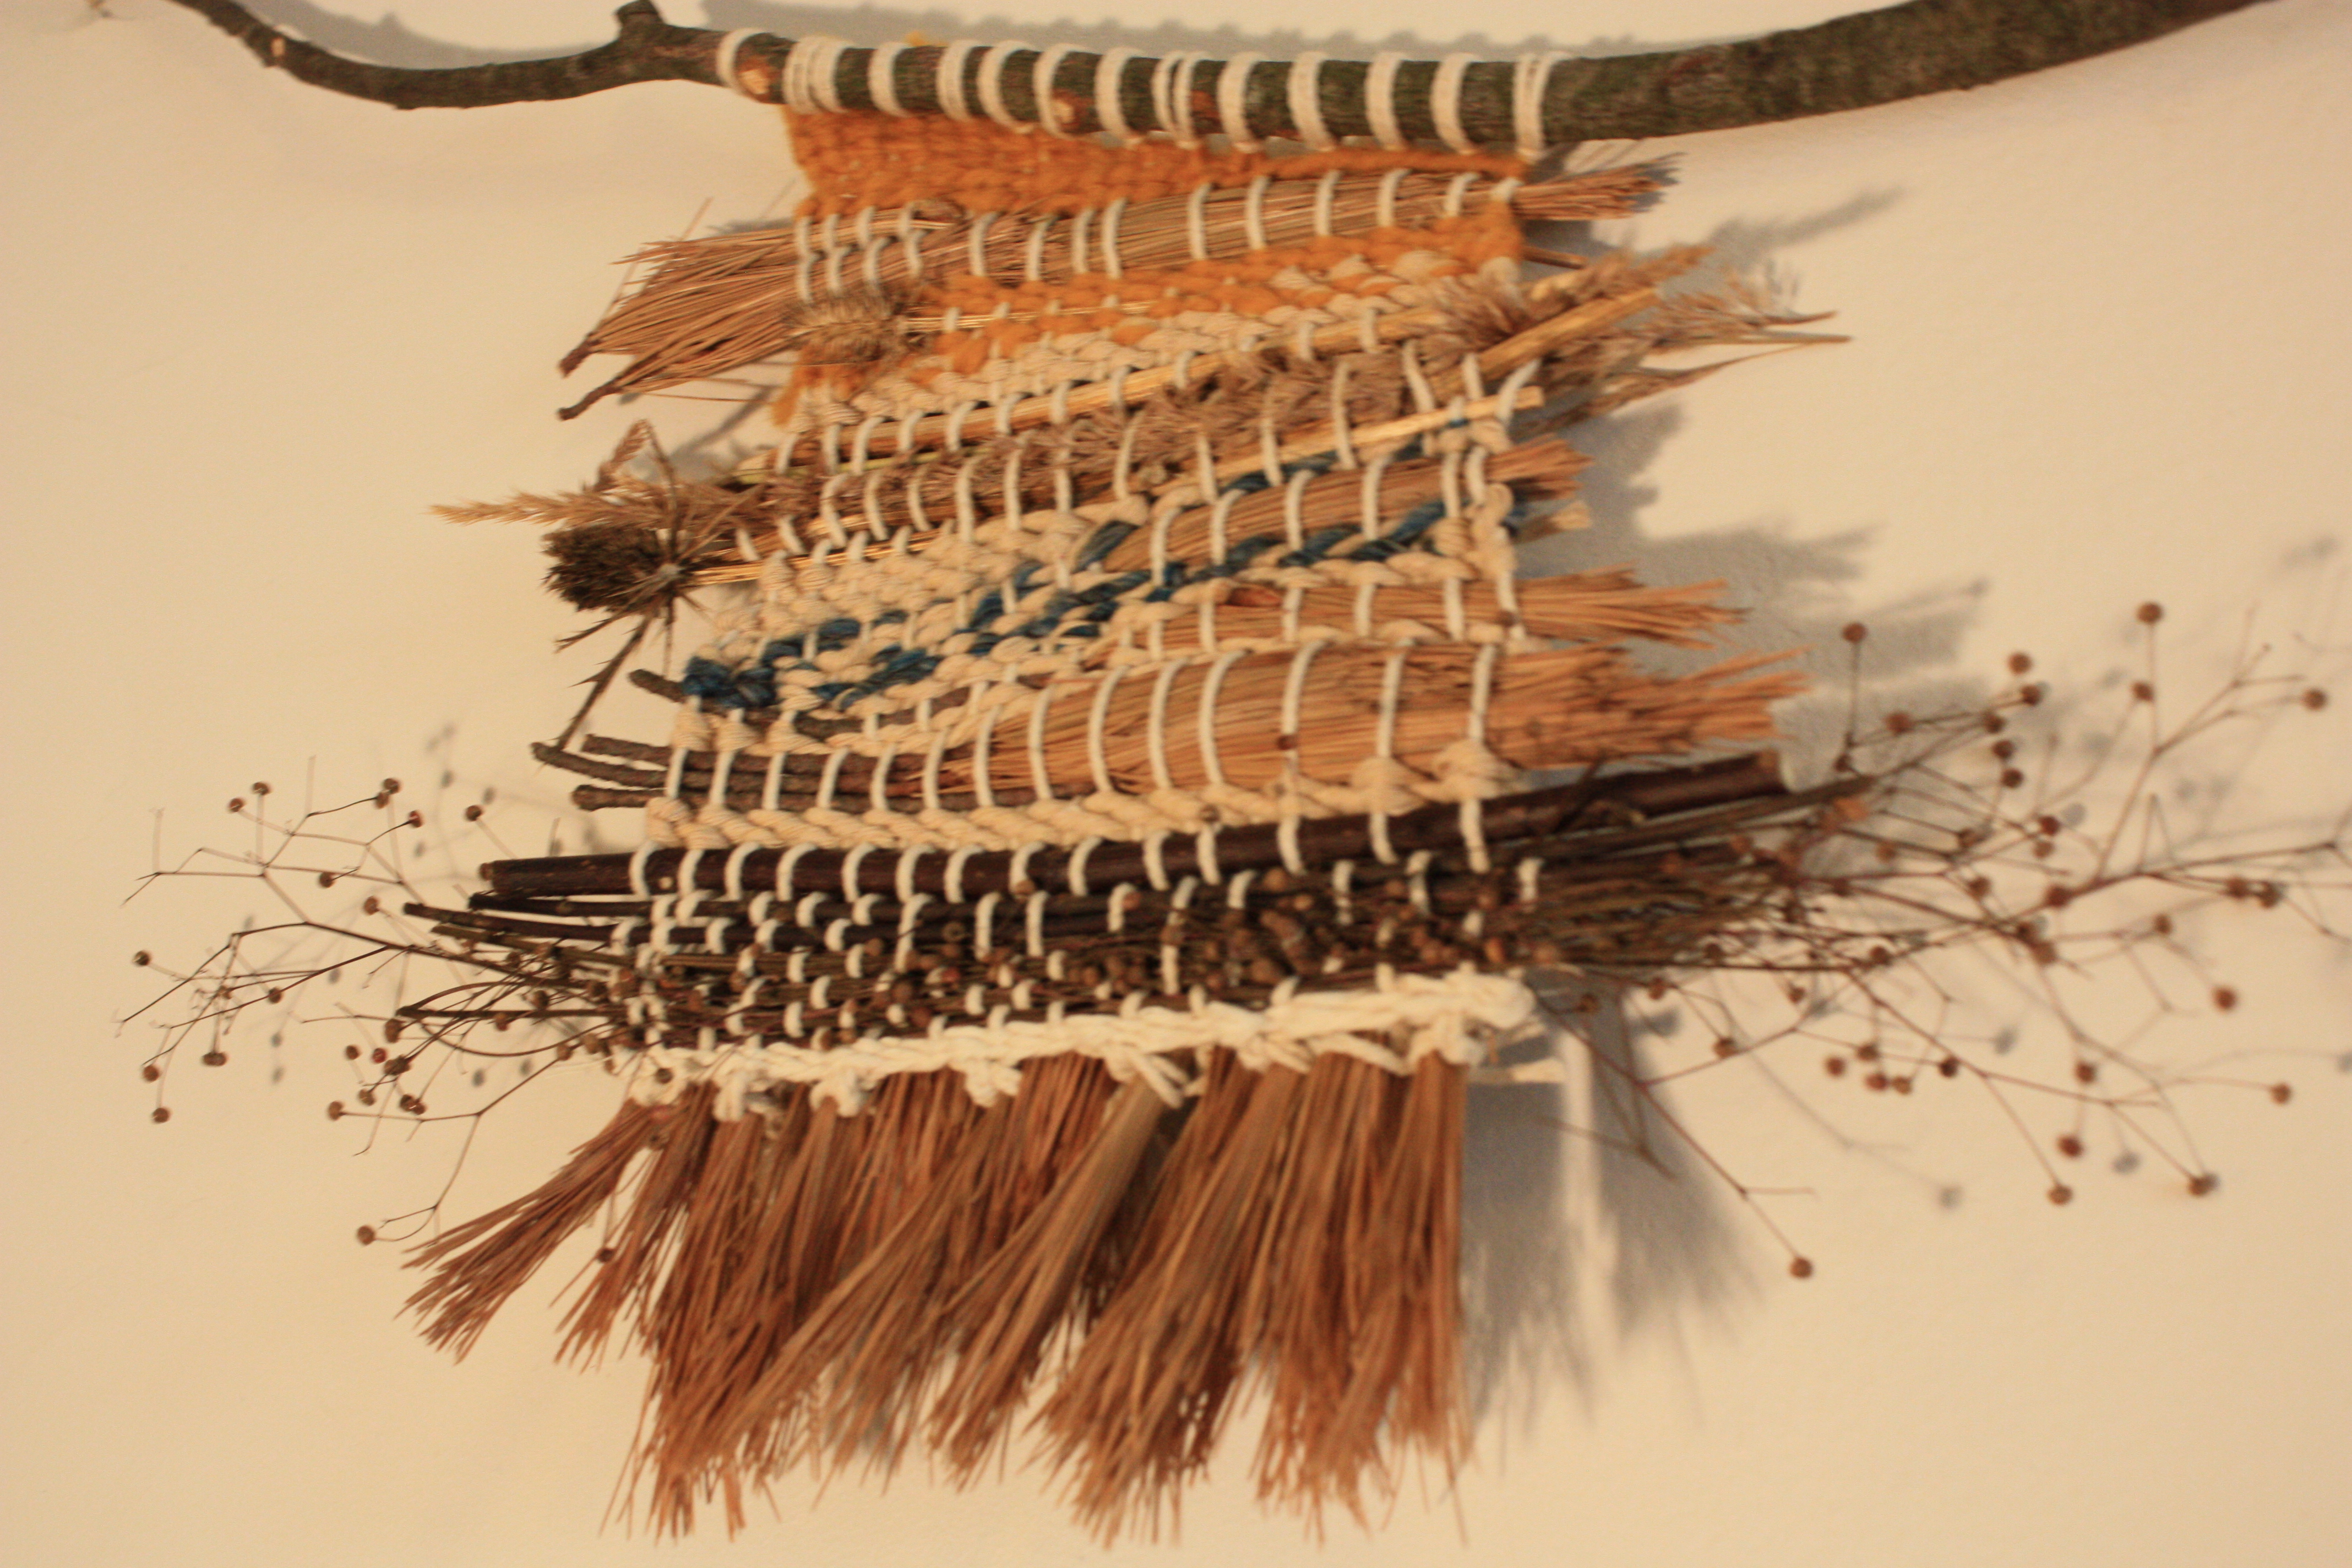
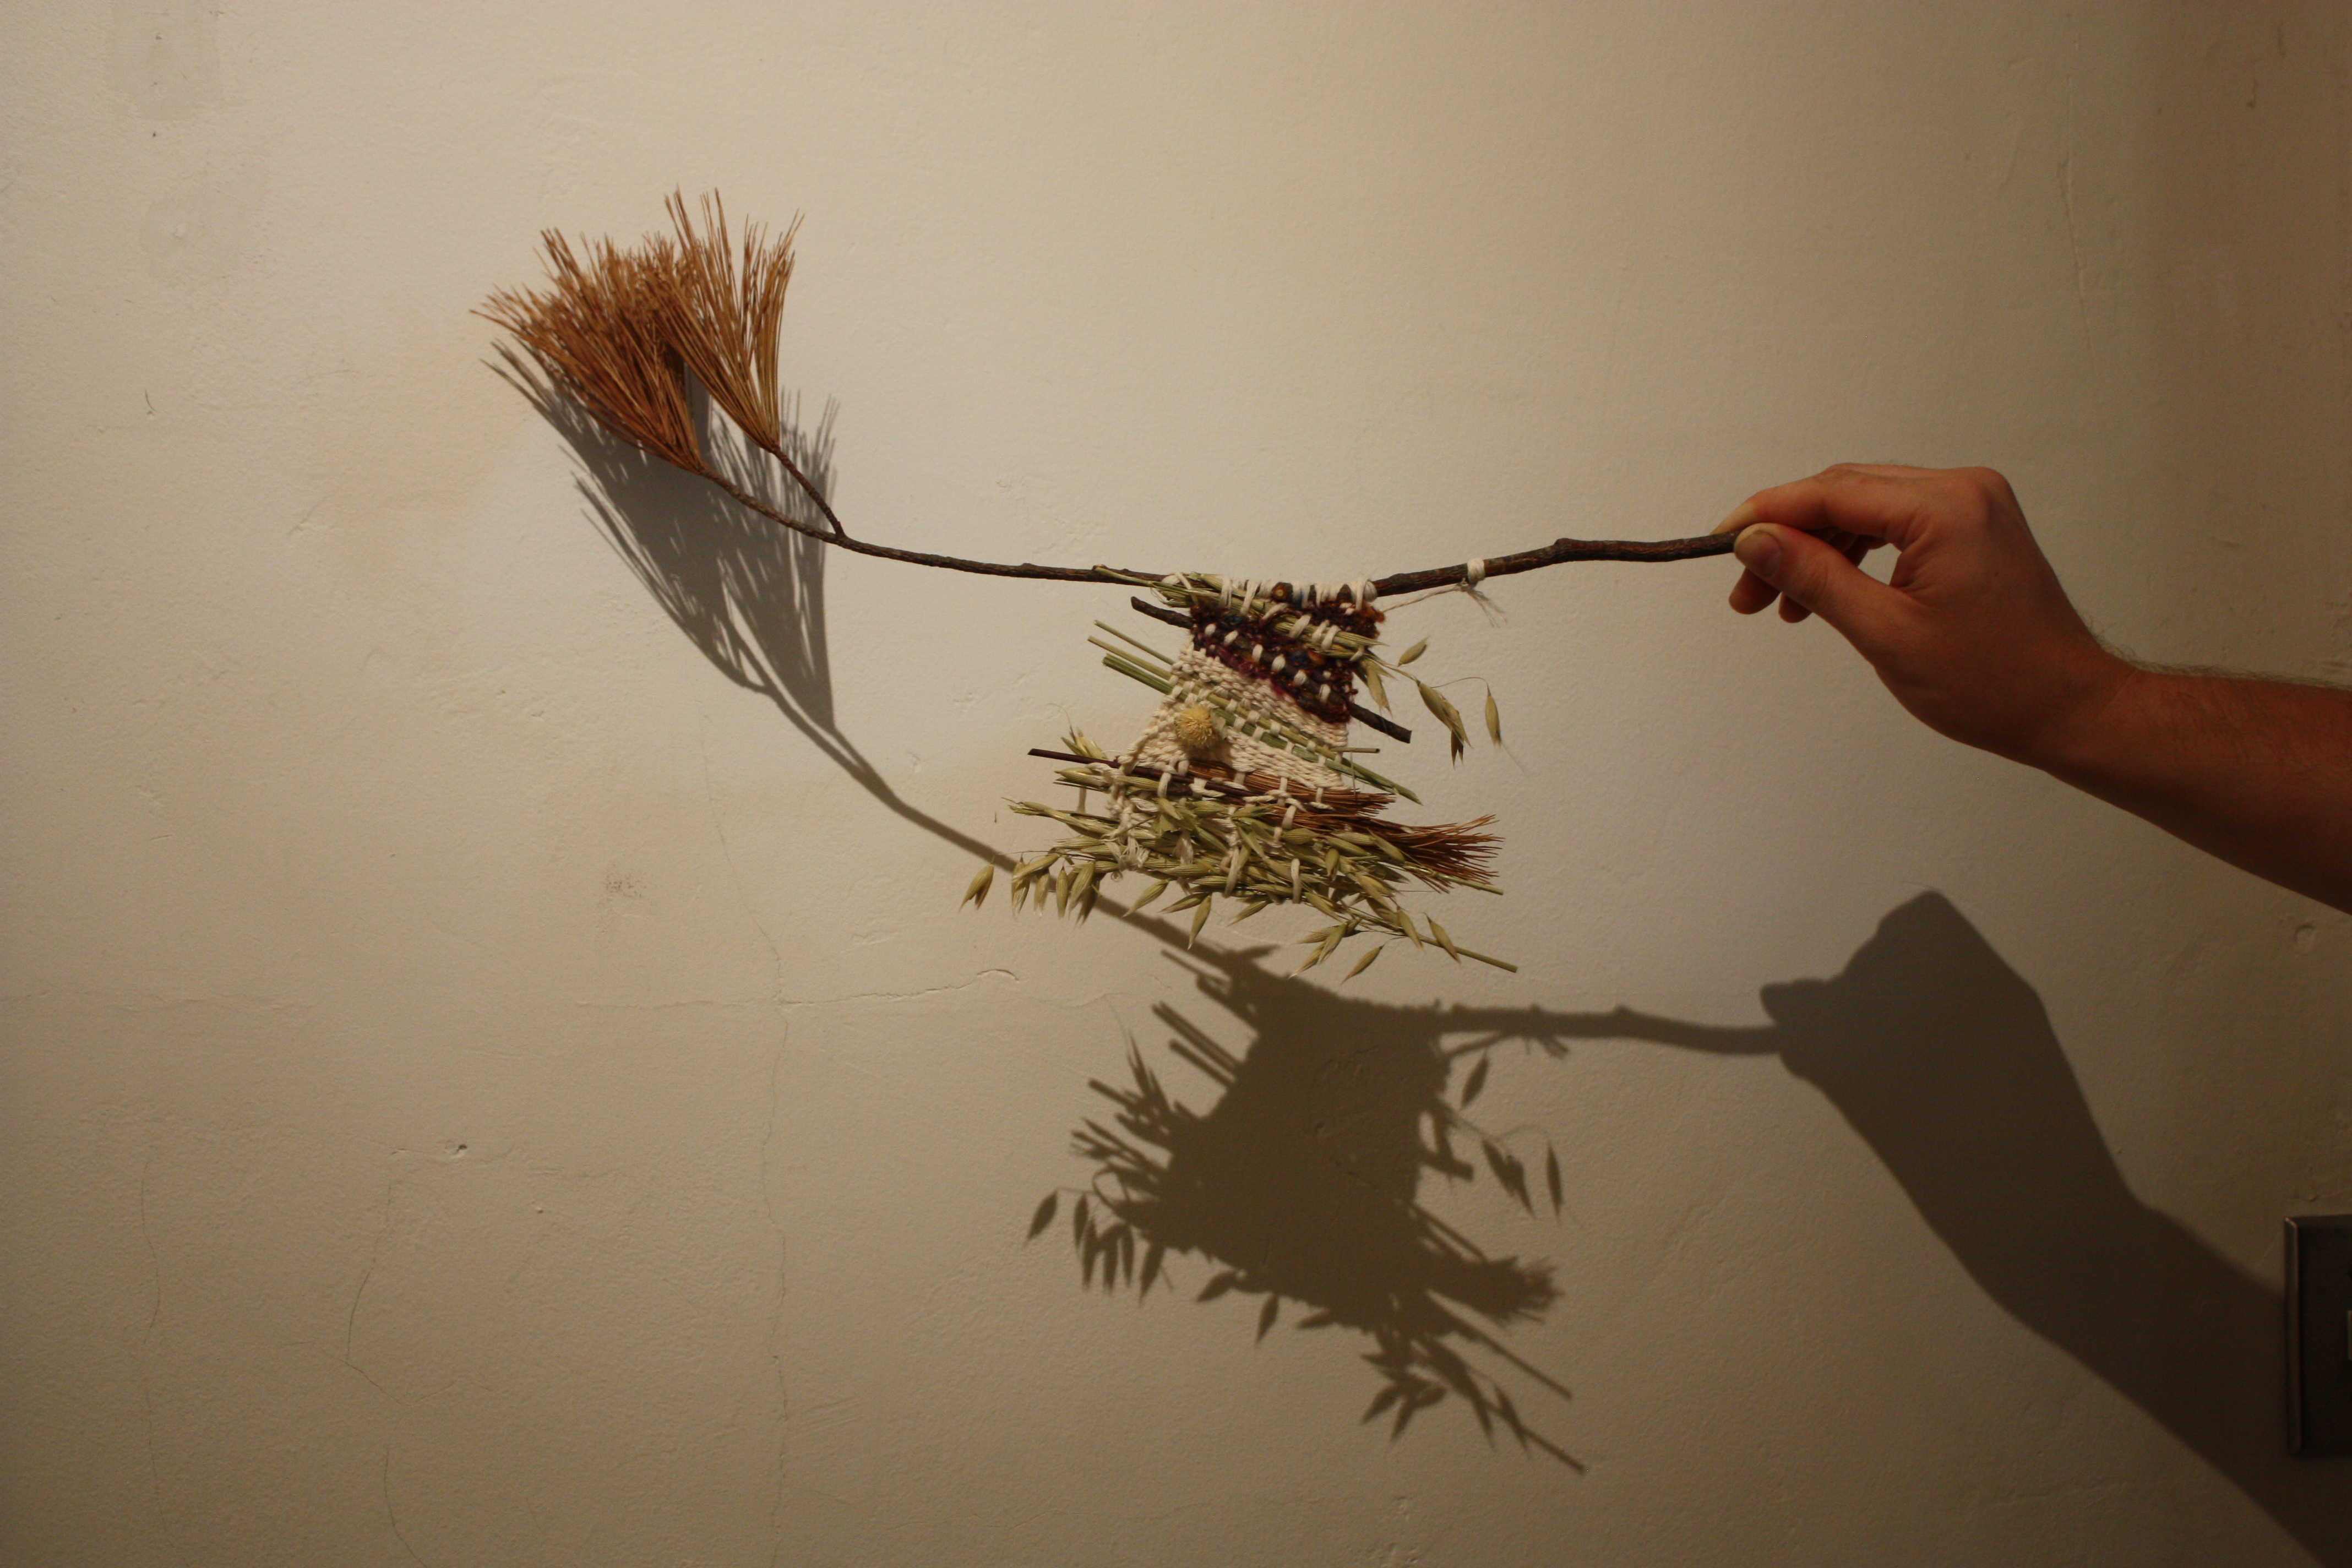
Your weaving is now ready to hang. The top branch serves as a natural hanging bar; you can attach twine to the ends or hang it directly from a hook.
Take a step back and admire your finished work. Notice how the textures, colours and lines carry the story of the landscape they came from. What began as a bundle of branches and stems is now a one-of-a-kind piece of art.

What the Branches Hold
Nature weaving is more than a craft; it’s a dialogue with the materials and the landscapes they represent. It teaches patience, flexibility and appreciation for the way nature shapes itself. The process mirrors the unpredictability of the natural world: no matter how carefully you plan, stems bend, textures shift and surprises arise. That’s part of the beauty. By weaving with what you’ve gathered, you’re not just making art, you’re creating a seasonal reminder of the places you walk, the plants you notice and the textures of the world outside your door.
Get Started with LEAF
Explore native plant options that can be used for weaving material for your garden with LEAF’s Backyard Tree Planting Program. Visit our Homeowners page or check out our Shrubs, Cedars, and Pawpaws page to learn more and begin your planting and weaving journey.
Amba works as the Residential Planting Assistant at LEAF, helping people connect with native trees and shrubs. She loves exploring seasonal crafts, such as nature weaving, as another way to celebrate the textures of the landscape.
LEAF offers a subsidized Backyard Tree Planting Program for private property. The program is supported by the City of Toronto, the Regional Municipality of York, the City of Markham, the Town of Newmarket, the City of Vaughan, the Regional Municipality of Durham, the Town of Ajax, the Municipality of Clarington, the City of Oshawa, the City of Pickering, the Township of Scugog and the Town of Whitby.